6408 216th Street SW | Mountlake Terrace, WA 98043 USA
T +1.425.778.7728 F +1.425.778.7727 | www.SymetrixAudio.com
18
User’s Guide
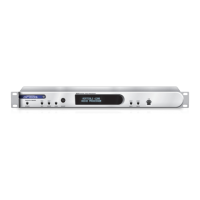
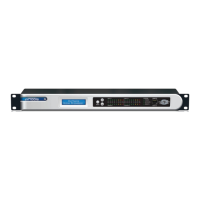
6200 Designer Installation
The 6200 Designer software provides real-time control and a simple drag
‘n drop, point ‘n click configuration interface to the 6200 from a Win dows
98/2000/XP PC environment.
Use one of the following procedures to install the 6200 Designer on your
computer.
From the 6200 Designer CD-ROM:
1. ThesoftwareshouldautorunafterinsertingtheCD-ROMintoyour
computer’sCD-ROMdrive.
2. If the software does not auto run, then Click on the Start button,
choose Run and type “D:\SETUP”
(IfyourCD-ROMdriveisn’tD:,thensubstituteitsdriveletter)
From the symetrix web site
(www.SymetrixAudio.com):
1. Download the 6200 Designer program file.
2. From the Start button, Run the file/program that you just downloaded
to start the Setup program.
The software always starts up in offline mode. Regard less, you can
explore the software, experiment to your heart’s content, and perhaps
even get useful work done. You can save any Sites (complete with up
to 256 programs) that you create to a file that can be downloaded later
into an operating 6200.
If there is a 6200 hardware unit connected, you can go download to,
and upload from the 6200. Once you have a unit connected, you can
also work online in real time, which allows you to hear adjust ments and
settings as you make them. Follow the steps in the following sections
to get your hardware connected to your PC.
Using 6200 Designer
Once the installation process is complete, you should have an icon on
your desktop, and a program item in the Start menu. Click on the 6200
Designer icon and you’re ready to begin.
6200 Designer is mostly self explanatory. The main screen represents
the processing chain for each channel of the 6200 hardware. The
input sections are on the left, DSP modules in the middle and output
sections on the right. DSP modules can be reordered by drag ‘n drop
and their parameters viewed by clicking on each DSP module’s icon.
Hardware parameters can be setup in the Unit menu, programs can be
saved and recalled from the Channel menus.
When you want to test things out or synchronize what you see on
the screen with the 6200 hardware, you can “Go Online” and adjust
parameters in real time provided that your communications method and
settings match between the PC and 6200 hardware.
NOTE: There are a lot of useful functions available in the mouse right-
click. Explore! That’s the ultra-condensed version. You’ll find more
complete information in 6200 Designer’s online help. Just choose “Help
Contents (F1)” from the Help menu.
USB Connection and Driver Installation
When you install the 6200 Designer software, a USB driver
for the 6200 is also installed into the 6200 Designer program
directory. If you wish to control the 6200 using USB, follow
the instructions below to install the USB driver.
1. Install the 6200 Designer software (using one of the methods outlined
previously).
2. Plug your computer into 6200 using an appropriate USB cable. The
6200’s front panel USB port is a Female “B” type USB 1.1 port.
3. YourcomputershouldautomaticallydetectthatanewUSBdeviceis
present.
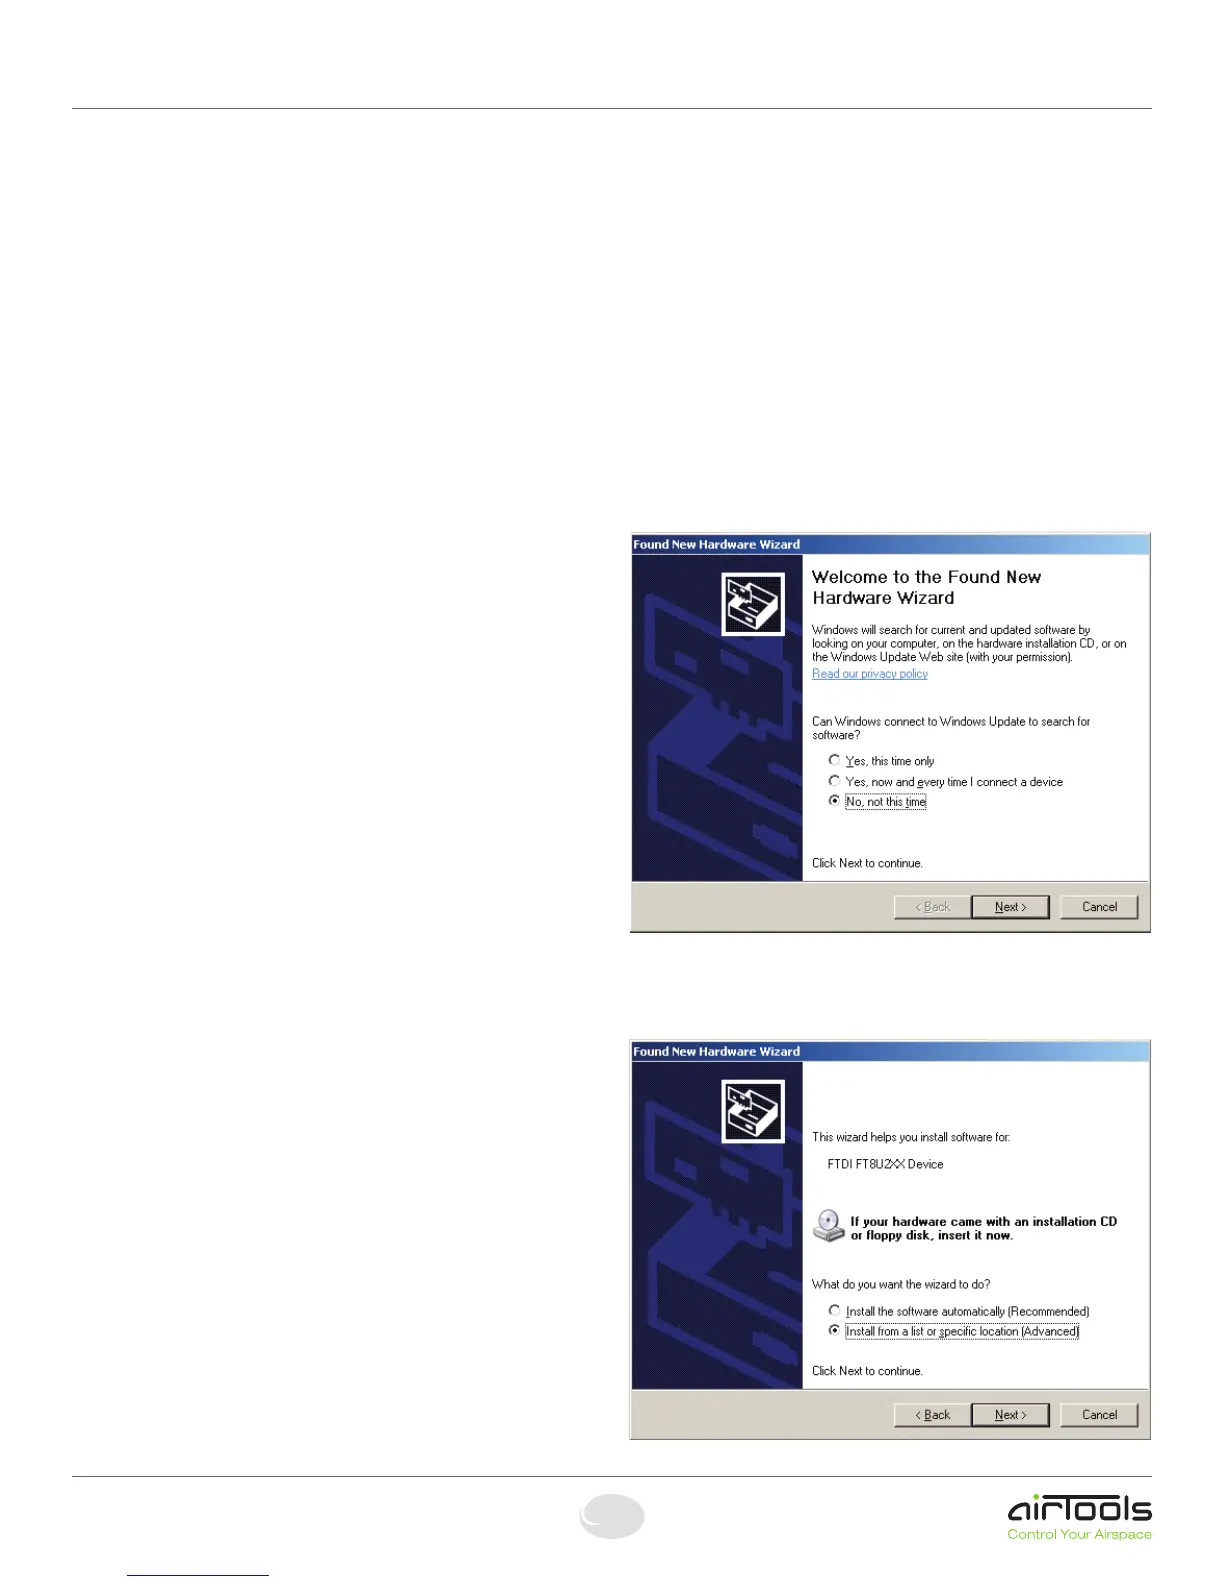
4. TheWindows“NewHardwareWizard”shouldpopup.
5. When asked “Can Windows connect to Windows Update to search for
software?”choosethe“No,notatthistime”optionandclicktheNext
button.
6. When prompted “What do you want the wizard to do?” choose the
option “Install from a list or specific location (Advanced)” and click the
Nextbutton.
6200 Designer Installation