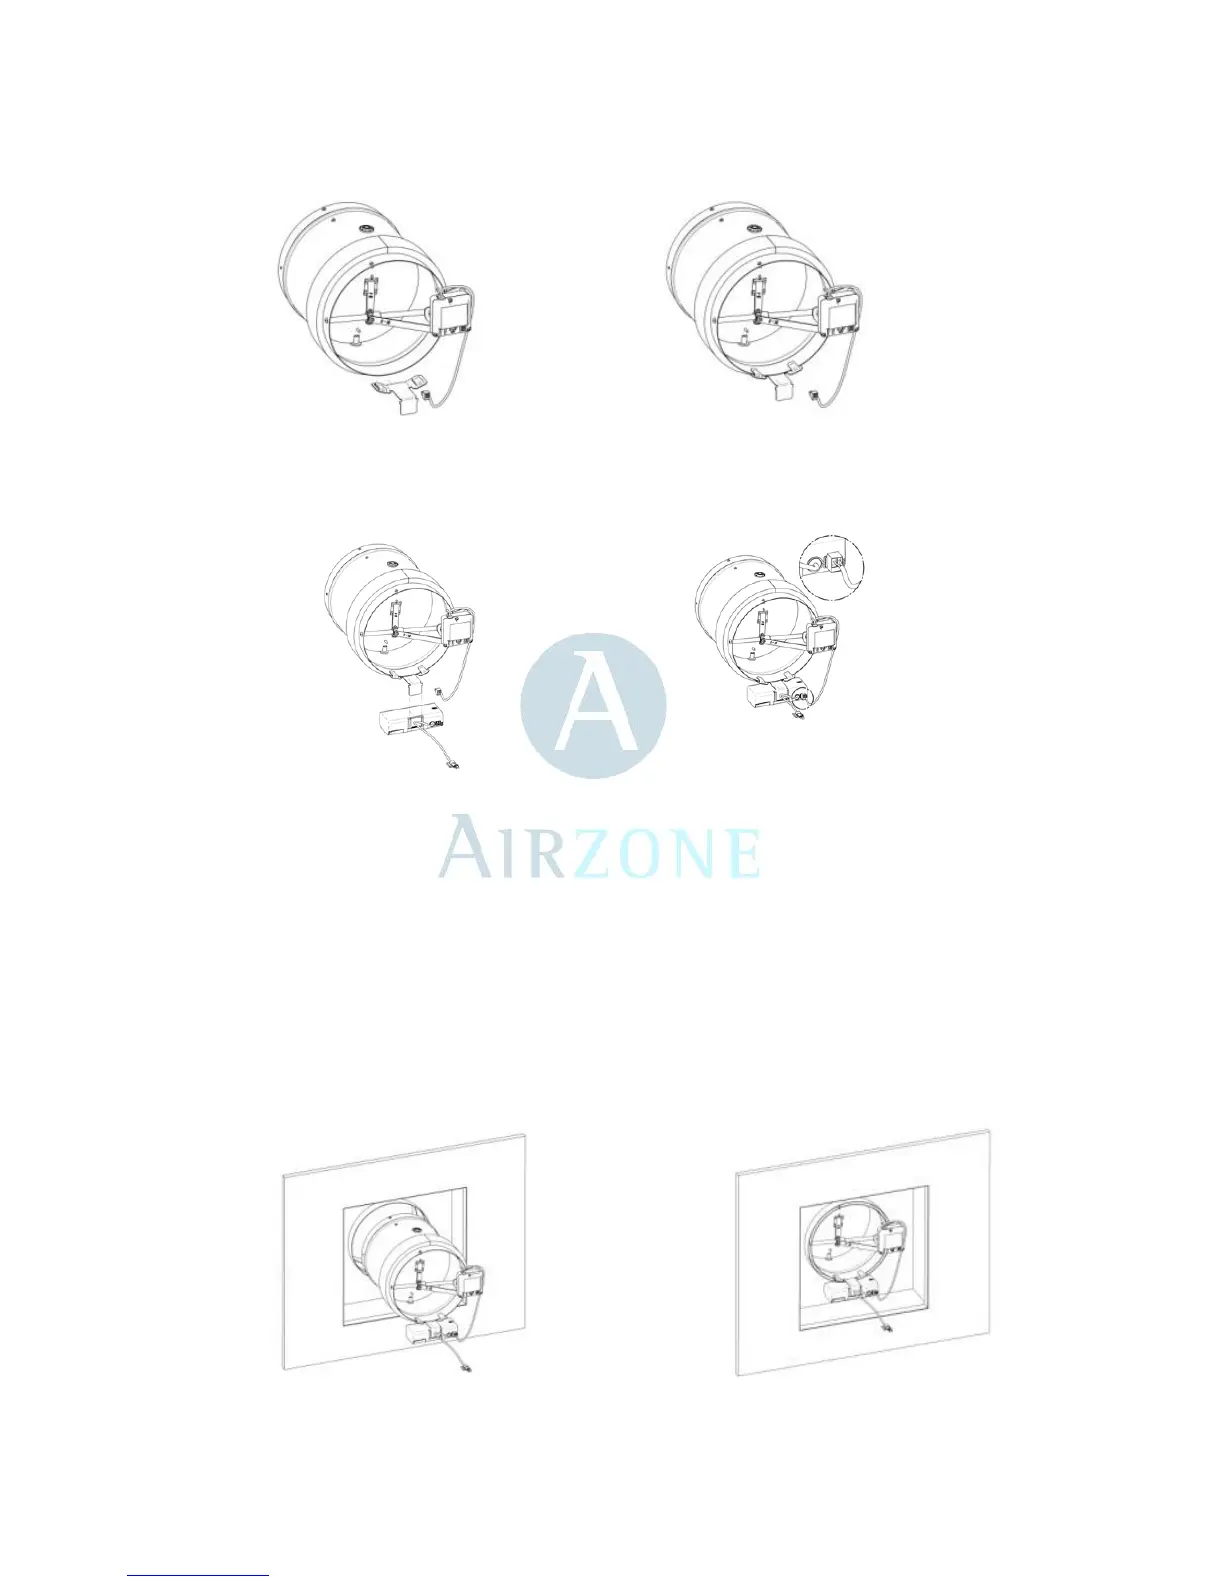
Damper Installation
1.- Install the clip in the edge of the damper
2.- Slide the control module of control in
the clip
3.- Connect the damper motor cable in
the connector provided in the control
module
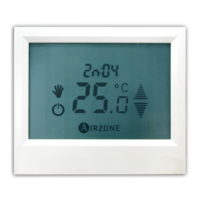
- 4. Verify that the damper communicates with the thermostat. Press the ON icon, be sure that the thermostat this
in cold mode and lower the temperature to 65F. The damper must open. If that does not happen, raise the
temperature to the maximum, wait for about 20 seconds and return to lower the temperature to 65F. If the damper
does not even move, please read the detailed manual at www.airzoneusa.com/onezone/manual.
- 5. Remove the grille of the air access to the room.
- 6. Verify that the damper enters in the end of the air supply duct. It is possible that the duct size is not compatible
with the size of the damper. If this is the case, please contact the supplier of your system.
7. –Insert the dámper in the air access duct.