This document is a service manual for the AKAI AP-A510/C and AP-A305/C semi-automatic turntables.
Function Description
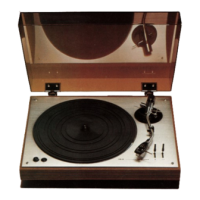
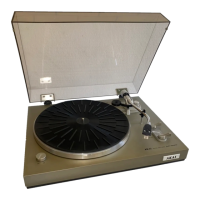
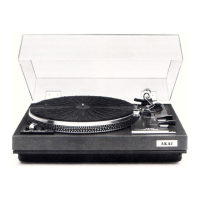
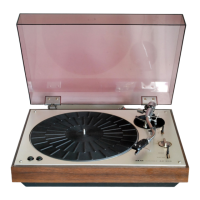
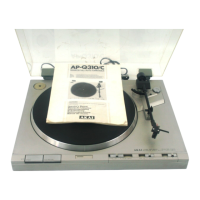
The AKAI AP-A510/C and AP-A305/C are semi-automatic turntables designed for playing vinyl records. As semi-automatic models, they likely feature an automatic tone arm return mechanism at the end of a record, but require manual placement of the tone arm at the beginning of playback. The core function is to convert the grooves of a vinyl record into an audio signal, which can then be amplified and played through a sound system.
Important Technical Specifications
Models: AP-A510/C and AP-A305/C
Motor: Both models utilize a DC E.G. Motor.
Speed: Both models support two standard playback speeds: 33-1/3 rpm and 45 rpm.
Wow & Flutter: The wow and flutter specification for both models is 0.09% (WRMS), indicating a relatively low level of speed variation during playback.
Rumble: Both turntables have a rumble specification of 60dB (DIN-B), which measures unwanted low-frequency noise.
Cartridge:
- Type: Moving Magnet Type (PType)
- Output Voltage: 4mV
- Channel Separation: 20dB
- Channel Balance: Less than 2dB
- Stylus: RS-33
Effective Arm Length: Both models feature an effective arm length of 90mm.
Power Requirements:
- AP-A510/C: DC13V
- AP-A305/C:
- USA & Canada: 120V, 60Hz
- Europe: 220V, 50Hz
- UK & Australia: 240V, 50Hz
- Convertible for other countries: 110V/120V-220V/240V, 50/60Hz
Dimensions (W x H x D):
- Both models: 425mm x 105mm x 345mm (16.7 inches x 3.9 inches x 13.6 inches)
Weight:
- AP-A510/C: 3.8 Kg
- AP-A305/C: 4 Kg
Usage Features
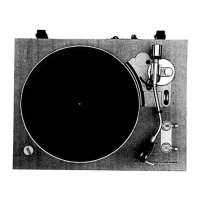
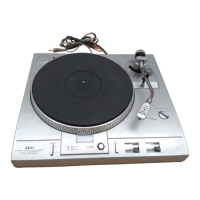
Controls:
- Speed Selector: Allows selection between 33-1/3 and 45 rpm playback speeds.
- Manual Cut/Return Button: Provides manual control over the tone arm's operation, likely for stopping playback or initiating return.
- Damped Cue Control: Enables gentle lowering and raising of the tone arm onto the record, preventing damage to the stylus and record.
- Tone Arm Rest: Secures the tone arm when not in use.
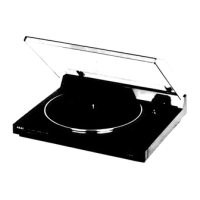
- Dust Cover: Protects the turntable and record from dust and debris.
- Rubber Mat: Placed on the platter to provide a stable, non-slip surface for records and to reduce vibrations.
Semi-Automatic Operation: The "SEMI AUTOMATIC TURNTABLE" designation implies that the user manually places the tone arm at the start of the record, and the turntable automatically returns the arm to its rest at the end of playback.
Voltage Conversion (AP-A305/C only):
- Some AP-A305/C machines can be converted between 110V-120V and 220V-240V using a Voltage Selector located on the top of the cabinet. This requires a screwdriver to adjust.
- Models for USA, Canada, Europe, UK, and Australia are not equipped with this facility, as they are preset at the factory.
- Note: Cycle conversion (50Hz/60Hz) is unnecessary for the AP-A510/C as it uses DC motors.
Maintenance Features
Safety Instructions: The manual emphasizes critical safety precautions for servicing, including:
- Part Replacement: Only use specified parts for components marked with a triangle (A symbol), as these are critical for safety and regulatory compliance (e.g., spurious radiation).
- Internal Wiring: Use specified internal wiring, paying attention to PVC-covered wires, double-insulated wires, and high-voltage leads.
- Insulating Materials: Use specified insulating materials for hazardous live parts, such as insulation tape, PVC tubing, spacers, insulation sheets for transistors, and plastic screws for microswitches.
- Soldering: Securely wrap wire ends around terminals before soldering when replacing AC primary side components.
- Wire Placement: Ensure wires do not contact heat-producing parts (heatsinks, resistors) or sharp edges.
- Foreign Objects: Prevent screws, solder droplets, or other foreign objects from remaining inside the unit.
Safety Check After Servicing:
- Insulation Resistance: After servicing, confirm that the insulation resistance between power cord plug prongs and externally exposed parts is greater than 10 Mohms. For equipment with external antenna terminals, the resistance should be more than 2.2 Mohms.
Dismantling of Unit:
- The manual provides a step-by-step photographic guide for dismantling the unit (e.g., removing the dust cover, platter, rubber mat, and screws from the bottom chassis) and instructs to reassemble in reverse order.
Adjustments:
- Speed Adjustment: Involves playing a 1000Hz test record and adjusting VR1 (for 33-1/3 rpm) and VR2 (for 45 rpm) to achieve the correct speed. The 33-1/3 rpm speed should be adjusted first.
- Auto Return Adjustment: If the tone arm returns too early or not at all, the auto return point can be adjusted by opening the bottom cover and manipulating a cam in a hole near the tone arm. Clockwise rotation moves the return point towards the center of the record, while counter-clockwise moves it outwards. The auto return point should be within 54-64mm from the center spindle.
- Pick-Up Height Adjustment: The distance between the pickup stylus and the record surface in arm return mode (typically 4-12mm) can be adjusted using a cam screw.