ADA5 – Test Procedure
1. Open ADA5-Testapp.exe
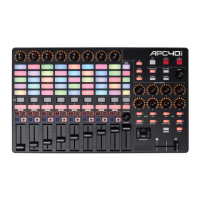
2. Select APC40 mkII from the MIDI Device list for both Input and Output
3. Connect a footswitch into the FS1 input on the device.
4. Press the ‘Reset’ button.
5. Verify Firmware Version is the latest MP approved firmware.
6. Preform all the tests described below. The tests can be performed in any
order.
7. If you prefer to verify LEDs all at 1 time first, you can use the LED utility on
the left side fo the appication to turn LEDs on and off.
8. Once all the tests have passed, a pop up window will appear. Enter or scan
the units serial number into this box.
9. The test will change from ‘Test Not Complete” to “Test Complete” if all the
tests have passed and the serial number has been programed.
Knob Test
There are 2 separate knob sections. The testing for both sections is the same.
1. Move the knob all the way to the right, then all the way to the left.
2. You will see the corresponding knob on screen change from red to green if
the knob has been verified to be working properly.
3. You will also see the LEDs above the knob begin to cycle. Verify each Knob
LED lights.
4. Once all knobs have passed, the section on screen that surrounds the knobs
will turn from red to green.
Button Test
There are several separate plastic button sections. The testing for both sections is
the same.
1. Press each button and release
 Loading...