Fasten the wiring cover with four M2.5x6 crosshead screws.
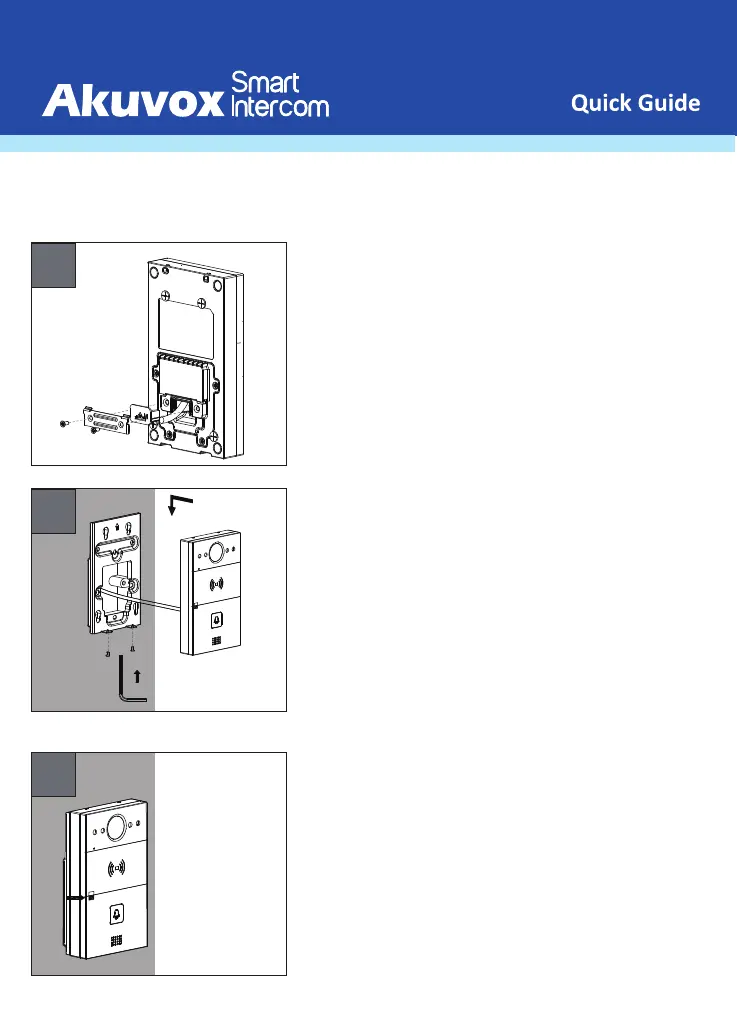
Fix four wall-mounting screws on the back of R20A.
E
F
Mark the two holes of the
wall-mounting bracket on the wall.
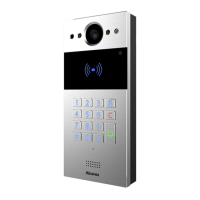
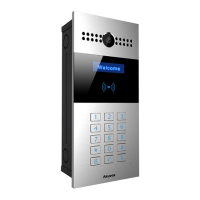
R20A
Wall-mounng Installaon
D
Select a suitable rubber plug to secure the wires.
Fix sealing pressing plate to the wiring cover with two M2.5x6
crosshead screws.
a.
b.
Insert the four wall-mounting screws on the device into the
corresponding holes on the wall-mounting bracket.
Press down to slide the wall-mounting screws into the groove.
Use the Allen wrench to tighten the device with two M3x6 hex socket
screws.
a.
b.
After successful installation, check the stability of device and remove the
protective film.
c.
8
 Loading...