First use
19
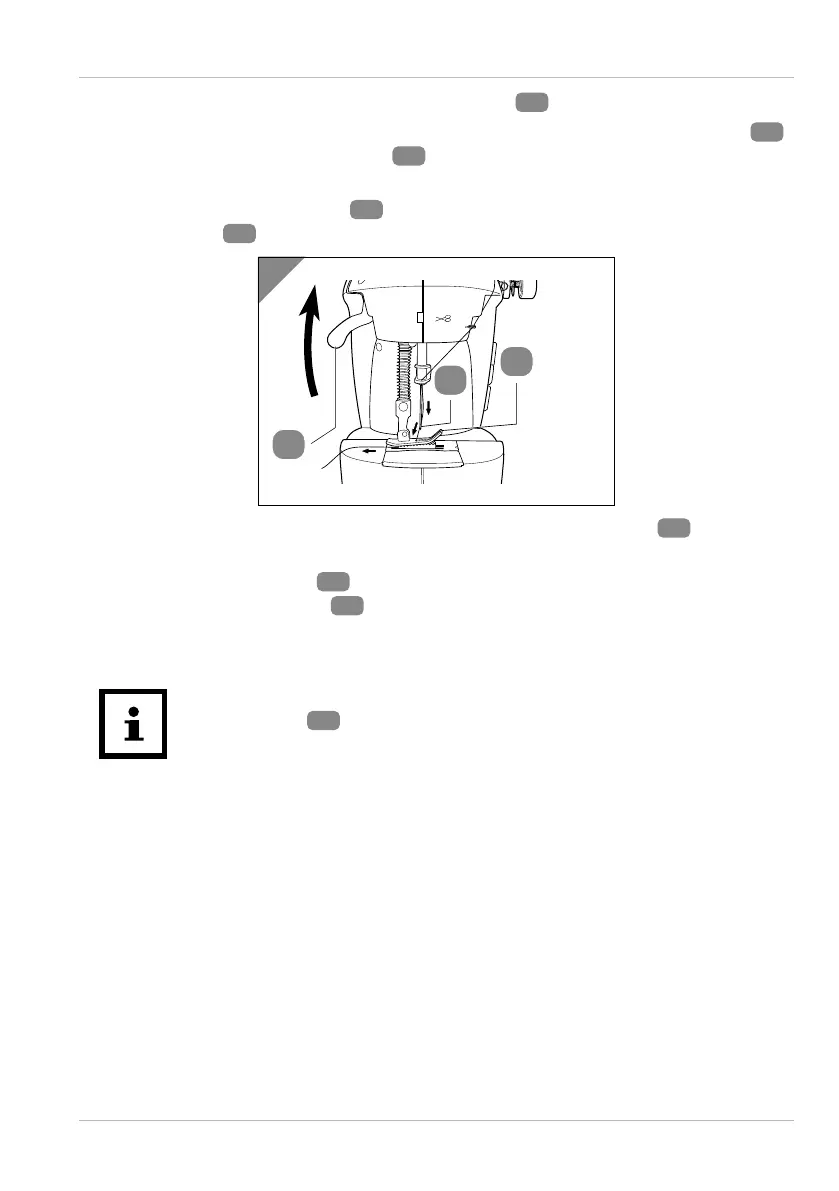
5. Pass the end of the thread through thread guide 1
12
(from right to left) (see Fig. 5).
6. From above, pass the thread between both discs of the upper thread tensioner
11
and pass it through thread guide 2
9
.
7. Pull the thread through the thread guide on the take-up lever (from right to left),
then through thread guide 3
26
(from top to bottom) and then through the
thread eyelet
24
(from top to bottom) above the needle.
6
2
21
28
8. Thread the needle from left to right. You can also use the threader
5
if necessary
(see chapter “Using the threader”) (see Fig. 6).
9. Lift the presser foot lever
28
until it snaps into place and position the thread in
the gap of the presser foot
21
.
10. Pull the thread through by approx. 10cm and position it to the rear so the end of
the thread points away from you.
• As well as a bobbin holder, the sewing machine has a spool
holder
10
for using standard spools for the upper thread.
Thread spools are used in a similar way to thread bobbins. Pull
the spool holder all the way out and place a spool of thread on
it. The threading process works exactly the same way as with
the bobbin.
• Use both holders simultaneously for 3-thread sewing (sewing
with two upper threads and one bobbin thread). Thread from
the spool holder is threaded along with thread from the bobbin
holder.
 Loading...