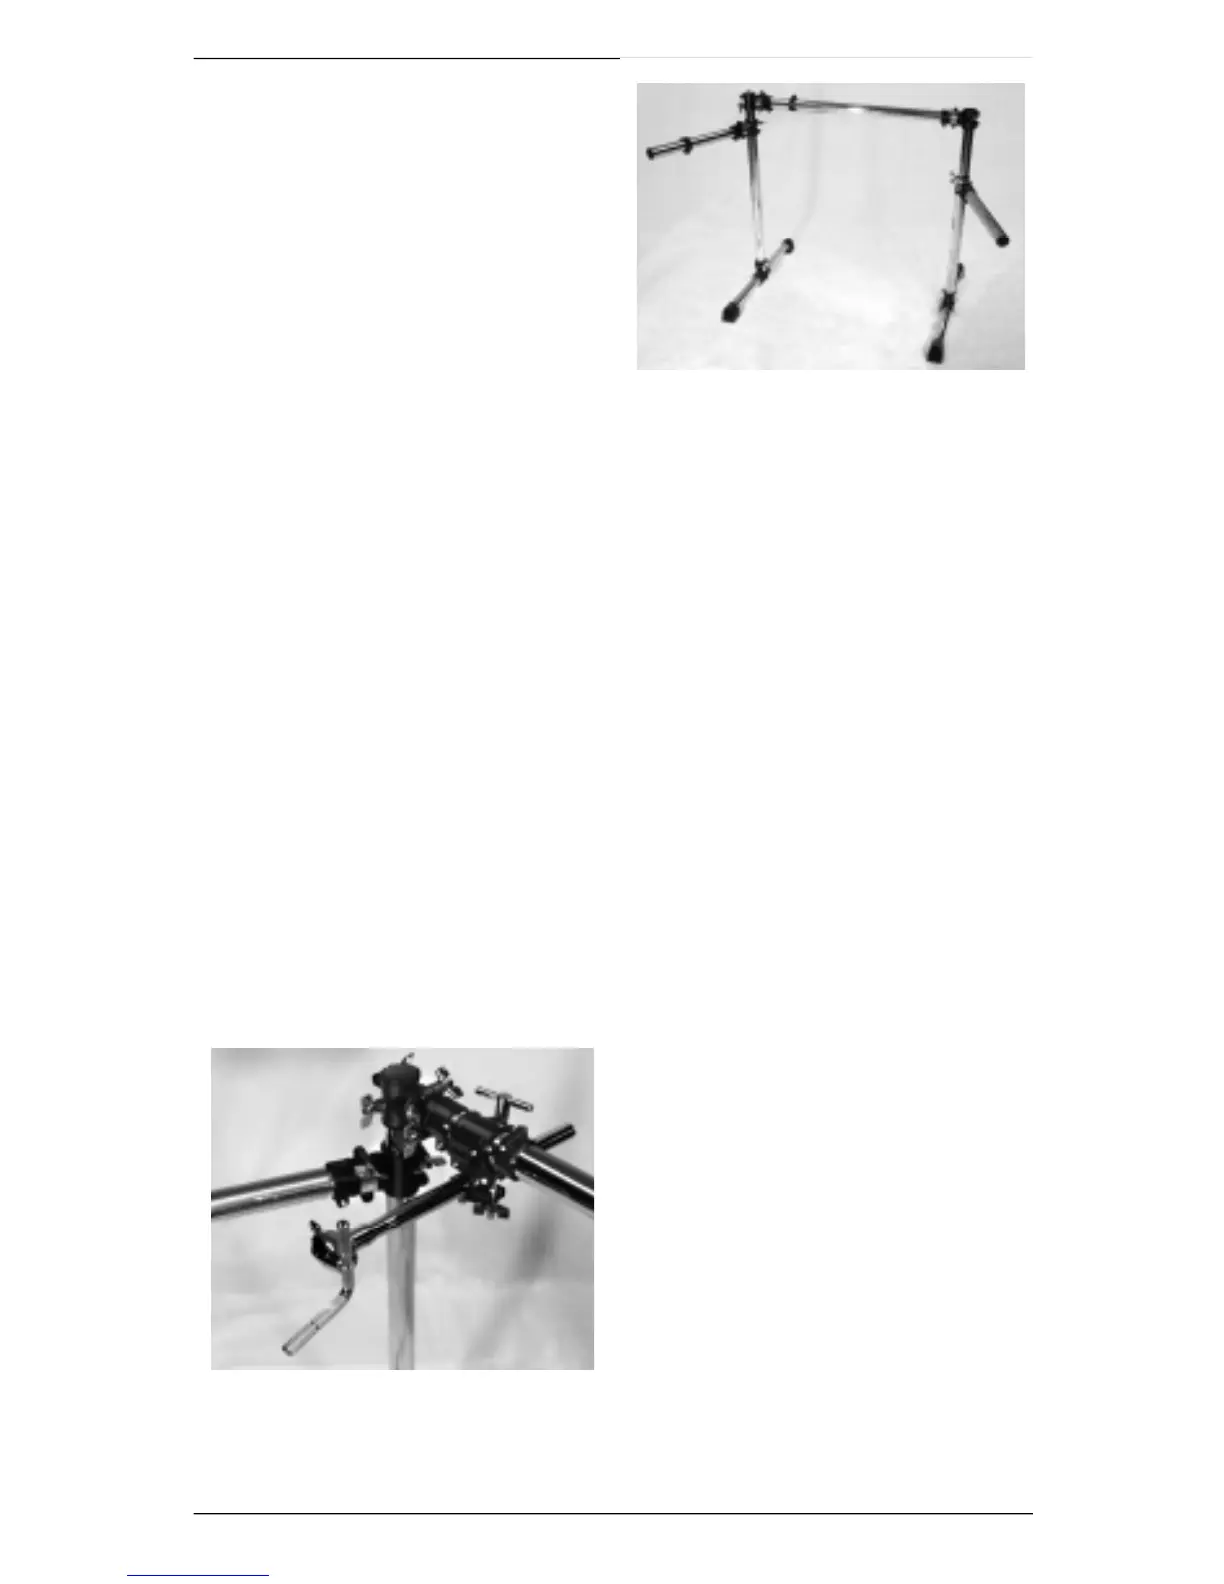
You’ve now assembled the DM Pro Kit’s
Mounting Rack. Before moving on, make sure
that the mounting rack is standing upright and
stable, with all wing nuts securely tightened.
Attaching Pads and
Cymbals
Your next step is to attach pads and cymbals
to the DM Pro Kit Mounting Rack.
Remember: all assembly instructions are phrased from the dru m m e r’s
point of view – that is, "right" and "left" are used to describe pro c e d u re s
as you sit on your drum throne facing the kit.
To attach pads and cymbals, you will be using all eight Hardware Clamps. These clamps
have a large wing nut for adjusting their large opening, and a wing nut/hex nut combination
for adjusting their small opening.
During assembly, you must tighten the wing nut and hex nut evenly so
that equal pre s s u re is applied on both sides of the clamp opening. This
is necessary to insure maximum stability.
Attach Snare
a) Choose a Hardware Clamp and loosen large wing nut until clamp’s large opening
releases. Attach clamp to far left end of Center Tu b e, making sure that the clamp’s
l a r ge wing nut is facing upward. Tighten large wing nut.
b) Loosen small wing nut and hex nut on Hardware Clamp.
c) Identify Long Snare Arm and attach it to the Center Tube by inserting its open tube
end into the Hardware Clamp. For optimum stability, slide in the Snare Arm until
clamp is at its mid-point. Evenly tighten the hex nut and wing nut, providing equal
pressure on both sides of Snare A r m .
d) Identify Snare Pad. It is different from To m
Pads – the Snare Pad has a thicker rubber
rim and a blue washer on its output jack.
e ) Attach Snare Pad to Snare Arm by inserting
Snare A r m ’s splined L-Mount into Snare
Pad. Loosely tighten with drum key.
f) Position Snare Pad at a comfortable height
and angle. Firmly tighten all wing nuts and
drum key bolts.
g) Adjust snare’s memory lock (this is the
memory lock at the middle of the Center
Tube) by loosening its drum key bolt and
sliding it to the left into the Snare A r m ’s
Hardware Clamp. Make sure you align the memory lock’s notch with the indentation
in the clamp.
h) Firmly tighten the memory lock’s drum key bolt.
6 DM Pro Kit Setup Guide
J
J