3 Installation
Study the instructions carefully.
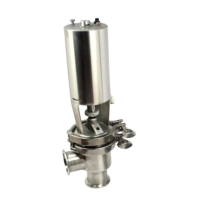
The valve is supplied as separate parts to facilitate the welding.
The items refer to the parts list and service kits section. Check the valve for smooth operation after welding.
NO = Normally open. NC = Normally closed. A/A = Air/air activated.
3.4 Welding
Step 1
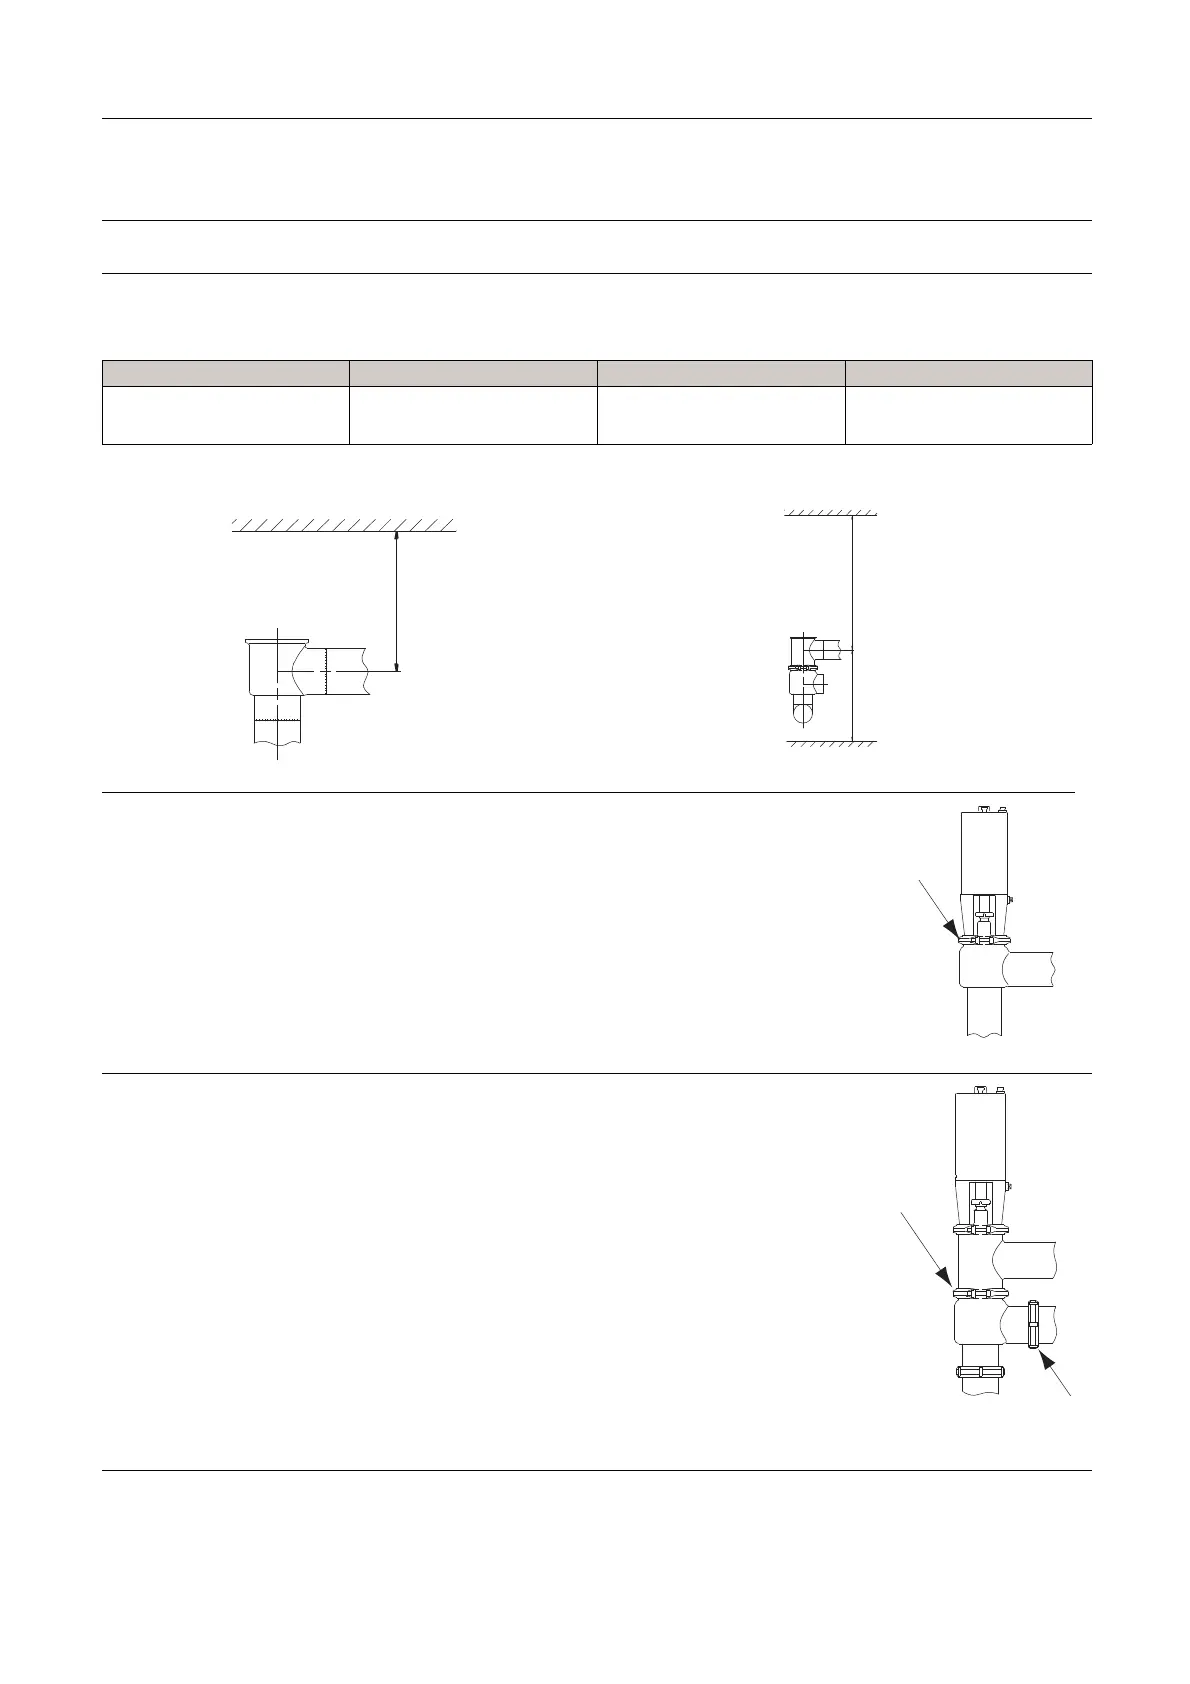
Always weld the valve so that the valve body seal ring can be replaced (change-over valve). Maintain the minimum clearances (A
and B) so that the lower valve body and plug (change-over valve) and the actuator with the internal parts can be removed.
Valve size
A(mm)(inch) B
1
(mm) (inch) B
2
(mm) (inch)
DN125
580 (22.8) 730 (28.7) 920 (36.2)
DN150
640 (25.1) 730 (28.7) 920 (36.2)
Shut-off valve Change-over valve
(upper valve body)
TD425-044_2
B1 / B2
TD425-061_2
B1 / B2A
Step 2
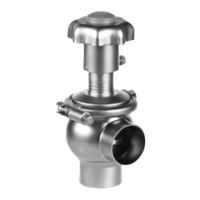
Shut-off valve
Assemble the valve in accordance with steps 1-5 in section 4.3
Recommended cleaning
Pay special attention to the warnings!
Fit seal ring (17) correctly!
TD425-045_1
Step 3
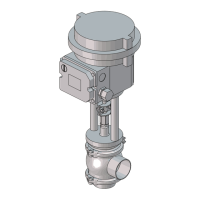
Change-over valve
Assemble the valve in accordance with step 1-6 in section 4.3
Recommended cleaning
Pay special attention to the warnings!
Fit seal ring (17) correctly!
TD425-062_1
Remember seal rings!
11