3 Installation
Study the instructions carefully and pay special attention to the warnings!
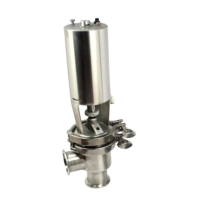
The valve has welding ends as standard but can also be supplied with fittings.
NO = Normally open. NC = Normally closed. A/A = Air/air activated.
3.3 General installation
Step 1
Always read the technical data thoroughly.
See chapter 6 Technical data
Always release compressed air after use.
CAUTION
Alfa Laval cannot be held responsible for incorrect installation.
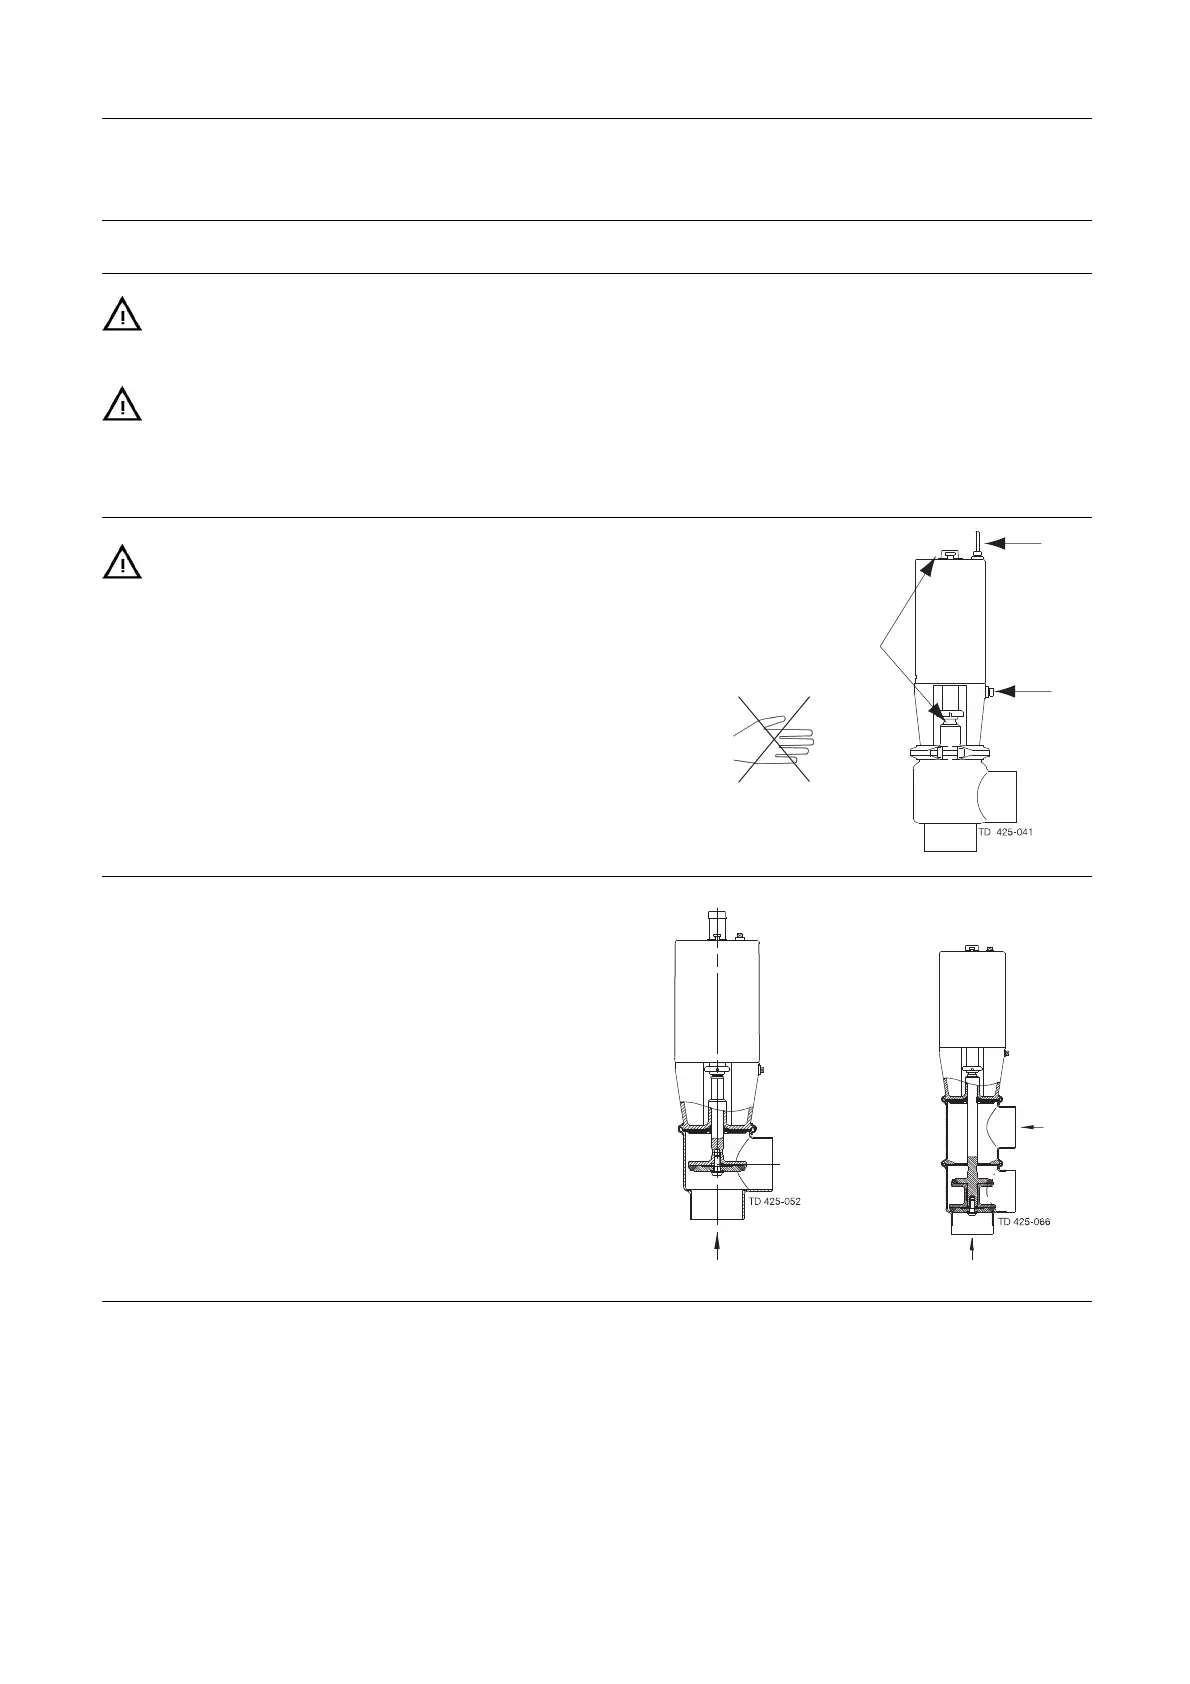
Step 2
Never touch the clip assembly or the actuator piston rod if the
actuator is supplied with compressed air (see the warning label).
Air
Moving parts!
Air
Step 3
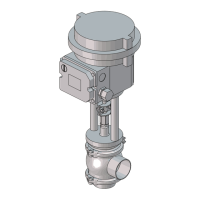
It is recommended to install the valve so that:
- The actuator is not turned downwards as the valve will then
not be drained.
- The flow is against the closing direction to avoid water
hammering
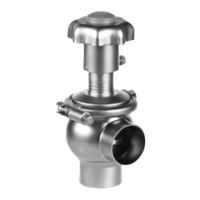
Shut-off valve Change-over valve
Avoid water
hammer!
Inlet
Inlet Inlet
9