Installation English
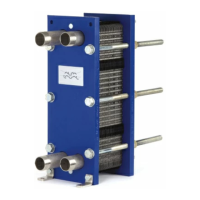
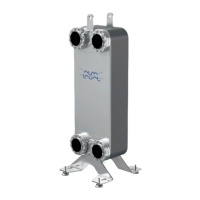
Plate Heat Exchanger 3
EN
EN
Installation
Requirements
o
e
• Before connecting any piping, make sure
all foreign objects have been flushed out of
the system.
• When connecting the pipe system make
sure the pipes do not subject the plate heat
exchanger to stress or strain.
• To avoid water hammer, do not use fast-
closing valves.
Safety valves should be installed according to
current pressure vessel regulations.
If PHE surface temperature is expected to be hot
or cold, the PHE should be isolated.
It is recommended that protective sheets are
used to cover the PHE.
For each model, design pressures and tempera-
tures are marked on the identification plate.
These must not be exceeded.
Pipes
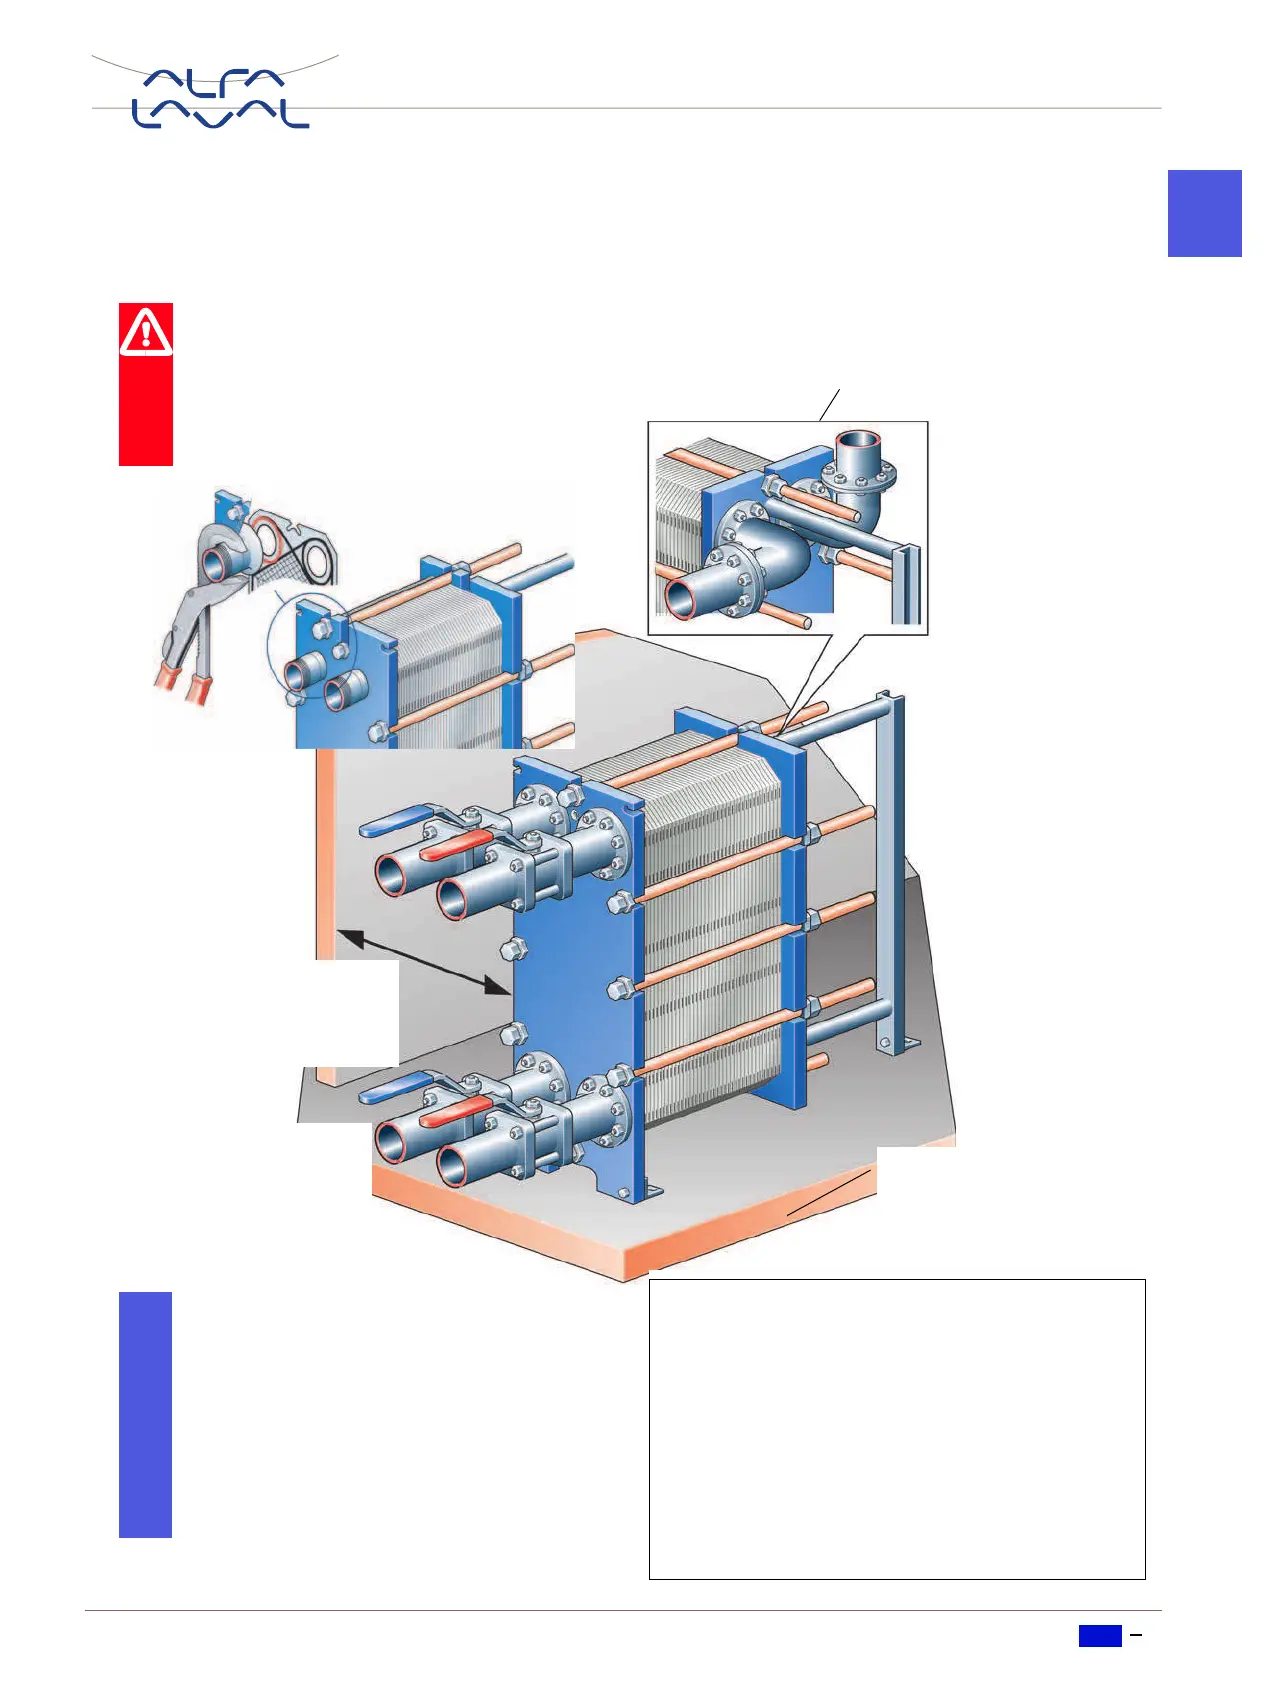
Caution!
Make sure the pipe connections are
locked when working on the piping.
Turning of the connections will dam-
age the gaskets on the end plate
and cause leakage.
Shut-off valves
To be able to open the
heat exchanger, shut-off
valves should be provided
in all connections.
Space
600 mm minimum free space
is needed for lifting plates in
and out.
Multi-pass units: Connections on the
pressure plate
It is important that the plate pack has been tight-
ened to the correct measurement (check against
drawing) before the pipe is connected.
Elbow
To make it easier to
disconnect the plate
heat exchanger, an
elbow should be
flanged to the con-
nection in the pres-
sure plate, directed
upwards or side-
ways, and with an-
other flange located
just outside the con-
tour of the heat ex-
changer.
Foundation
Install on a flat foundation
giving enough support to
the frame.
Drip tray
Depending on the
type of fluid in the
PHE and the type of
installation, a drip
tray (drainage box)
may be nesessary
to avoid damages
on personnel and
equipment.
 Loading...