4 www.Observint.com
© 2018 Observint Technologies. All rights reserved.
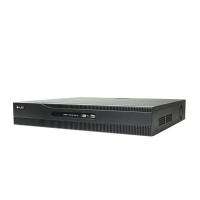
b. Enter your answer to Question 1 in the Answer 1 eld.
c. Repeat the same setup for Question 2 and Question 3, and then click OK.
d. Remember or write down the exact answers you entered, and then save it in a secure location.
e. Click OK to save your conguration.
4. Next, the conguration Wizard Date ad Time Setup menu will open. Since all recordings made by your surveillance system are time
stamped, It is very important that the date and time is set precisely to produce valuable evidence from your recorder.
In the screen above:
a. Select the local Time Zone and Date Format using the drop down menus.
b. Click the System Date eld, and then click on the current date.
c. Click the System Time eld, and then use the graphical interface for setting the current time. You can also check the Enable
NTP box, and then enter the appropriate parameters in the elds below it to congure the recorder retrieve the precise time
and date information from a timeserver on the Internet.
d. Click Next to save your settings and continue.
5. In the Network Setup Wizard window, click the eld value you want to change, then use the pop-up aid to enter a new value. By
default, the NVR uses DHCP (Dynamic Host Conguration Protocol) to acquire compatible (dynamic, changeable) network settings
from a network DHCP server (usually a router). You can leave the settings on this menu unchanged, but it is congure the NVR with a
xed network settings to assure the NVR has an unchanging IP address, which is convenient for remote login.
3. If you selected options in the Activation screen for Export GUID, Unlock Pattern and Security Question, use the instructions in this step
to congure those features.
Export GUID: If you selected this option, plug a ash drive into an unused USB port on the recorder, and then click OK in the Note
window (see above).
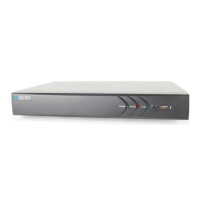
a. In the GUID Import/Export window, open the Device Name drop down list and then select the device you where you
want to save the GUID le. If a list of directories appear, click on the directory you prefer (in the window shown below, the rst
directory was selected), and then click Export. Some options will appear at the bottom of the screen to manage the storage
device.
b. After the export operation completes, remove the ash drive from the NVR and store it in a secure location.
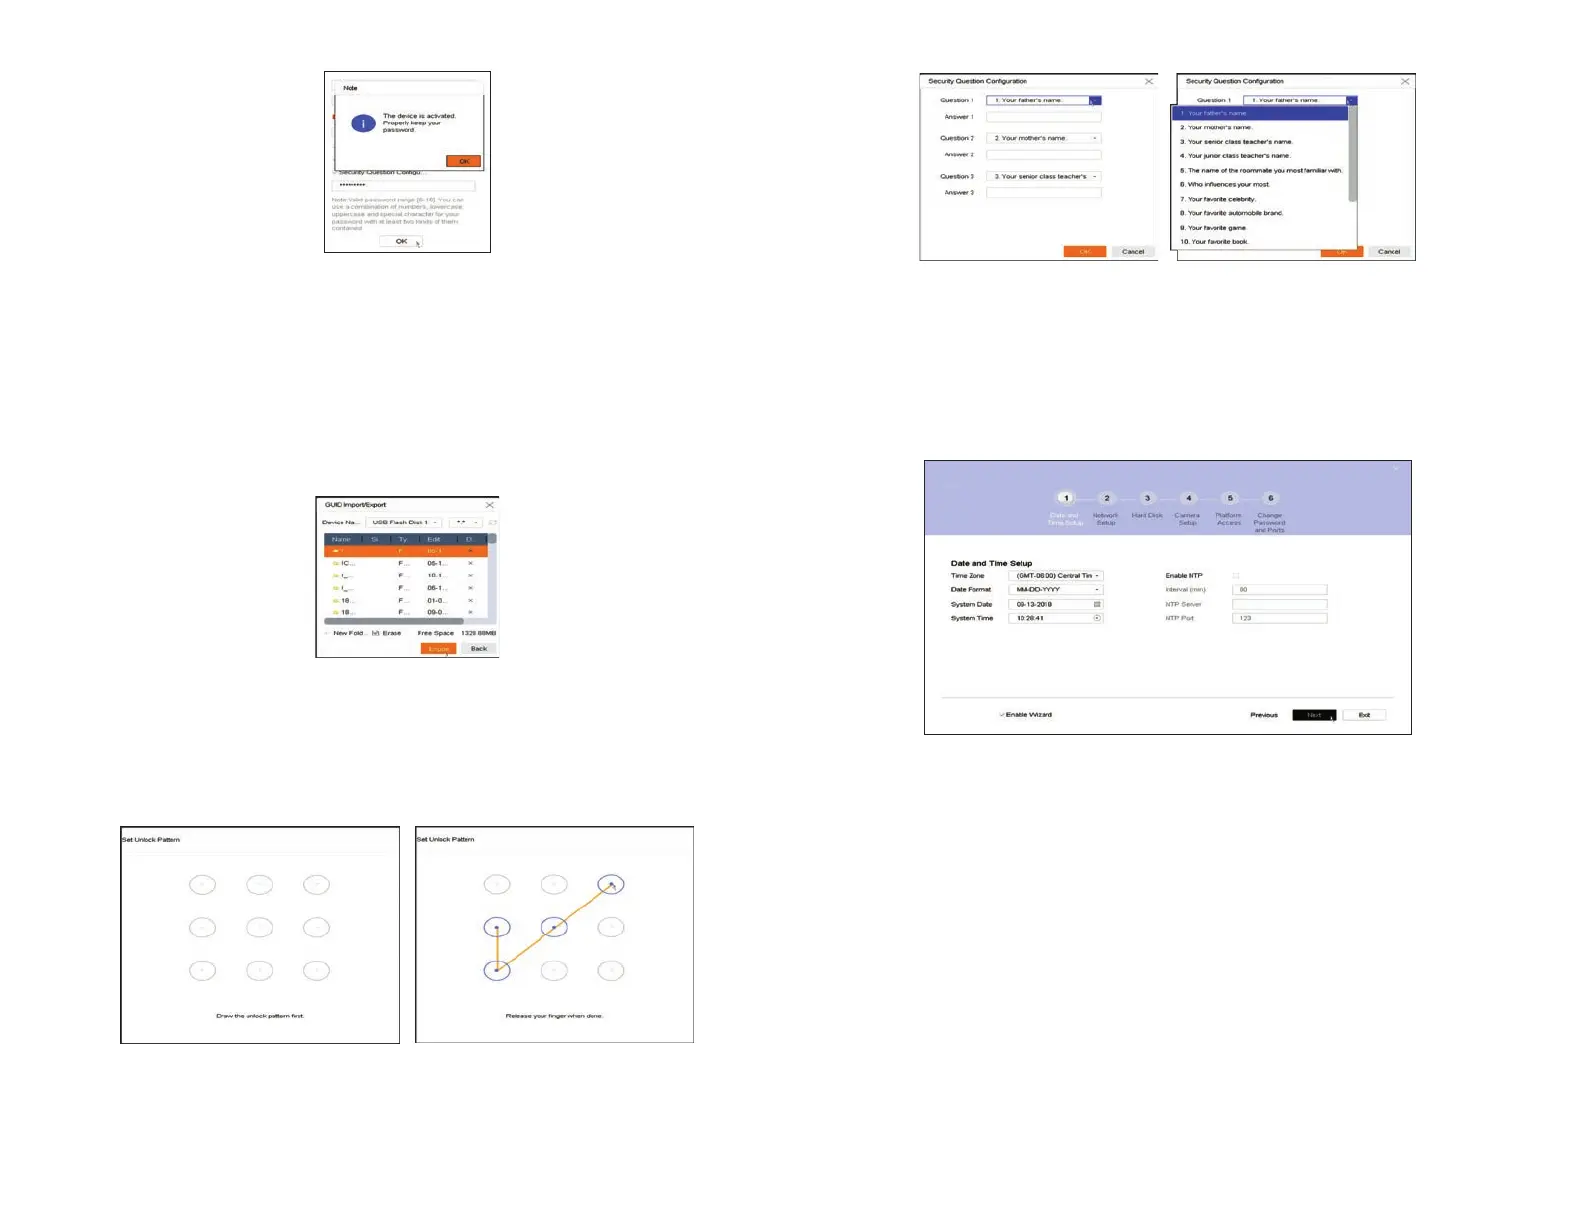
Enable Unlock Pattern: If you selected this option and the Note window shown above is still open, click OK to close the Note
window. Then:
a. Drag the mouse over four of the dots in the matrix shown below to construct an “Unlock” pattern (see right window below).
Use this pattern to log into your NVR in the future as the admin user.
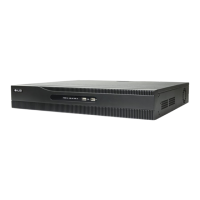
Security Question Conguration: If you selected this option and the Note window shown above is still open, click OK to close
the Note window. Then:
a. Open the drop down list in the Question 1 eld, and then select the question you want to use.