3. Before replacing spray tip flush the machine
per “FLUSHING”.
4. Reinstall Spray tip to gun assembly.
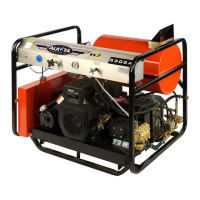
BELT TENSION
1. Deflection for each inch of span between
pulley centers with a 6-pound force applied in
the middle of the span.
EXAMPLE: A 6-pound force applied at the
middle of an 8 inch span should produce a
deflection of 8/64 inch or 1/8 inch.
2. Belts can be tightened or loosened by
loosening the nuts holding the pump
assembly to the motor mount.
Then tighten or loosen the j-bolt on the motor
mount. Retighten the pump assembly after
the desired tension is reached.
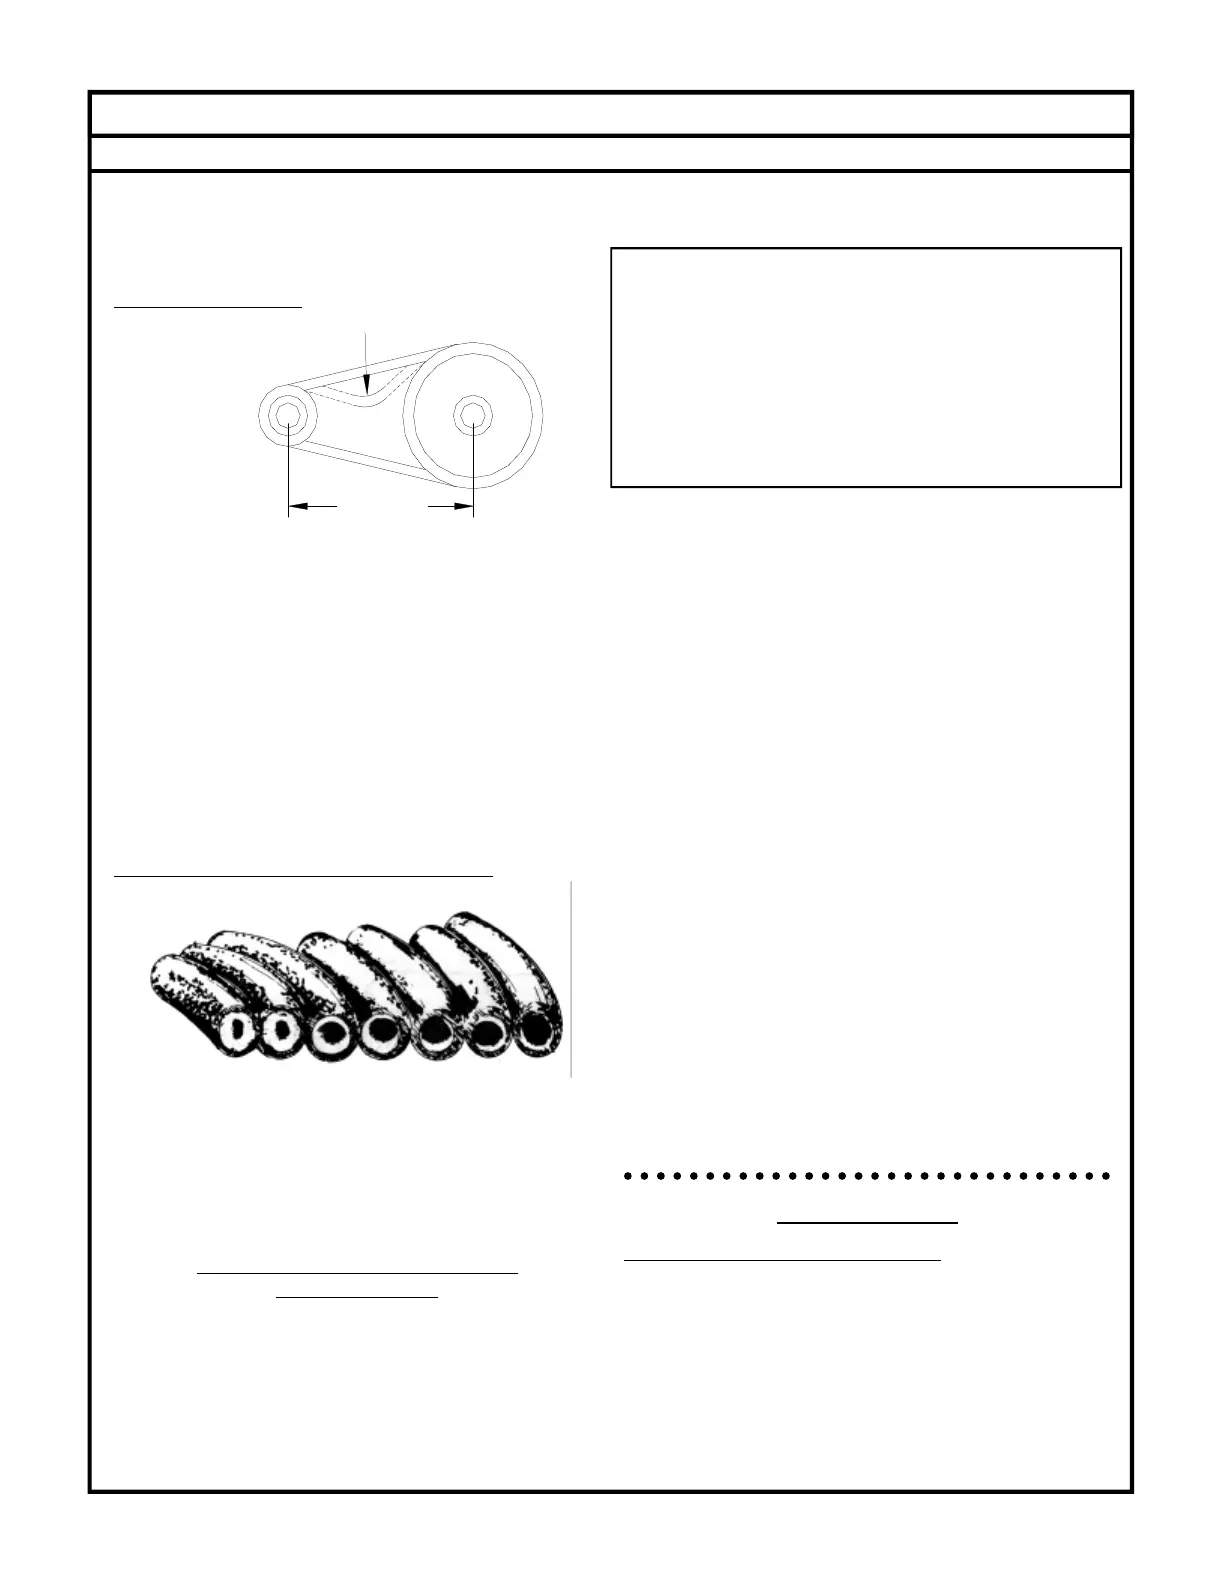
COIL BACK PRESSURE CHECK
Above is a cross section view showing the
progressive liming of coils.
A regular maintenance schedule for descaling your
heating coil is essential to insure its longevity.
The frequency of descaling depends upon the
amount of use and the condition of the water.
COIL BACK PRESSURE CHECK
INSTRUCTIONS
1. Check the condition of your water pump
unloader valve. Remove the hose and gun
assembly from the coil outlet.
2. Remove any flow restrictions, such as guns
and hoses, from the coil outlet.
3. Install a pressure gauge between the water
pump and coil inlet.
DISCHARGE VOLUME BACK PRESSURE
GPM REQUIRING DESCALING
2-3 GPM 50 PSI
3-4 GPM 75 PSI
4-5 GPM 100 PSI
6 GPM 150 PSI
8-10 GPM 175 PSI
USE A 1000 PSI PRESSURE GAUGE
4. Turn on the water supply. Check the float
valve (if so equipped) to assure float tank is
full and the float valve shuts off securely.
5. Check the position of the ball valve (if so
equipped) on the outlet line of the float tank
assuring it is in the open position.
6. Turn on the switch to the PUMP positon. If
the coil back pressure reading is above that
found in the GENERAL section of the
MODEL SPECIFICATIONS then your machine
needs to be descaled.
A separate descaling pump is recommended so
scale and other chemicals will not come in contact
with your water pump and causes premature wear.
NOTE: Contact your local dealer for descaling of
your unit.
7. Disconnect the water supply.
8. Disconnect the electrical supply.
9. Reinstall the hose and gun assembly.
10. Remove the pressure gauge.
For Descaling Instructions request Z08-00493.
ACCESSORIES
PART NO. DESCRIPTION
Y02-00001 …….. 0-1000 PSI (69 BAR)
Pressure Gauge
Z01-00070-1…….3/8” x 100 Yards Thread Tape
NOTE: All Gauges are Glycerin Filled ¼ NPT
08-15-03 Z08-02810
ECN-02981 Supersedes 02-16-01 Z08-02910
12
SPAN
DEFLECTION
MACHINE MAINTENANCE CONT’D
ELECTRIC DRIVEN OIL FIRED CLEANERS
 Loading...