Do you have a question about the Allen-Bradley 1756-IA8D and is the answer not in the manual?
Explains how input modules multicast fault and status data to controllers.
Lists common diagnostic features for digital I/O modules, like diagnostic latching and timestamping.
Provides instructions for installing or removing modules using RIUP, with safety precautions.
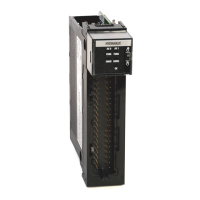
Guides on connecting wires to RTBs or using prewired interface modules.
Details the process of installing the RTB onto the module to connect wiring.
Step-by-step guide to adding a new local or remote I/O module in RSLogix 5000 software.
Defines controller-to-module behavior, including RPI, inhibiting, and fault configuration.
Explains how RSLogix 5000 software alerts users to fault conditions.
Explains how to use Message instructions for run-time services and configuration changes.
| Number of Inputs | 8 |
|---|---|
| Connection Type | Removable Terminal Block |
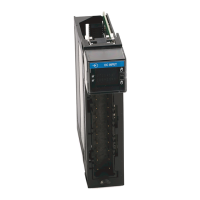
| Product Type | Input Module |
| Module Location | In ControlLogix chassis |
| Input Type | Sinking |
| Operating Temperature | 0°C to 60°C (32°F to 140°F) |
| Storage Temperature | -40 to 85 °C |
| Relative Humidity | 5% to 95% (non-condensing) |
| Compatibility | ControlLogix |