EasyManua.ls Logo

Allen + Roth 67693W-6104 User Manual

Allen + Roth 67693W-6104
20 pages
To Next Page IconTo Next Page
Page #1 background imageLoading...
Page #1 background image
1
Questions, problems, missing parts? Before returning to your retailer, call our
customer service department at 1-866-439-9800, 8 a.m. - 8 p.m., EST, Monday - Sunday.
ATTACH YOUR RECEIPT HERE
Serial Number Purchase Date
_________________________
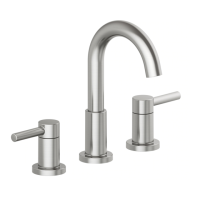
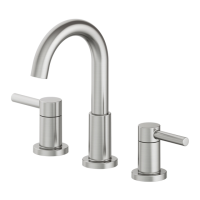
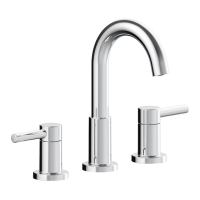
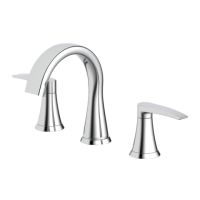
Widespread Bath Faucet
ITEM # 0702753 / 1102764 / 1102761
MODEL # 67693W-6104 / 67693W-617001
/ 67693W-618204
Español p. 11
VR20287
_________________________

Questions and Answers:

Allen + Roth 67693W-6104 Specifications

General IconGeneral
BrandAllen + Roth
Model67693W-6104
CategoryPlumbing Product
LanguageEnglish

Summary

Package Contents

Safety Information

Warnings and Cautions

Important safety warnings, cautions, and compliance checks before installation.

Preparation

Assembly Preparation Details

Details on estimated assembly time, required tools, and helpful tools for assembly.

Assembly Instructions

Initial Faucet Placement

Step 1: Shut off water, remove old faucet, clean surface, and position new faucet.

Securing Faucet Assembly

Step 2: Secure faucet using spout quick install nut and hand-tighten.

Placing Handle Assembly

Step 3: Position handle assembly into sink mounting holes, noting hot side label.

Securing Handle Assembly

Step 4: Secure handles using quick install nuts and hand-tighten.

Connecting T-unions

Step 5: Connect T-union to spout and handle connections, ensuring they snap securely.

Connecting Water Lines

Step 6: Connect to water lines using specified fittings and tighten with wrenches.

Pop-Up Drain Instructions

Drain Assembly Preparation

Step 1: Assemble the pop-up drain components including gaskets and nuts.

Drain Installation in Sink

Step 2: Insert the pop-up body into the sink, ensuring gasket placement.

Securing Drain Assembly

Step 3: From underneath, screw the drain assembly components clockwise until secure.

Operation Instructions

Flushing and Leak Check

Important: Flush lines by running water, then check for leaks after installation.

Care and Maintenance

Troubleshooting

Common Issues and Solutions

Addresses common problems like leaks, inconsistent flow, and no hot/cold water.

Warranty Information

Replacement Parts List

List of available replacement parts with their respective part numbers.

Related product manuals