
L
Lori WilliamsAug 7, 2025
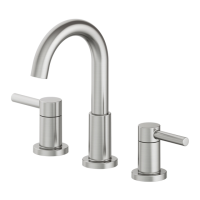
Why is the water pressure low in my Allen + Roth 67693W-614408 Plumbing Product?
- MManuel WoodsAug 7, 2025
Low water pressure in your Allen + Roth plumbing product can be due to a couple of reasons. First, the connector underneath the deck could be clogged with debris. Second, the aerator might be clogged. To resolve this, turn off the water supply and disconnect the connector/aerator. Unscrew the connector/aerator and clean it under running water. Screw the connector/aerator back and test the water flow. If the water pressure is still low, consider replacing the connector/aerator.