How to Start an AT-GS950/24 WEB Management Session
4
Establishing a Remote Connection to the Web Browser Interface
The AT-GS950/24 switch is shipped with a pre-assigned IP address of
192.168.1.1.
After your initial login, you may want to assign a new IP address to your
switch. To manually assign an IP address to the switch, refer to
“Configuring an IP Address, Subnet Mask and Gateway Address” on
page 10. To configure the switch to obtain its IP configuration from a
DHCP server, refer to “Enabling and Disabling the DHCP Client” on
page 14.
Whether you use the pre-assigned IP address or assign a new one, you
must set your local PC to the same subnet as the switch.
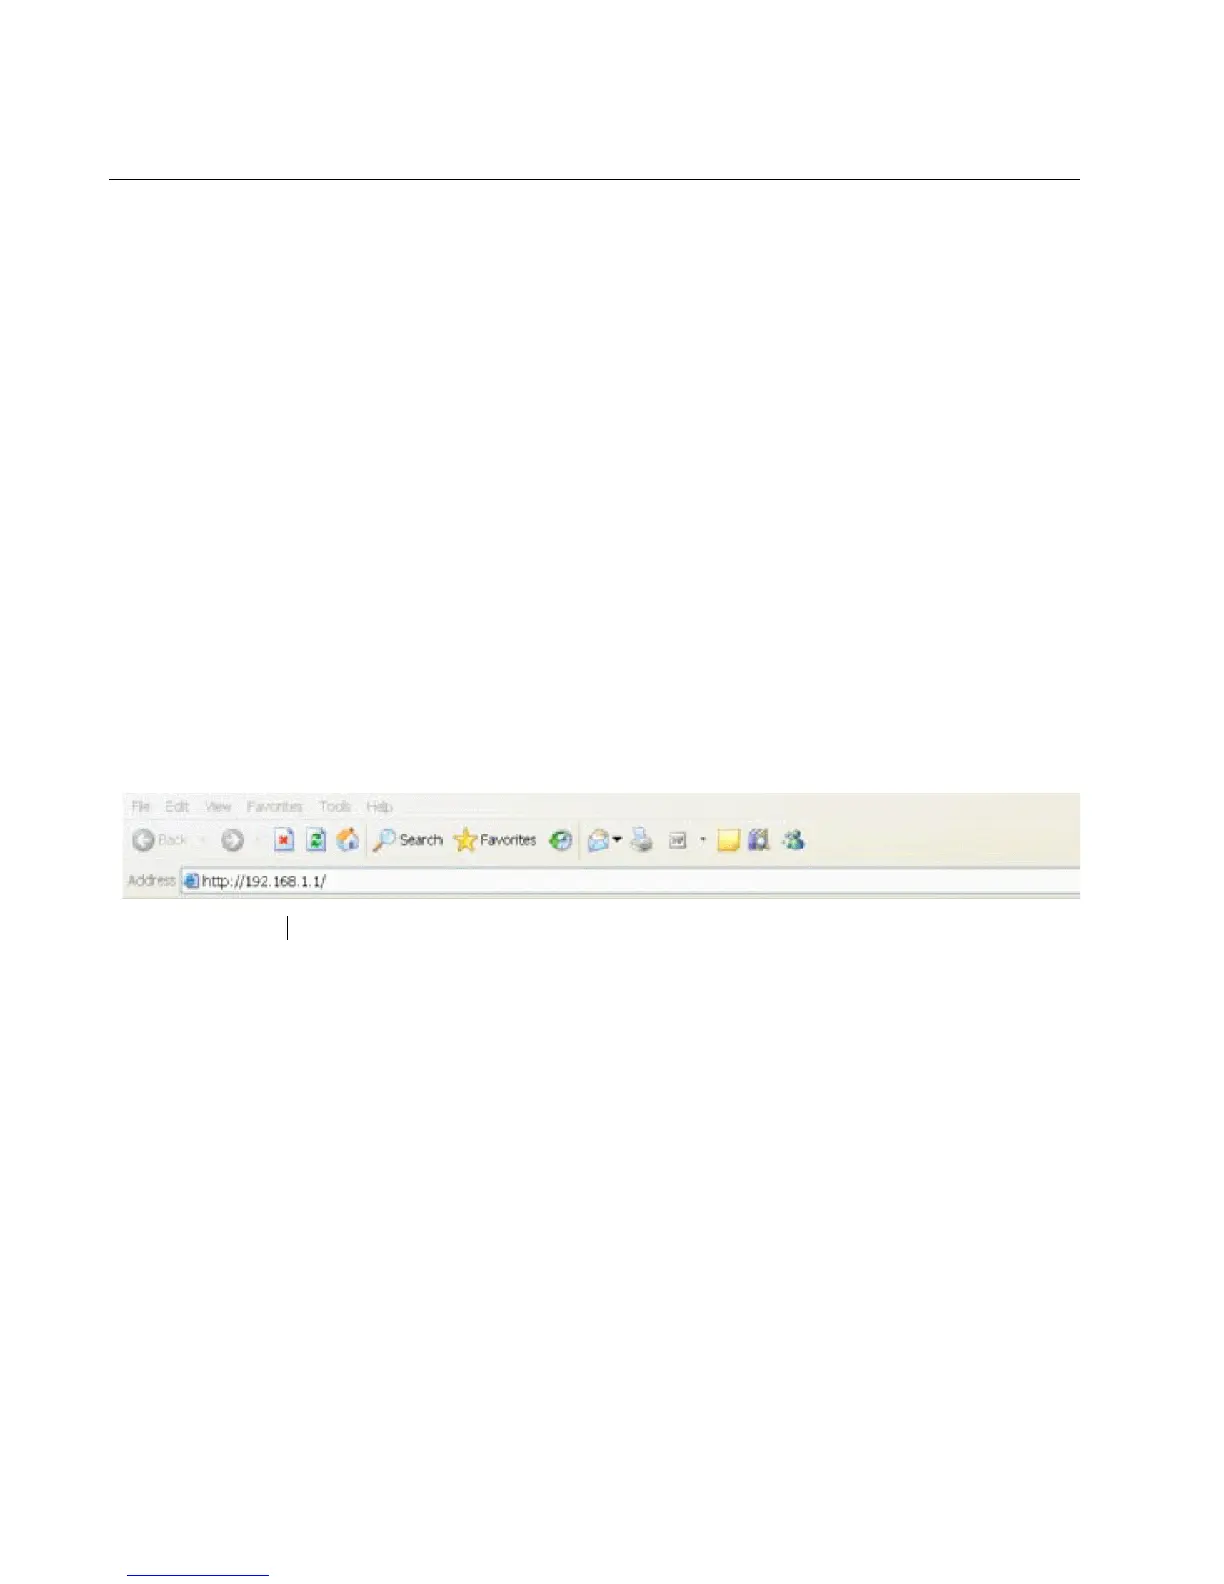
To start a web browser management session, do the following procedure:
1. Start your web browser.
2. In the URL field of the browser, enter 192.168.1.1 which is the default
IP address of the switch. See Figure 1.
Figure 1. Entering a Switch’s IP Address in the URL Field
 Loading...