12 CentreCOM GS970M Series Quick Installation Guide
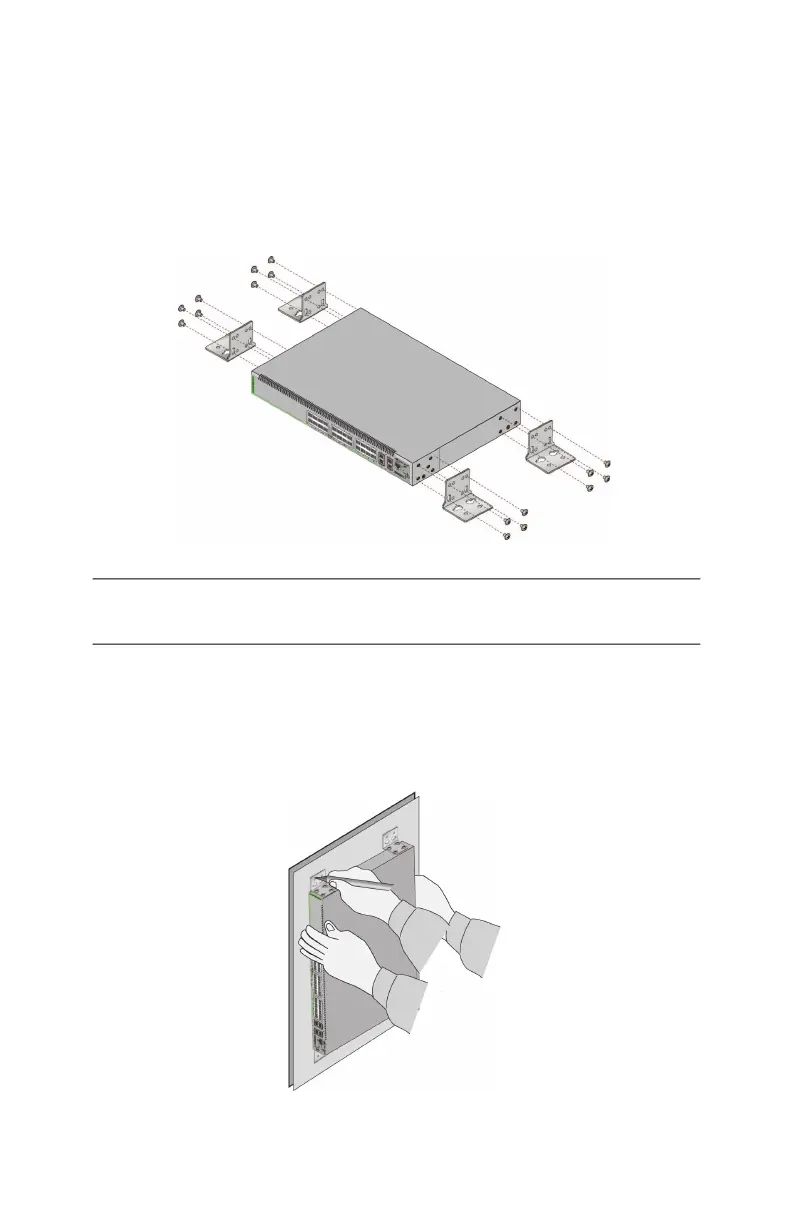
To install the switch on a wall, perform the following procedure:
1. If the bumper feet are attached to the bottom panel of the switch,
remove them with a flat-head screwdriver.
2. Install the four BRKT-J24 wall brackets to the sides of the unit
with sixteen M4x8mm screws. This figure shows the GS970M/
28PS Switch.
Note: If you need to drill holes in the wall for the screws, perform
steps 3 to 7. Otherwise, go to step 8.
3. Have another person hold the switch on the wall at the selected
location for the device while you use a pencil or pen to mark the
wall with the locations of the four screw holes in the four brackets
(one screw per bracket).

 Loading...