Pro, Solo
INSTRUCTION MANUAL Page 11
SHAW-ALMEX INDUSTRIES LIMITED 49908-042 March 2012
6. MAINTENANCE
Safety: All maintenance must be done with the vulcanizer disconnected from the power supply and no
pressure in the bag.
There are no special tools required to maintain this equipment.
6.1. Routine Maintenance
The following items should be checked after every thirty cures.
1. Visually inspect the frames, welds, pressure bolts and hinge
pins for signs of cracking or deformation.
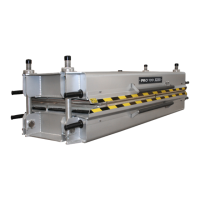
2. Check the continuity of the platen heating elements. Refer to
“Record of Purchase” for the resistance (ohms) values. Use the
figures from the “Ohms Reading Coils Connected” column. On
models with frame mounted controls, remove the control panel
to check the continuity.
3. Check the continuity of the platen temperature sensor. On models with frame mounted controls, remove the
control panel to check the continuity.
4. Check the platen pressure bag for damage due to abrasion, cuts or any type of damage that might cause a leak or
breakdown while under pressure. It can be checked quickly by removing the platen guards.
5. Check all cables for cuts, abrasion and wear and all “strain relief” fittings between cable and plugs for a secure
fit. If any cable, hose, fitting or pressure bag shows signs of damage they should be repaired or replaced.
6. The platen cooling should be checked for leaks and/or blockages that will affect their performance.
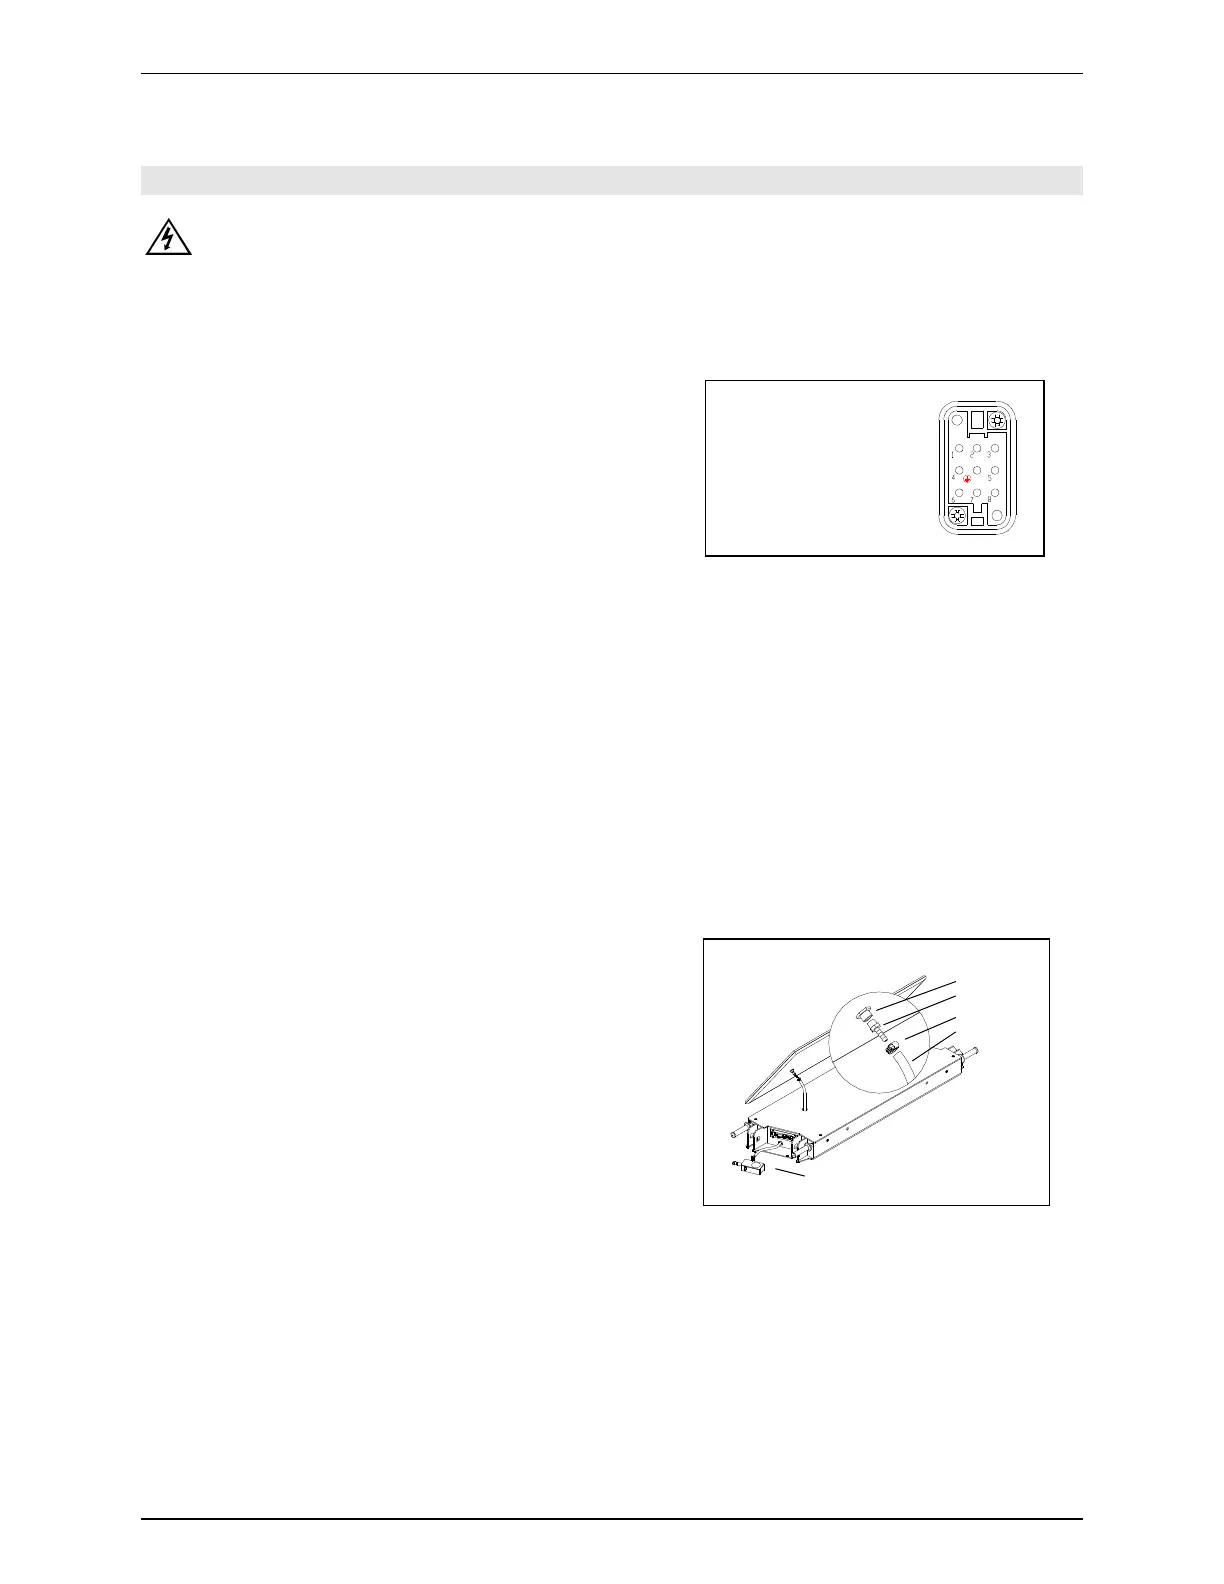
6.2. Replacing the Pressure Bag
1. Disconnect the platen electrical connector from the temperature control cable.
2. Remove the four lower platen-mounting bolts.
3. Remove platen.
4. Remove pressure bag, carefully pulling the hose through the
frame. Loosen the hose clamp at the bag and remove the hose
fitting from the bag valve.
5. Inspect the hose and replace if there are any signs of wear.
6. Install the fitting to new pressure bag and tighten the hose
clamp.
7. Position the new pressure bag onto the frame. On PRO models,
pull the air control at the same time to be sure the bag hose is
moving properly through the frame.
8. Install the platen and connect temperature control cable.
6.3. Replacing Heating Element
1. Remove the temperature control panel from the frame or the electrical connector insert from the housing and
disconnect the heating element and temperature sensor wires.
2. Remove the platen mounting bolts.
Element Resistance
3 Phase: Pins 1, 2, 3
Single Phase: Pins 1,3
RTD Sensor Resistance
Pins 4, 5, 6
Figure 7
Figure 6
Bag Valve
Hose Fitting
Clamp
Hose
Air Control