Alpha E-Tec Plus 28NX, 33NX and 38NX - Commissioning
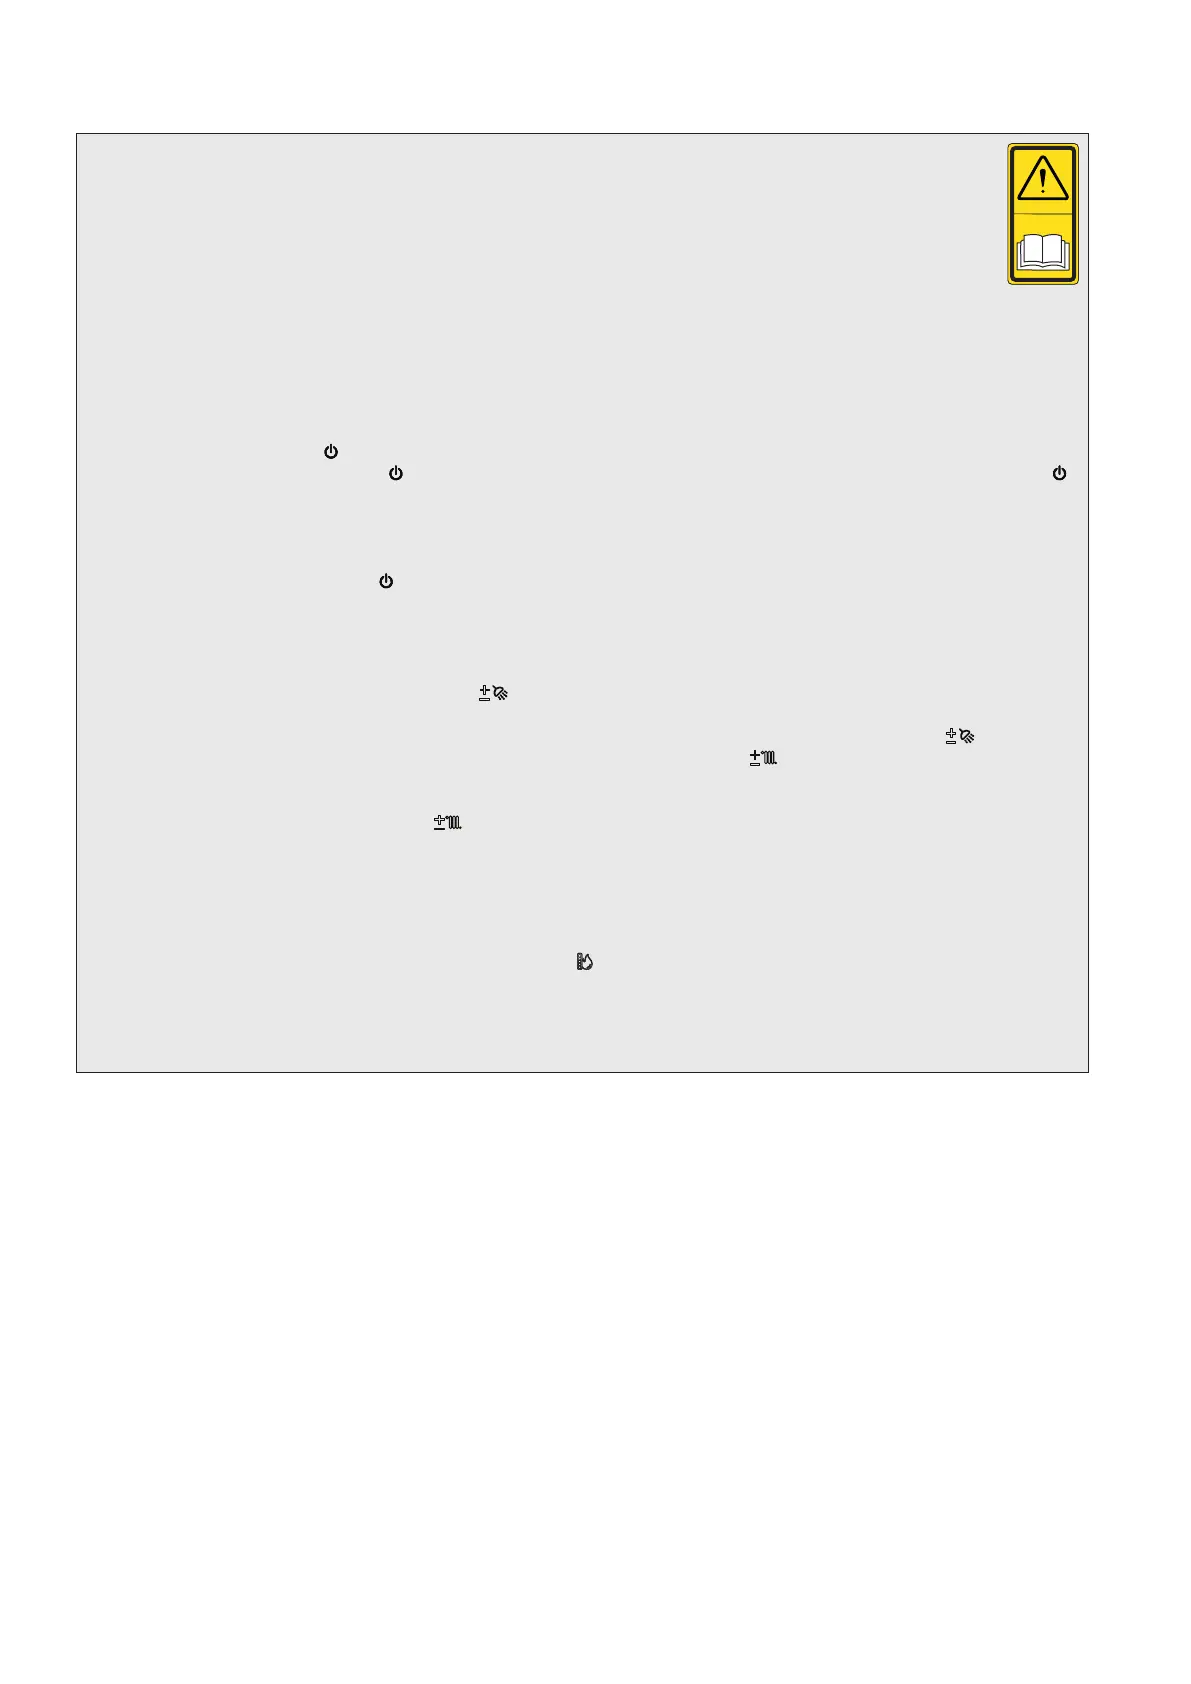
6.5 INITIAL LIGHTING - Refer to Fig. 6.1
When the system has been filled and vented, the boiler can then be turned on and commissioned.
1. Before turning on the gas and electrical supplies check the heating system is filled to the correct pressure.
Refer to Section 6.1 Fill the System. The pressure gauge on the right of the control panel indicates the
heating system pressure. When the boiler is cold the needle should be within the green band.
2. With the gas and electrical supplies to the boiler off, ensure that the mains water inlet valve and the central
heating flow and return valves are open.
3. Turn on the gas and electrical supplies to the boiler.
4. Air vent function: When turned on as default the boiler carries out the air vent function. 'dl' is displayed and the function
runs for 8 minutes. Press reset to exit early, if required.
At the end of the air vent function it is possible to change the state of the boiler by pressing the on/off or mode buttons as
described below.
5. Explanation of ON/OFF (
) button.
OFF mode: Press the ON/OFF ( ) button: from this moment the boiler remains inactive and the display shows the ( )
symbol flashing. Antifreeze and anti-jamming function is guaranteed according to stand-by/off configuration setting (parameter
P.8).
Any remote controls cannot bring the boiler out of this state and fault 83 is shown on the remote control.
Stand-by mode (only available with remote control connected): The boiler can ONLY be put into stand-by mode by a
remote control: in this case the ( ) symbol appears steady on the display.
6. Ensure all external controls are calling for heat. If the optional controls are fitted, refer to the instructions supplied, and
ensure they are in an 'ON' mode.
7. Explanation of the 'MODE' button.
DHW only: In this mode the boiler will only produce domestic hot water. The desired hot water temperature can be set
using the domestic hot water up and down (
+
) buttons and the set point temperature is shown in the display.
DHW and CH: In this mode the boiler will supply domestic hot water and central heating depending on the request from
any controls fitted. The domestic hot water temperature is always regulated via the up and down buttons (
+
), the central
heating temperature is regulated via the central heating up and down buttons (
+
) with the set point temperature being
shown on the display. Priority is always given to a DHW demand.
CH only: In this mode the boiler will only provide central heating. The desired system water temperature can be set
using the system water up and down (
+
) buttons and the set point temperature is shown in the display.
Note: 1. It is necessary to press the 'MODE' button to cycle through the different modes.
2. If a weather compensation sensor is fitted a gradient value of 0 to 9 is displayed (see Fig. 6.1) when adjusting
the system temperature. This is because the boiler output is modulated according to outside temperature.
Refer to the external sensor instructions for further information on this feature and Section 5.12.
8. From this moment the boiler functions automatically. A demand for central heating or hot water will activate the boiler.
Each time the burner ignites, the flame present symbol (
) is displayed together with the relative strength of the flame
(output power).
For any controls fitted please refer to the instructions supplied with the controls for connection and operation details and
Section 5.12.
34