Version 1.0 ©Copyright 2020, Ambient LLC. All Rights Reserved. Page 2
1. Quick Start Guide
Although the manual is comprehensive, much of the information contained may be intuitive.
The following Quick Start Guide provides the necessary steps to install and operate the rain gauge and includes
references to the pertinent sections.
Power Up
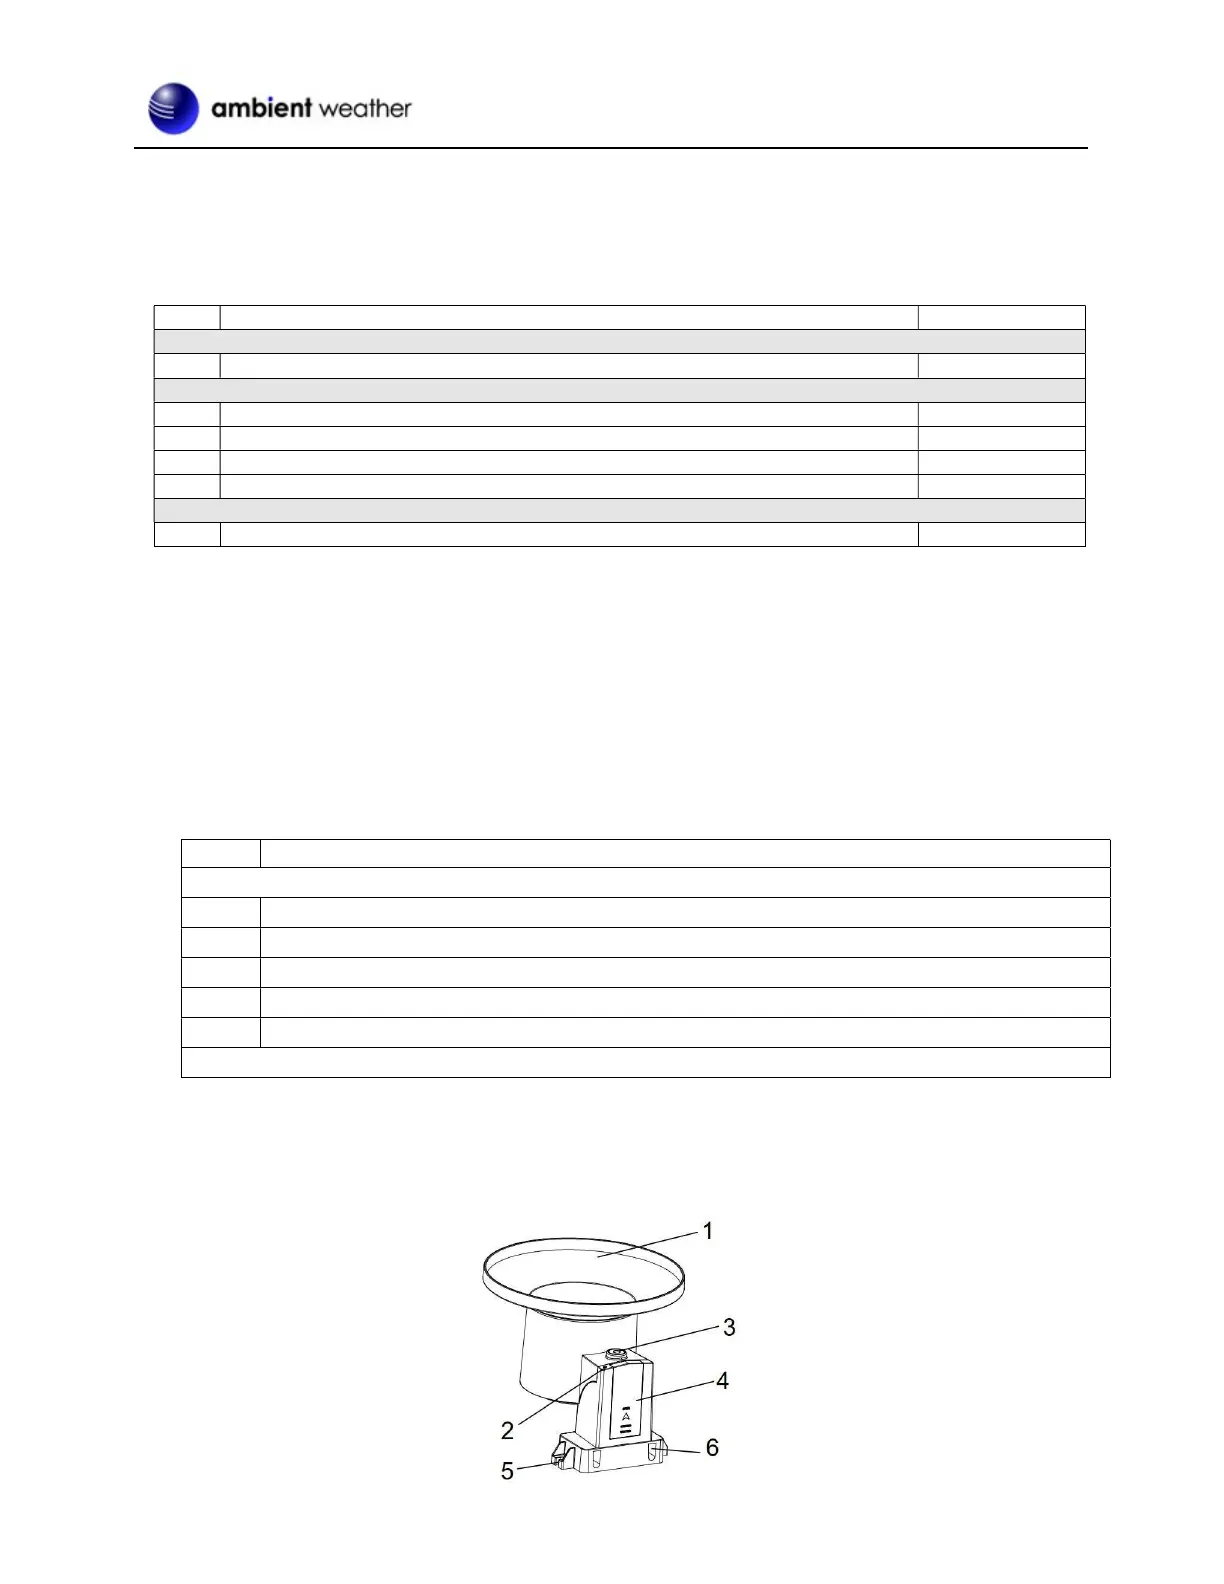
1 Install the batteries in the rain gauge 2.3.1
Mounting
Register Rain Gauge on Display Tablet
4 Rain Gauge Mounting 2.3.4
5 Install the Funnel Coil Filter 2.3.5
6 Reset the rain to zero on the display/tablet 4.7.7
2. Pre-Installation Checkout and Site Survey
2.1 Pre-Installation Checkout
Before installing your rain gauge in the permanent location, we recommend setting up the rain gauge in a
temporary location with easy access. This will allow you to check out all the functions, ensure proper operation
and familiarize you with the rain gauge and calibration procedures.
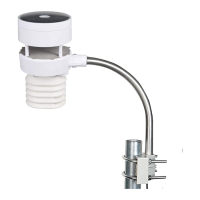
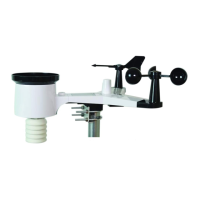
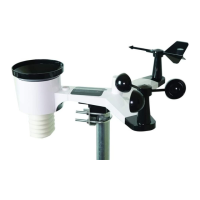
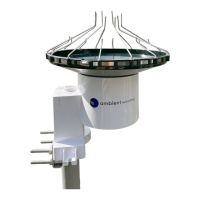
2.2 Parts List
WS-5000-RAIN
1 Rain Gauge
4 Threaded nuts for U-Bolts (M5 size)
2 Sensor array metal mounting plate to be used with U-Bolts
1 Metal wrench for M5 U-Bolts, nuts and washers
1 Funnel coil filter
User manual
Note: Batteries are not included. We recommend Alkaline (which operate to 4 °F) or Lithium batteries
(for operation to -40 °F) are recommended.
2.3 Rain Gauge Setup
 Loading...