en
5.1.4. Import network certificate for WPA2
Enterprise authentication:
• In the Network menu, scroll to Imported
Network certificates
14
.
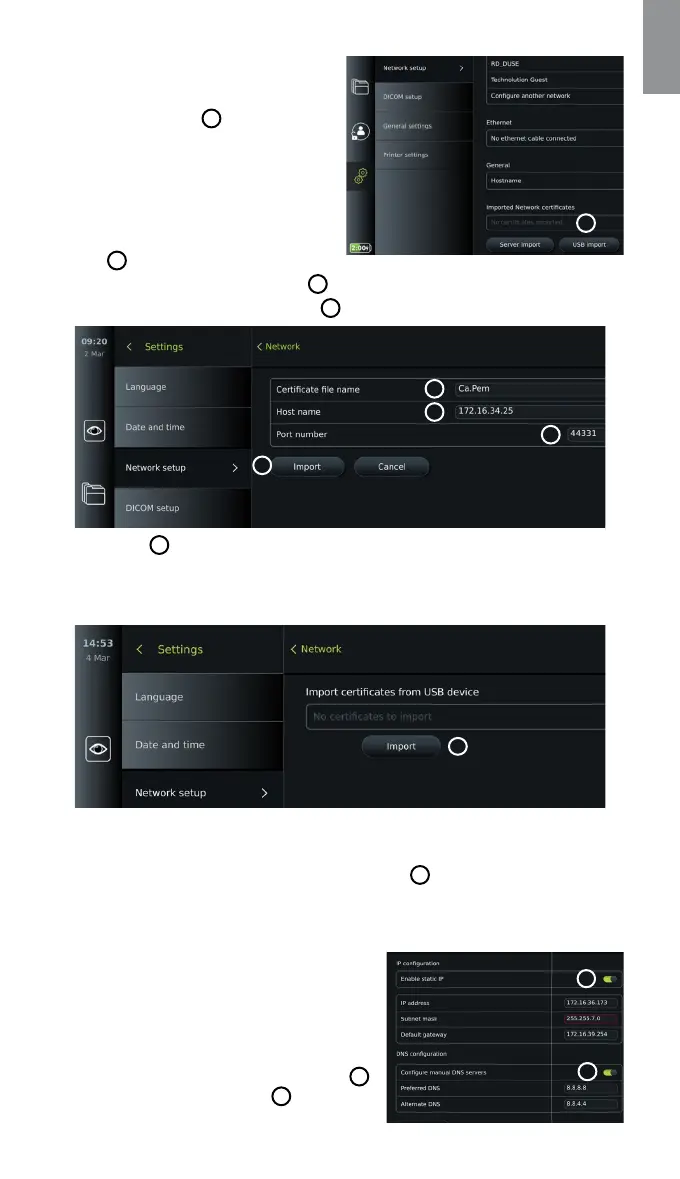
To import TLS certificates from a server:
• Ensure that the displaying unit is connected
to a temporary Wi-Fi or LAN network
(see section 5.1.2. or 5.1.3.).
• Press Server import.
• Press the input field next to Certificate file
name
15
and enter the file name.
• Press the input field next to Host name
16
and enter the hostname.
• Press the input field next to Port number
17
and enter the port number.
15
16
17
18
• Press Import
18
.
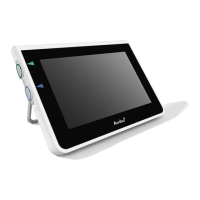
To import network certificates from a USB flash drive:
• Ensure that USB connection has been enabled for certificate import (see section 4.3.)
and a USB flash drive connected to the displaying unit (see section 2.3.).
19
• Press USB import and wait while the displaying unit searches for network certificates on the
USB flash drive.
• Select the required network certificate and press Import
19
.
Note: When the network certificate has been imported, the name of the certificate file is shown below
Imported Network certificates in the Network menu.
5.1.5. Set up static IP address and/or DNS server
for a Wi-Fi or LAN network:
• In the Network menu, press the currently selected
Wi-Fi network.
• Below the name of the Wi-Fi network, press the
arrow next to IP address.
Press the ON/OFF slider next to Enable static IP
20
or Configure manual DNS servers
21
(switch to
green) and enter the required information.
14
20
21
17