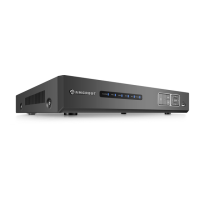
Audio output port. This is used to output the analog audio signal
to devices such as an external RCA speaker.
Bidirectional talk output.
Audio output on 1-window video monitoring.
Audio output on 1-window video playback.
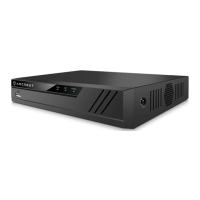
Connection & Setup
The following instructions will show you how to set up the cables for the NVR, cameras (PoE and Wi-Fi),
as well as a monitor or TV screen.
To set up the cable connections, there are 5 steps:
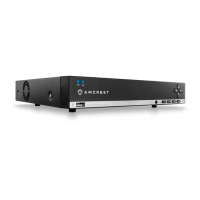
1. Connect a monitor or TV screen to your NVR. The NVR is compatible with any monitor or screen that
uses a VGA or HDMI connection. For purposes of this guide, we will use a VGA connection. Take a VGA
cable, and connect one end to the VGA port on your monitor/screen and the other end to the VGA port
on the back panel of your NVR.
2. Connect an Ethernet cable to your router then connect the other end of the cable to the Ethernet
port on the back of the NVR.
3.Connect the cameras to power.
For PoE NVRs/cameras: connect an Ethernet cable to the Ethernet port attached to the camera then
connect the other end of the Ethernet cable to a PoE port on the NVR.
Note: PoE cameras can either be powered with a PoE connection or with a standard power adapter (sold
separately). If the NVR does not have PoE ports, connect the PoE camera to a PoE compatible router or
switch that is on the same network as the NVR.
For non-PoE NVRs/cameras: Connect the power adapter to the power port attached to the camera.
Then, plug the adapter into a wall outlet or power strip.
4. Connect the NVR’s power adapter into the power port on the back of the NVR.
Note: If your NVR has a 3-prong power cord, connect the input of the cord into the power input of the
NVR.
5. Finally, connect the other end of the power cable into a wall outlet or power strip to turn on the NVR.
Some models may feature a power switch on the back which may need to be turned on to power the
device.