M O D E L 2 1
O P E R A T
I O N M A N U A L
10
1010
10
Image
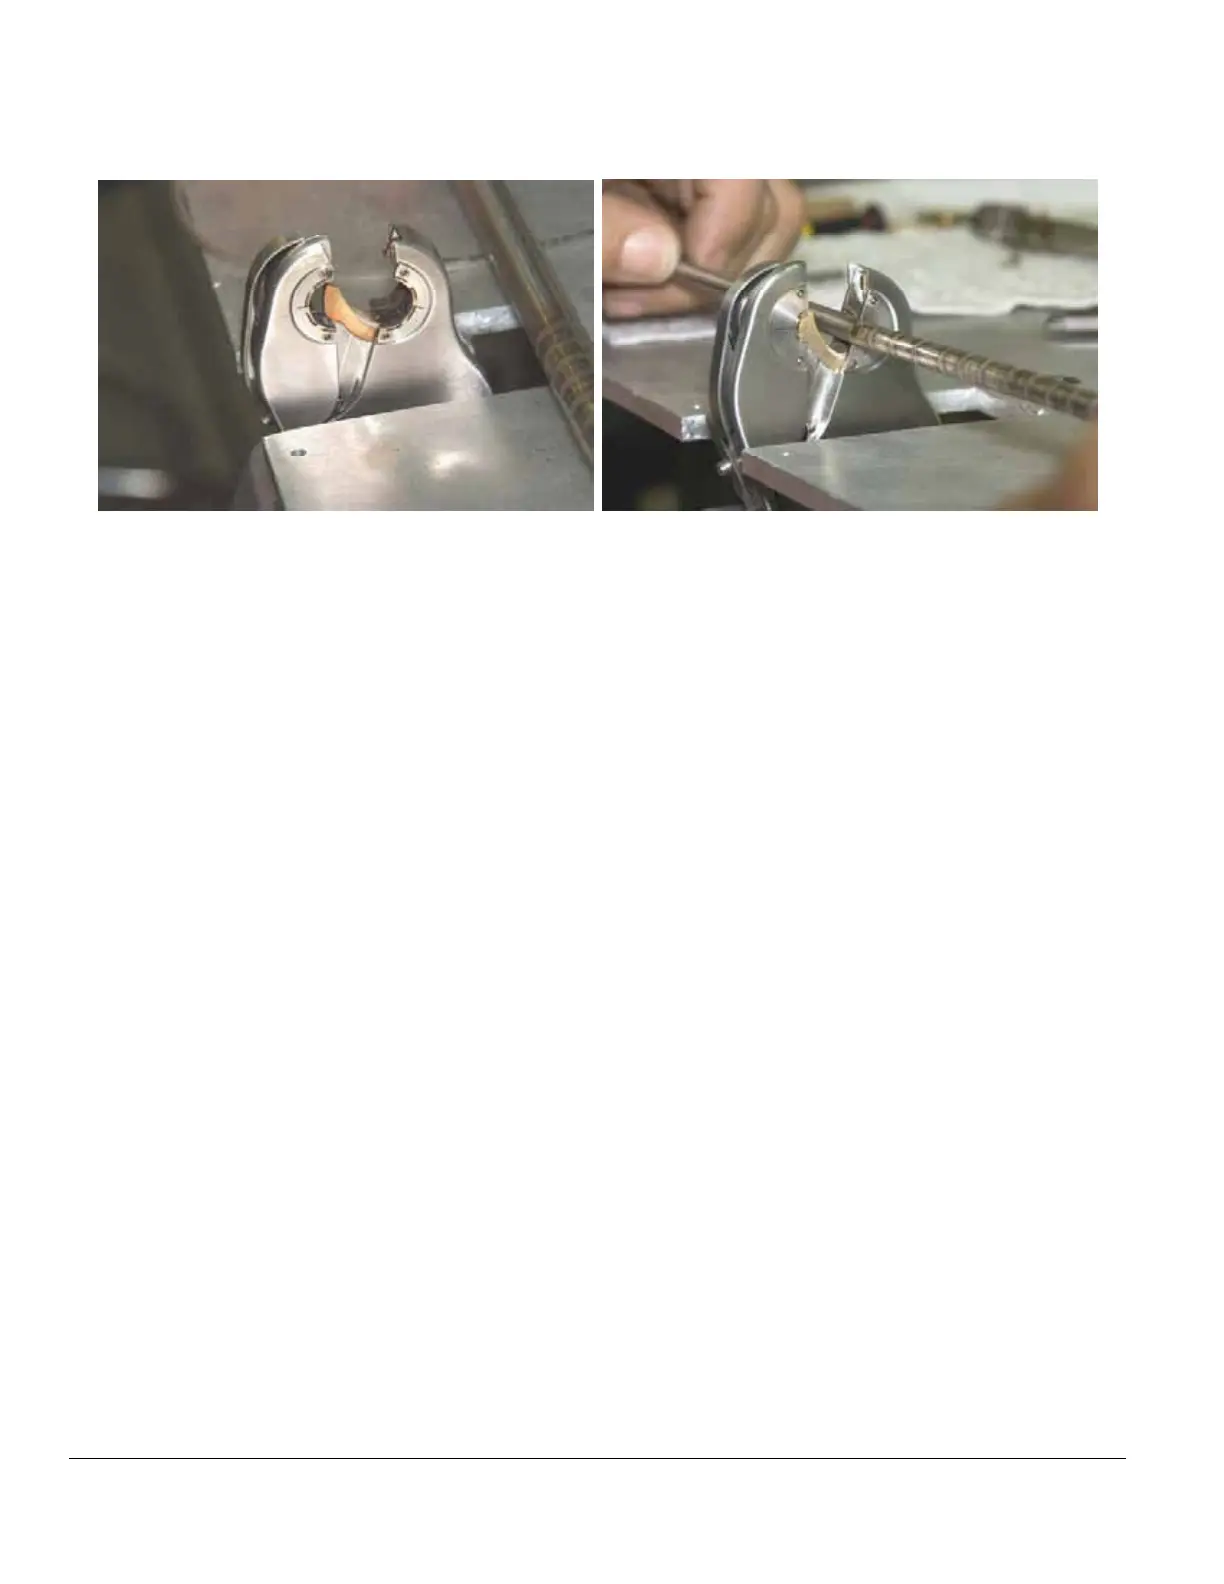
above left, shows jaws open ready to receive sample tube to insure
collets are seated within the jaws.
Image above right, shows tube being removed from jaws after verifying
collets are seated. SET ALIGNMENT can now be started.
4.4 OPERATION
OPERATION OPERATION
OPERATION PROCEDURE
PROCEDUREPROCEDURE
PROCEDURE
1. Insert first part into the right side. Micro fittings can be pressed against the back
right side of the jaw, parts that do not have a 0.250” tube stub must be aligned
with the electrode, either by lightly making contact with the center pin (when in F2
or B2 mode), or by visually aligning it with the electrode.
2. Depress the right foot pedal or press the cycle button on the weld head to clamp
right side.
3. Insert second part into the left side of the weld head lightly pressing it against the
first part.
4. Depress the right foot pedal or press the cycle button on the weld head to clamp
left side.
5. Verify that the number shown on the display is “03” or less. If greater than “03”,
depress the left pedal or abort button on the head and repeat steps 1 – 4 above.
6. Setup ID purge through tubes to be welded.
7. Depress the right foot pedal or press the cycle button on the weld head to begin
weld process.
8. After the weld is completed, in Field Mode, press cycle to open the jaws; in Bench
Mode, the jaws will automatically open.
9. Repeat procedure for next weld joint.