© 2016 AMTROL Inc. Part #: 9015-941 (10/16)
1400 Division Road, West Warwick, RI USA 02893
T: 800.426.8765 F: 800.293.1519
www.amtrol.com
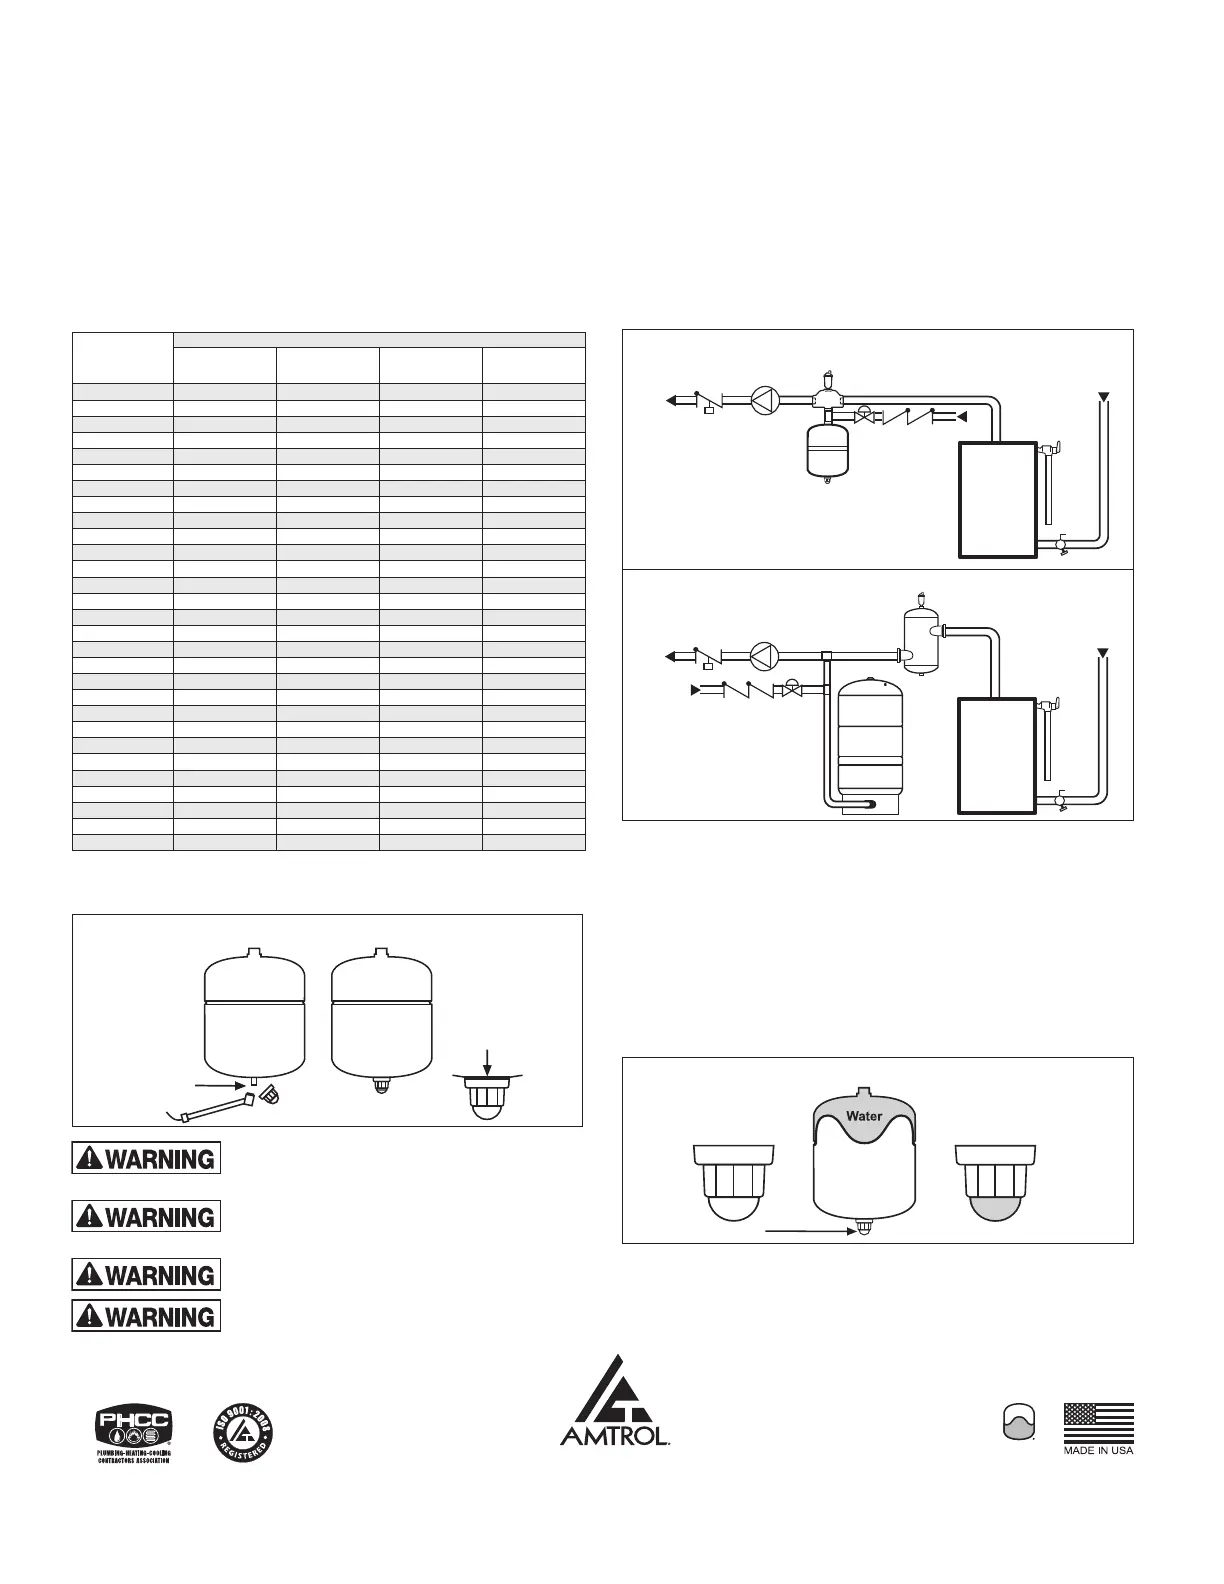
Pre-Installation
1. Visually inspect for any damage. Ensure expansion tank is sized
properly for the application (Figure 1).
2. With tank empty of water, remove plastic cap from air stem (Figure 2).
3. Check precharge pressure and adjust if necessary, charging with air
to match boiler fill valve setting.
4. Replace cap and tighten snugly, ensuring the cap is flush against the
tank surface.
Installation
1. Drain the boiler system or isolate the area where the EXTROL will
be installed.
2. Install the EXTROL on the supply side of the boiler, on the suction-side
of the heating circulator(s) (Figure 3).
3. Pressurize the system and check for leaks. Repair as necessary.
4. Restart the boiler system and check for relief valve discharge. If the
relief valve drips, the tank may be improperly charged or undersized.
FAILURE TO PROPERLY SEAL CAP WILL
RESULT IN LOSS OF PRECHARGE CAUSING
PRODUCT TO FAIL.
Mount tank vertically in downward position only.
Ensure the piping can support the entire weight of
the tank when full of water.
Models SX-30V through SX-160V are floor
standing and may not be hung from the piping.
Do not install the EXTROL on a dead-end pipe or
wherever air can collect. This can cause corrosion
and possible leakage.
Figure 1.
System
Supply
Flow-Check
Valve
Circulator
Air Purger
Air Vent
EXTROL
Fill Valve Assembly
Boiler
System
Return
Inspection
Cap
Relief
Valve
Drain Valve
System
Supply
Flow-Check
Valve
Circulator
Fill Valve Assembly
Boiler
System
Return
Relief
Valve
EXTROL
Air
Separator
Air Vent
Drain Valve
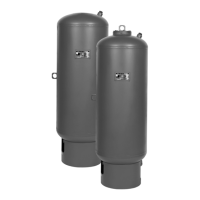
In-Line Models: EX-15 through EX-90
Stand Models: SX-30V through SX-160V
PLEASE READ THE FOLLOWING INSTRUCTIONS CAREFULLY FOR
IMPORTANT GENERAL SAFETY INFORMATION AND ADDITIONAL SPECIFIC SAFETY ALERTS.
VISIT www.amtrol.com TO VIEW HELPFUL VIDEOS.
Boiler
Net Output
in 1000’S
of BTU/Hr.
Type of Radiation
Finned Tube
Baseboard or
Radiant Panel
Convectors
or Unit
Heaters
Radiators
Cast Iron
Baseboard
Cast Iron
25 EX-15 EX-15 EX-15 EX-15
50 EX-15 EX-15 EX-30 EX-30
75 EX-30 EX-30 EX-30 EX-60
100 EX-30 EX-30 EX-60 EX-60
125 EX-30 EX-60 EX-60 EX-90
150 EX-30 EX-60 EX-90 EX-90
175 EX-60 EX-60 EX-90 EX-90
200 EX-60 EX-60 EX-90 EX-90
250 EX-60 EX-90 EX-90 EX-90
300 EX-90 SX-30V SX-30V SX-40V
350 SX-30V SX-30V SX-40V SX-60V
400 SX-30V SX-40V SX-40V SX-60V
450 SX-40V SX-40V SX-60V SX-90V
500 SX-40V SX-40V SX-60V SX-90V
550 SX-40V SX-60V SX-60V SX-90V
600 SX-40V SX-60V SX-90V SX-90V
650 SX-60V SX-60V SX-90V SX-90V
700 SX-60V SX-60V SX-90V SX-90V
750 SX-60V SX-60V SX-90V SX-110V
800 SX-60V SX-90V SX-90V SX-110V
850 SX-60V SX-90V SX-90V SX-110V
900 SX-60V SX-90V SX-110V SX-110V
950 SX-90V SX-90V SX-110V SX-110V
1,000 SX-90V SX-90V SX-110V SX-110V
1,100 SX-90V SX-90V SX-110V SX-130V
1,200 SX-90V SX-90V SX-110V SX-130V
1,300 SX-90V SX-110V SX-130V SX-160V
1,400 SX-110V SX-130V SX-160V SX-160V
1,500 SX-110V SX-130V SX-160V (2)SX-110V
Sizing based on: 12 psig Fill; 30 psig Relief Valve; 200°F Average Temperature.
Figure 2.
Figure 3.
Maintenance
A professional plumber should check the complete system, including
the expansion tank, yearly and more frequently as the system ages.
Checking the precharge allows a small quantity of air to escape and can
result in an insufficient air charge. Always check the precharge while
the tank is isolated and empty of water, and be sure to maintain the
proper precharge whenever the tank is inspected. Monitor the tip of the
inspection cap for discoloration (Figure 4) in addition to regular product
inspection. Contact the installer or a plumbing professional if inspection
cap is discolored; tank replacement required. Do not rely on cap as sole
indication of tank condition.
Warranty
EX Models: Five (5) Year Limited Warranty
SX Models: One (1) Year Limited Warranty
Visit www.amtrol.com for complete warranty details.
Figure 4.
Clear / White
Normal
Operation
Discolored
Replace
Tank
Remove cap and
charge to system
fill pressure.
Replace cap and
tighten until flush
with tank.
Precharge Adjustment: In-Line Models Shown
MARK OF THE
ORIGINATOR
InSight
™
Service Indicator Cap (Inline models only)
 Loading...