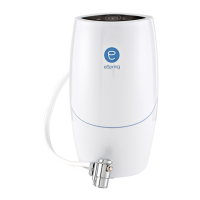
This installation uses a separate, counter-mounted Auxiliary Faucet. With the
eSpring
TM
Water Purifi er below the counter, this installation allows maximum use
of counter space, with no visible tubing.
NOTE: You will need an electrical outlet to plug in the power adapter. If you need
to install a new outlet, it must be installed by a licensed or certifi ed electrician
according to Federal, Provincial, State, Municipal and local laws. This outlet must
be powered continuously for the Water Purifi er to function properly. In case of a
power outage, see p. 13 in the manual.
BEFORE INSTALLING THE
AUXILIARY FAUCET
Cold water plumbing must be modifi ed to provide a
3
⁄8" Outer Diameter (OD) x
1
⁄4" Inner Diameter (ID) tubing (plastic or metal) for connection to the Auxiliary
Faucet (Fig. 1B).
RECOMMENDATIONS
1. Hire a plumber if you do not feel com-
fortable modifying the plumbing and
installing the faucet.
2. You will need to know what type and
size of tubing or piping is between the
cold water supply line and the kitchen
faucet. Take a digital picture of your
cold water supply plumbing to use
as a guide in the hardware store to
purchase the appropriate parts for
installation.
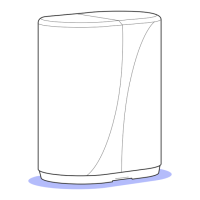
3. Install a tee in your cold water supply and a separate shut-off valve to the
tee before connection of the Auxiliary Faucet (Fig.1B). This will allow rinsing
and cleaning of the Water Purifi er during Cartridge changes.
a. All fi ttings and valves must be approved for use in drinking water ap-
plications.
b. You must purchase plastic ferrules when connecting plastic tubes to
metal compression fi ttings (which come with metal ferrules for connec-
tion to metal pipe).
Residents of Massachusetts, please adhere to the State of Massachusetts
Plumbing Codes. Use a licensed plumber for installation.
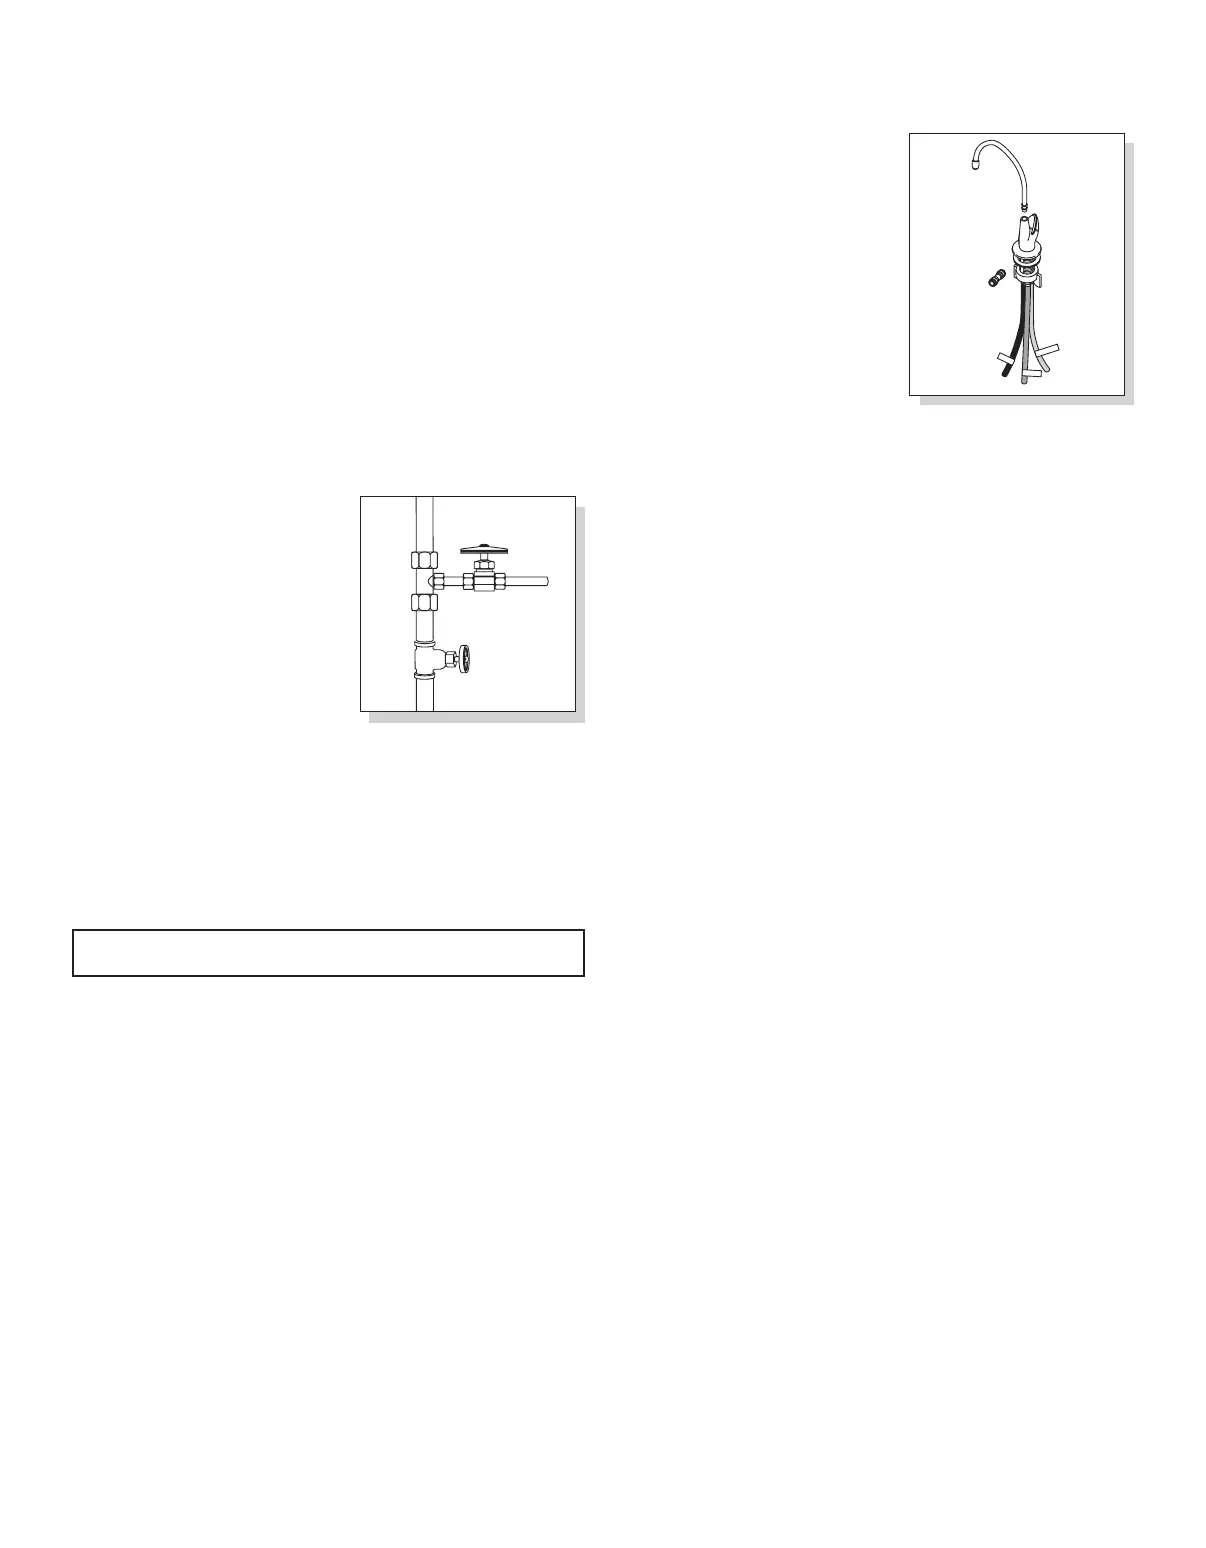
Auxiliary Faucet Components (Fig. 2B):
a. Auxiliary Faucet spout
b. Auxiliary Faucet body with red, green
and blue tubes, foam gasket and wing
nut
c. Connector with fl ow controller.
NOTE: Connector must be used for
all installations.
Tools Needed (not included):
• Pen
• Open-end wrenches
3
⁄8" (10mm) and
7
⁄8" (22mm) or an adjustable
crescent wrench
Optional Tools:
• Drill
• Hole Saw 1 ¼" (32mm) – 1
1
⁄2"
(38mm)
BELOW COUNTER INSTALLATION
REVIEW ALL INSTALLATION INSTRUCTIONS TO BE SURE YOU HAVE ALL PARTS
AND TOOLS PRIOR TO INSTALLATION.
7
GREEN
B
L
U
E
RED
Fig. 1B
Fig. 2B
a
c
b