Replacing the Battery
78
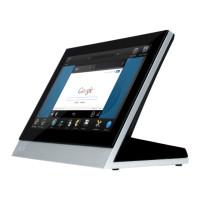
4" Color Touch Panels with Audio
8. Carefully flip the housing/backbox back onto the exposed AXD unit and align the connector
opening with the on-board rear Phoenix connectors.
9. Carefully grab the entire unit (housing and LCD) from both sides and rotate it over.
10. Place the housing/backbox onto a level flat surface.
11. Locate, insert, and secure the four #4-20 securing screws (FIG. 43 on page 77) by using a
screwdriver to turn the screws clockwise.
12. Connect the respective connectors to the rear of the AXD.
13. Secure the panel using the appropriate method. Refer to the Installation section on page 7 for
more detailed information.
14. Place the faceplate onto the main AXD unit by gripping the faceplate and placing it on the
housing with gentle force. Make sure to align the Light, IR receiver, and PIR Motion sensor
locations to their respective openings on the front bezel/faceplate. Make sure the buttons are
flush against the faceplate.
 Loading...