Button Labeling
22
Instruction Manual - Massio ControlPads and Keypads
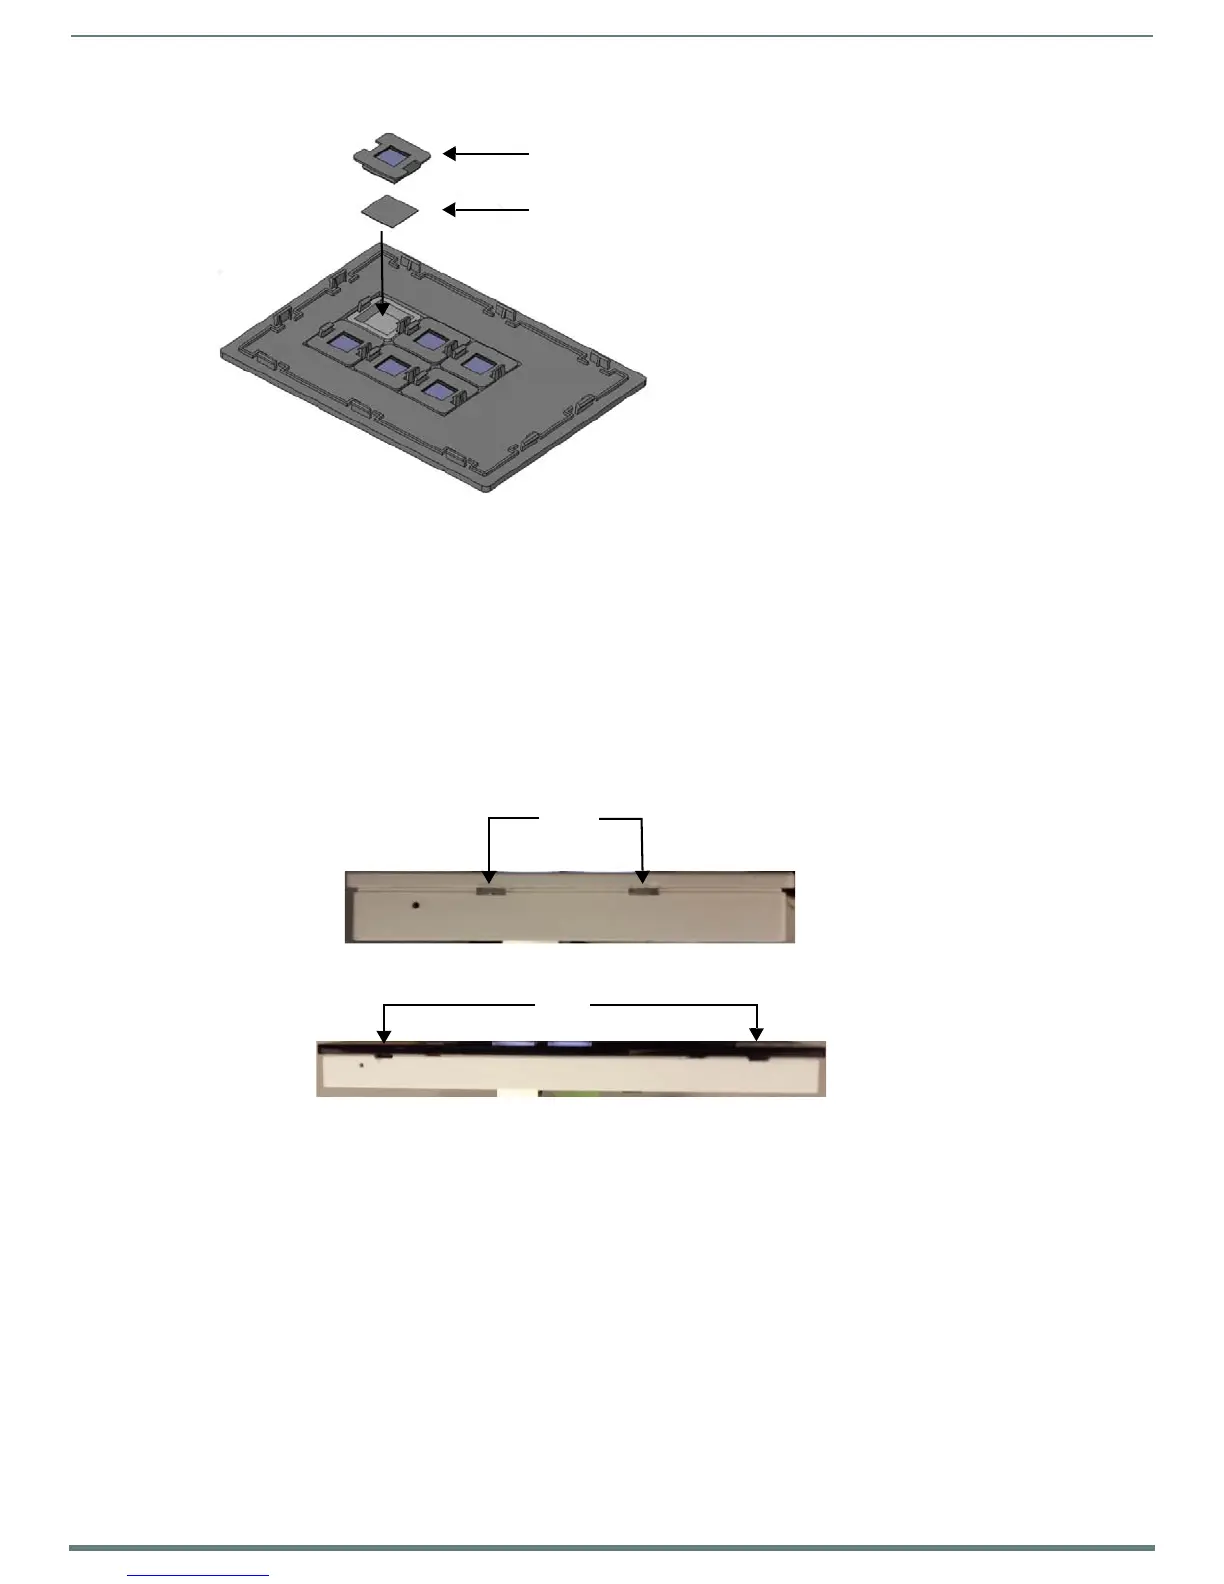
FIG. 23 Placing a Button Label inside a Button Cap
5. Place the cone and diffuser back over the button and snap the cone into place on the faceplate.
6. Repeat steps 2-5 for any additional buttons. When finished, mount the faceplate back onto the device.
Disassembling the Massio Device
If you are replacing button labels after you have already installed and mounted the Massio device, follow these steps to disassemble
the device.
NOTE: Remove power from the Massio device, and discharge any static electricity from your body by touching a grounded metal
object before performing the following steps.
This procedure requires a flat-head screwdriver.
1. Use the flat-head screwdriver to locate the two small ridges at the bottom of the faceplate and gently pry the faceplate away
from the device frame. The two ridges are located toward the center of the faceplate on the 6-button Massio devices. They are
located toward the sides of the device on the 8-button Massio devices (see FIG. 24).
FIG. 24
Location of the ridges on the bottom of each Massio device
2. Lift the faceplate away from the rear panel to expose the device frame.
3. Remove device frame from the mounting bracket by inserting the flat-head screwdriver below the metal clip located at the
bottom center of the device frame and lifting the clip upward to unlock the device frame from the mounting bracket (see
FIG. 25).
Cone and Diffuser
Acetate Button Label (face down)
ridges
6-button
ridges
8-button