Installation
14
MST-431/MSD-431-L 4.3" Modero S Series® Touch Panels
MSD-431-L Installation
The MSD-431-L may be installed directly into a solid surface environment, using either solid surface screws
or the included locking tabs for different mounting options. Once installed, the MSD-431-L is contained
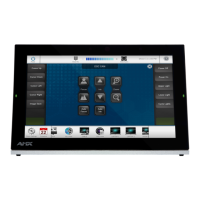
within a clear outer housing known as the back box (FIG. 9). This back box is removed when installing the
device into a wall or into a Rough-In Box.
Installing the MSD-431-L into a wall
The MSD-431-L comes with a clear plastic backbox (designed to attach the panel to most standard wall
materials. This backbox has four locking tabs (two on top and two on bottom) to help lock the backbox to the
wall. These locking tabs are only extended AFTER the backbox is inserted into the wall. (FIG. 10 and
FIG. 11).
FIG. 9 MSD-431-L Back Box
When installing the backbox, make sure that the assembly is in the correct position
and in the correct place. Once the locking tabs are extended and locked into place,
removing the backbox may be difficult without having access to the back of the wall
or causing damage to the wall.
For typical mounting surfaces, such as drywall, use the locking tabs as the primary
method for securing the back box to the surface. For thin walls or solid surfaces, use
mounting screws (not included).
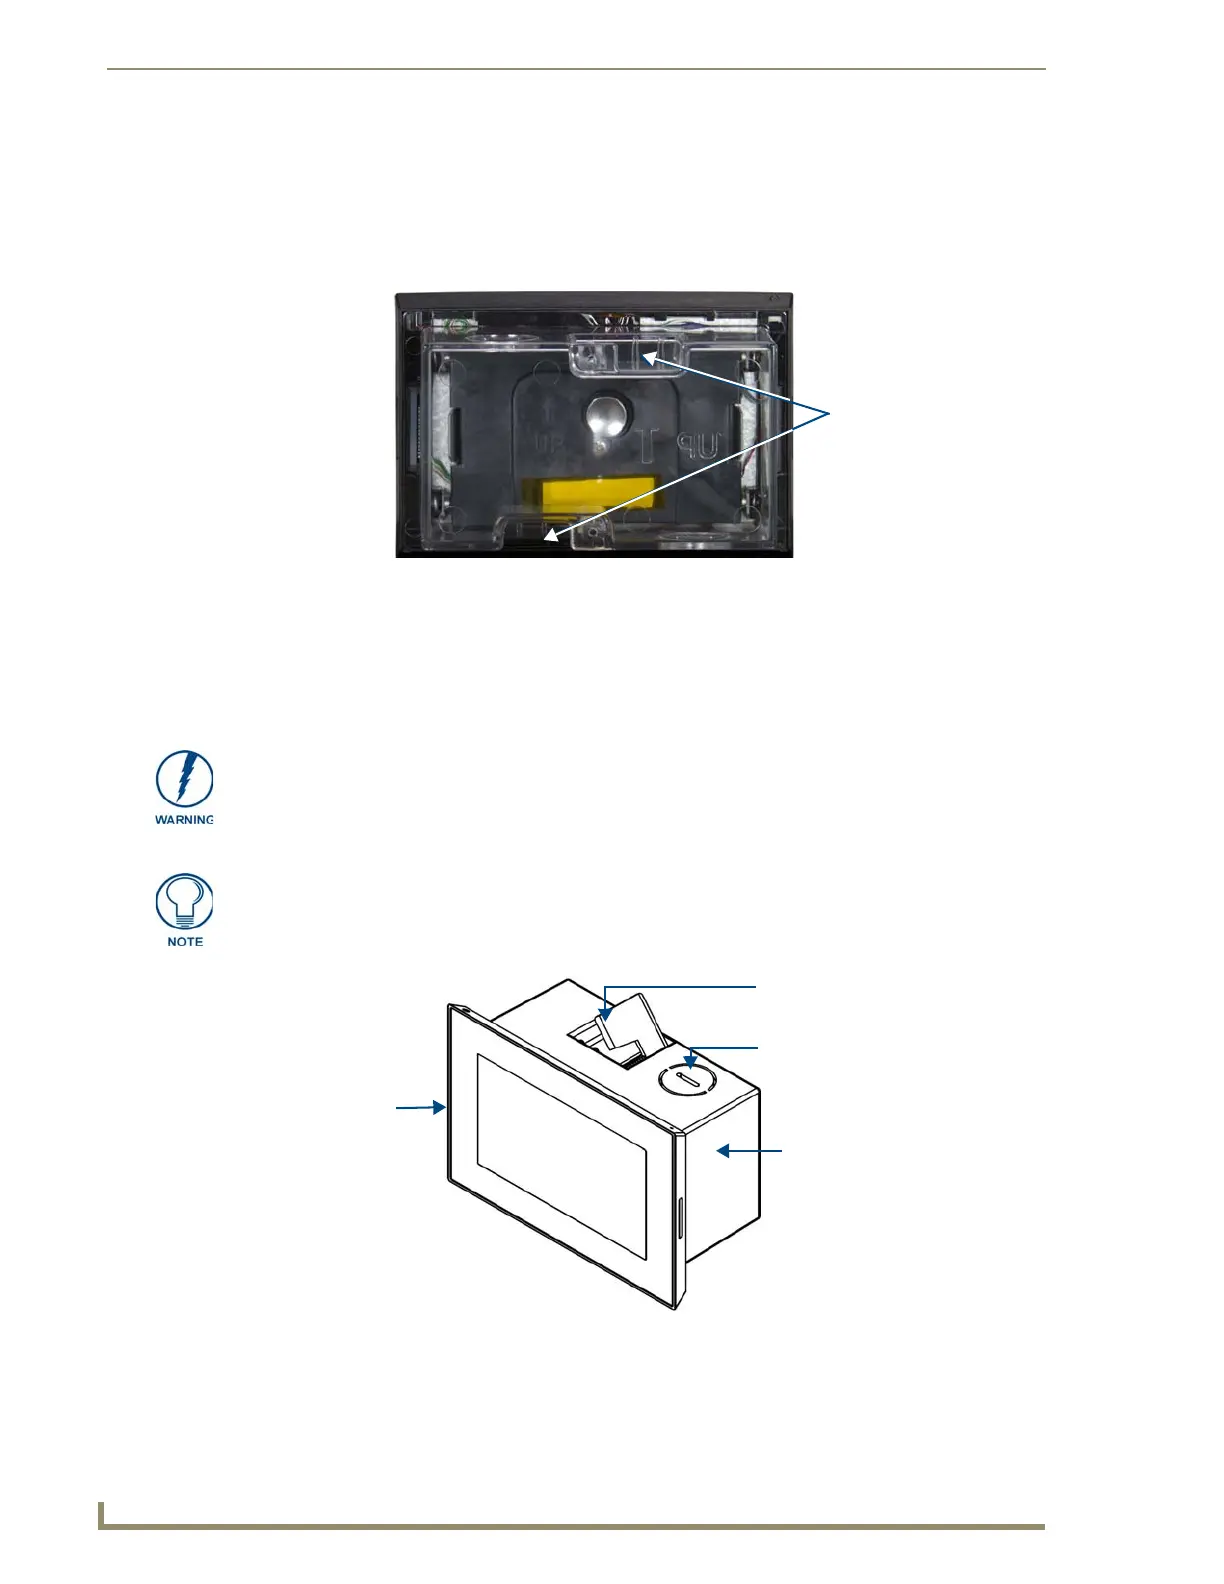
FIG. 10 Side view of MSD-431-L
MSD-431-L
(front)
Back box
Back box knockout
Locking tab
 Loading...