Hardware Installation
16 SCX 920 Installation Guide
Connecting the Battery
When you have the controller mounted, find the AA battery. Remove
the plastic tab below the clip on the battery to activate the battery.
The battery is an 850 mA-hr 3.6 V primary lithium battery that runs the
real-time clock and maintains RAM when AC power goes out.
Connecting the AC Power
Warning
Be sure the AC power cable is not connected to an electrical power
source while you are wiring the controller, or you could receive an
electrical shock that is life-threatening.
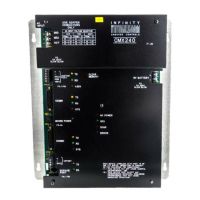
The AC power connection is in the upper left corner of the controller.
You must wire the AC cable to the three screws on the far left.
Caution
Be sure to connect all three wires, HOT, NEUTRAL, and GROUND.
Otherwise, the controller could malfunction.
The three screws are labeled HOT NEU GND. The three wires at the
end of your AC cord are black, white, and green.
1. Place the green wire under the metal plate behind the top screw,
labeled GND.
2. Tighten the screw with a flathead screw driver.
Figure 4 shows the position of the plate, where to place the wire, and
how the screw fits on the plate. You can see how the screw holds
the plate in place once you tighten it.
1
2
---
Technical Manuals Online! - http://www.tech-man.com