5.
MAINTENANCE
-9-
-10-
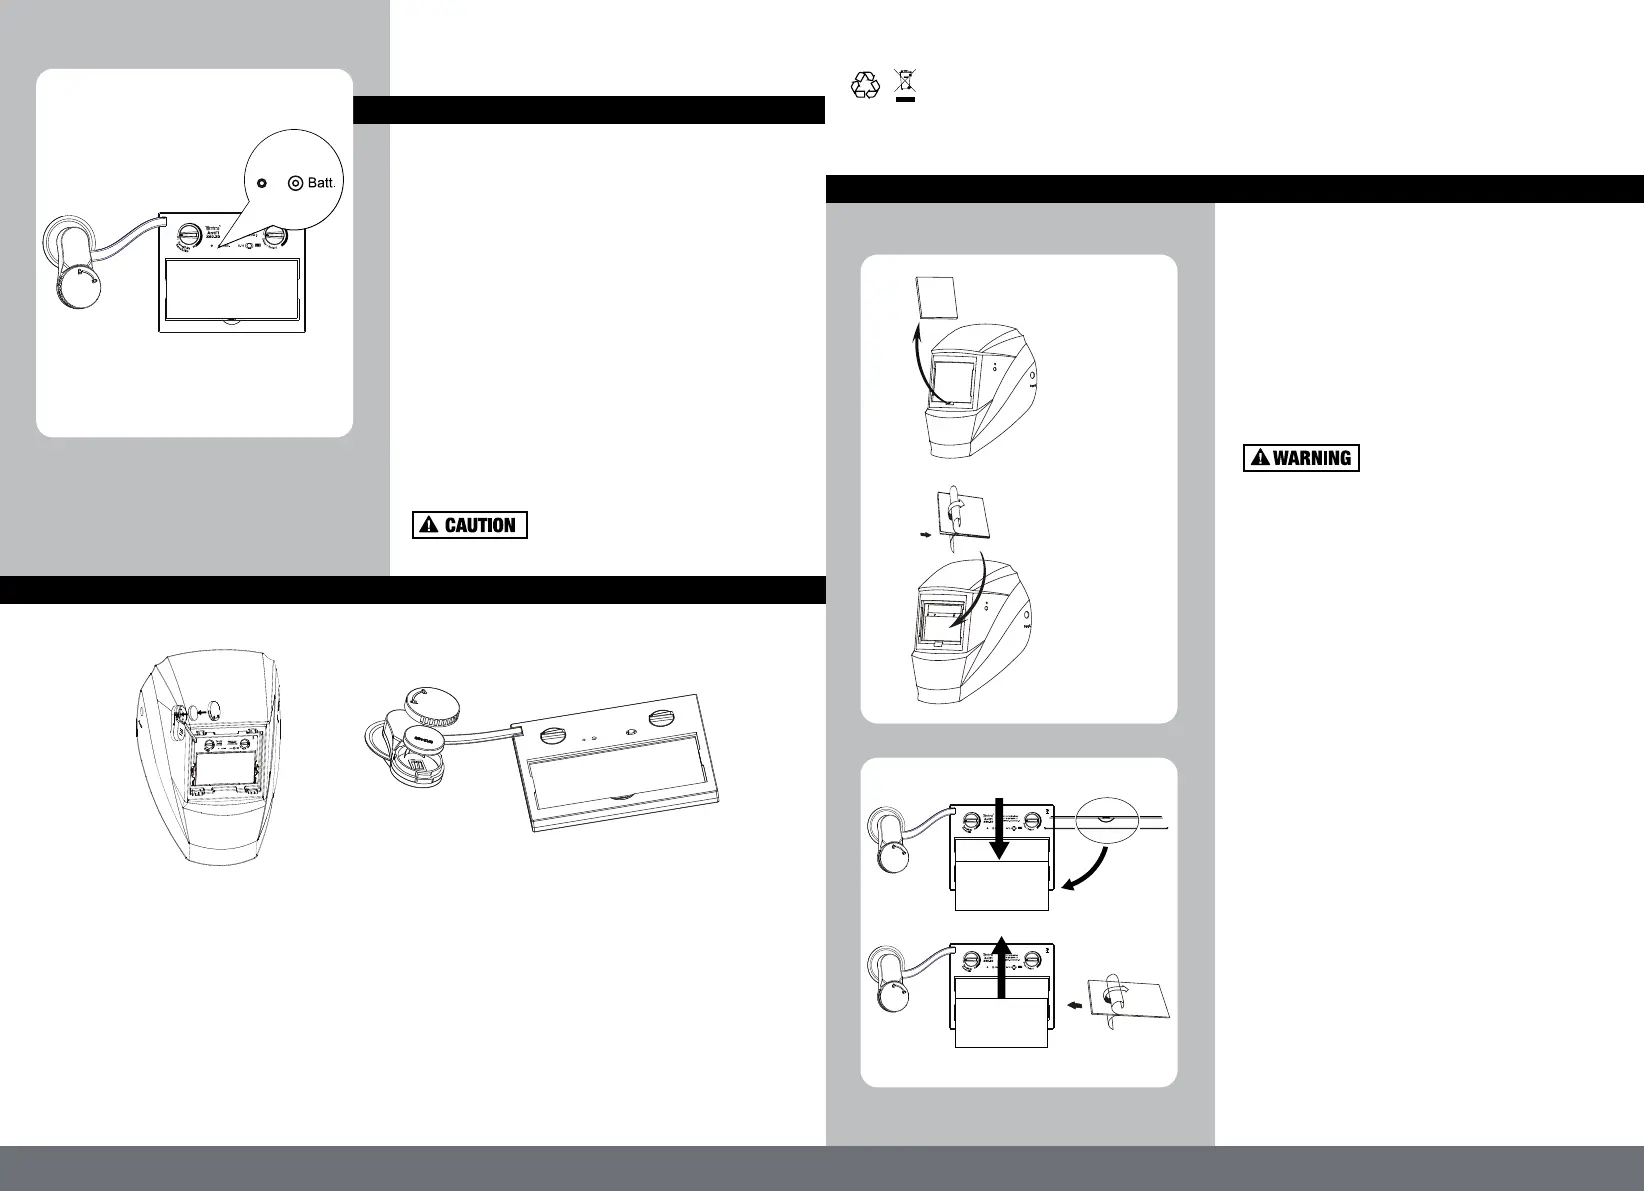
4. PRE-WELDING CHECK & BATTERY TESTING
The following procedures should be followed to
perform this testing:
1) Make sure there is enough ambient light to
trigger the auto darkening lens on.
2) Make sure that the adjustment knob is on the
"5-9/9-14" position .
3) Press and hold on the "Batt" button(Fig9) for 1-2
seconds:
If the LED (Fig9) is ON, and the lens is darken as
per shade setting, the helmet is functioning
properly.
If the LED is NOT ON when procedures above are
followed, battery replacement is required.
If the LED is ON and LCD is not darkening as per
shade setting, the auto darkening lens may be
Defective
Always test the auto darkening
lens before welding.
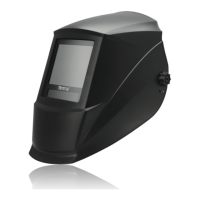
Take out the old cover lens (Fig.11).
Make sure that the protective film is removed from
the new cover lens.
Place the new cover lens in the recess at the front
of the helmet (Fig.12).
Ensure the front cover lens is mounted before
using and the protective film on the lens cover is
removed.
Ensure that the lens is clean and there is no dirt
or spatter covering the 4 sensors at the front of
the filter cartridge.
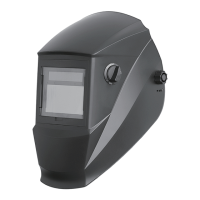
REPLACEMENT OF INNER COVER LENS
1) Lift the cover lens from the groove of the inner
frame with your hand or hard object, so that the
cover lens pops out of the inner frame and then
push it out(Fig.13).
2) Remove the protective film from the new cover
lens(Fig.14).
3)Push the new cover lens in the recess along the
card slots on both sides of the ADF carefully.
(Fig.11)
(Fig.12)
(Fig.14)
(Fig.13)
(Fig.9)
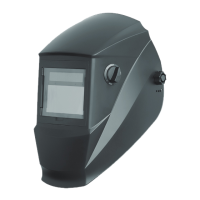
REPLACEMENT OF BATTERIES
REPLACEMENT OF EXTERIOR COVER LENS
1) Open the back cover counterclockwise,
2) Gently press one end of the battery to lift the other end of the battery, then remove it.
3) Put the new battery in,
4) Tighten the back cover clockwise.
(Fig.10)
NEVER put used batteries into house hold waste.
Please always have used batteries recycle properly.