This document serves as the user manual for the AOC Q32V3 LCD Monitor with LED backlight, providing comprehensive instructions for its safe operation, setup, adjustment, and maintenance. It is designed to guide users through every aspect of owning and using their new monitor, from initial unboxing to advanced display settings.
Function Description
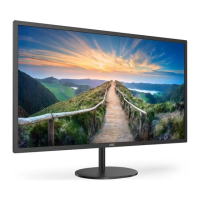
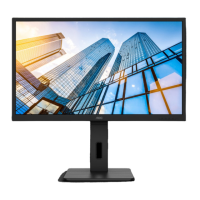
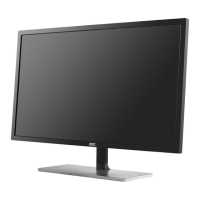
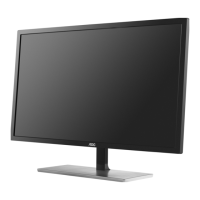
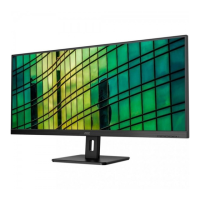
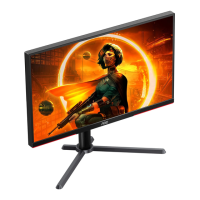
The AOC Q32V3 is an LCD monitor designed to provide a high-quality visual experience for various computing tasks. Its primary function is to display visual information from a connected computer or other video sources. The monitor utilizes LED backlight technology, which contributes to its energy efficiency and picture quality. It supports multiple input sources, including HDMI and DisplayPort, allowing for versatile connectivity with different devices. The monitor is equipped with a range of on-screen display (OSD) settings that enable users to fine-tune the display characteristics to their preferences, ensuring optimal viewing for different content types such as text, internet browsing, gaming, movies, and sports. Additionally, it incorporates features aimed at enhancing visual clarity and user comfort, such as Clear Vision and LowBlue Mode.
Usage Features
The AOC Q32V3 monitor offers several features to enhance the user experience:
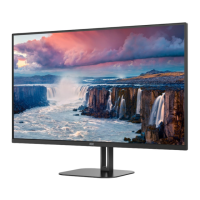
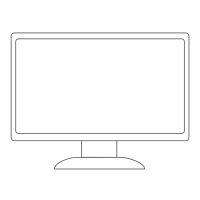
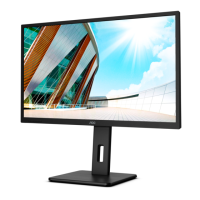
- Adjustable Viewing Angle: The monitor allows for tilt adjustment from -5° to 18°, enabling users to set the screen to their preferred viewing angle for optimal comfort and reduced strain. This flexibility helps in adapting the monitor to various desk setups and seating positions.
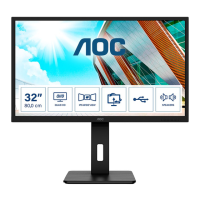
- Multiple Connectivity Options: The monitor includes HDMI and DisplayPort inputs, providing broad compatibility with modern computers, laptops, and other media devices. An earphone out port is also available for audio connectivity.
- Intuitive OSD Controls: The monitor features a set of hotkeys and an OSD menu system that allows users to easily navigate and adjust various display settings. These controls include:
- Power/Menu/Enter Button: Used to power the monitor on/off, display the OSD, and confirm selections within the menu.
- Volume/Right Button: Activates the volume adjustment bar and navigates right within the OSD.
- Eco/DCR/Down Button: Enters Eco/DCR adjustment mode and navigates down within the OSD.
- Clear Vision/Left Button: Activates Clear Vision mode and navigates left within the OSD.
- Source/Exit/Up Button: Functions as a source hotkey when the OSD is closed and navigates up within the OSD.
- Comprehensive OSD Settings: The OSD menu is divided into several categories for easy access to various adjustments:
- Luminance: Controls brightness, contrast, gamma, DCR (Dynamic Contrast Ratio), and Eco modes (Standard, Text, Internet, Game, Movie, Sports, Reading). It also includes an Overdrive setting to adjust response time.
- Color Setup: Allows users to select color temperatures (Warm, Normal, Cool, sRGB) or customize RGB gain. It also features DCB (Dynamic Color Boost) modes (Full Enhance, Nature Skin, Green Field, Sky-blue, AutoDetect) and a LowBlue Mode to reduce blue light emission for eye comfort, with options for Multimedia, Internet, Office, Reading, and Off.
- Picture Boost: This unique feature allows users to highlight a specific area of the screen with enhanced brightness and contrast, adjustable in terms of frame size, brightness, contrast, and position (H. Position, V. Position).
- OSD Setup: Manages OSD language, timeout, horizontal and vertical position, transparency, and a break reminder.
- Extra: Provides options for input selection, auto configuration, off timer, image ratio (Wide/4:3), DDC/CI (Display Data Channel/Command Interface) control, and a reset function to restore default settings.
- Clear Vision Function: This feature enhances the viewing experience by converting low-resolution and blurry images into clearer and more vivid visuals. Users can select between Weak, Medium, Strong, or Off settings, and there's a demo mode to showcase its effect.
- LED Indicator: The monitor includes an LED indicator that changes color to signify its operational status: blue for full power mode and orange for active-off mode.
- i-Menu (Screen+) Software: AOC provides "i-Menu" software, which allows users to adjust monitor display settings directly from their computer's desktop using on-screen menus, bypassing the need to use the physical OSD buttons on the monitor. This software also includes "Screen+", a desktop screen splitting tool that divides the desktop into different panels, enabling users to organize and manage multiple windows more efficiently. Screen+ supports multiple monitor displays, making multitasking easier.
- e-Saver Software: The AOC e-Saver software is a power management tool that helps users reduce energy consumption. It allows for timely shutdown of the monitor based on the PC's status (On, Off, Sleep, or Screen Saver). Users can configure specific shutdown times (in minutes) for each PC status, promoting energy saving and extending the monitor's lifespan.
- Plug & Play DDC2B Feature: The monitor is equipped with VESA DDC2B capabilities, allowing it to communicate its identity and display capabilities to the host system. This bi-directional data channel, based on the I2C protocol, enables the host to request EDID (Extended Display Identification Data) information, simplifying setup and ensuring optimal display configuration.
Maintenance Features
Proper maintenance is crucial for the longevity and optimal performance of the AOC Q32V3 monitor. The manual provides clear guidelines for cleaning and general care:
- Cabinet Cleaning: The monitor cabinet should be cleaned regularly with a soft cloth. For stains, a soft-detergent can be used, but strong detergents that could damage the product cabinet should be avoided. It is important to ensure no detergent leaks into the product during cleaning.
- Screen Cleaning: When cleaning the screen surface, a soft cleaning cloth should be used to prevent scratches. Detergents should not be applied directly to the screen.
- Power Disconnection for Cleaning: Always disconnect the power cord before cleaning the monitor to prevent electric shock and ensure safety.
- Ventilation: Maintaining adequate space around the monitor is essential for proper air circulation. The manual recommends specific distances (e.g., 4 inches/10cm on sides, 12 inches/30cm on top) to prevent overheating, which could lead to fire or damage. Ventilating openings should not be blocked by tables or curtains.
- Handling and Placement:
- The monitor should not be placed on unstable surfaces (cart, stand, tripod, bracket, or table) to prevent falls and potential injury or damage. Only manufacturer-recommended accessories should be used for mounting.
- Objects should never be pushed into the slots on the monitor cabinet, as this could damage internal circuit parts and cause fire or electric shock. Liquids should not be spilled on the monitor.
- The front of the product should not be placed on the floor.
- When mounting on a wall or shelf, a manufacturer-approved mounting kit and instructions must be followed.
- The monitor should not be subjected to severe vibration or high impact conditions during operation or transportation. Dropping or knocking the monitor should be avoided.
- Power Source: The monitor should only be operated from the type of power source indicated on its label. If unsure, consult the dealer or local power company. For safety, the monitor is equipped with a three-pronged grounded plug; if the outlet does not accommodate it, an electrician should install the correct outlet or an adapter should be used safely. Power strips and extension cords should not be overloaded to prevent fire or electric shock.
- Lightning Storms and Prolonged Non-Use: Unplugging the unit during a lightning storm or when it will not be used for long periods protects the monitor from damage due to power surges.
- Troubleshooting: The manual includes a troubleshooting section to help users resolve common issues such as no image on the screen, fuzzy pictures, flickering, or color defects. This section guides users through checks like power connections, cable connections (HDMI/DP), video card settings, and monitor drivers. It also advises on adjusting contrast, brightness, and refresh rates.
- Service Center Contact: In case the product emits strange smells, sounds, or smoke, users are instructed to immediately disconnect the power plug and contact a Service Center, emphasizing safety and professional repair.