8
Apeks ATX Second Stage Service Manual
9
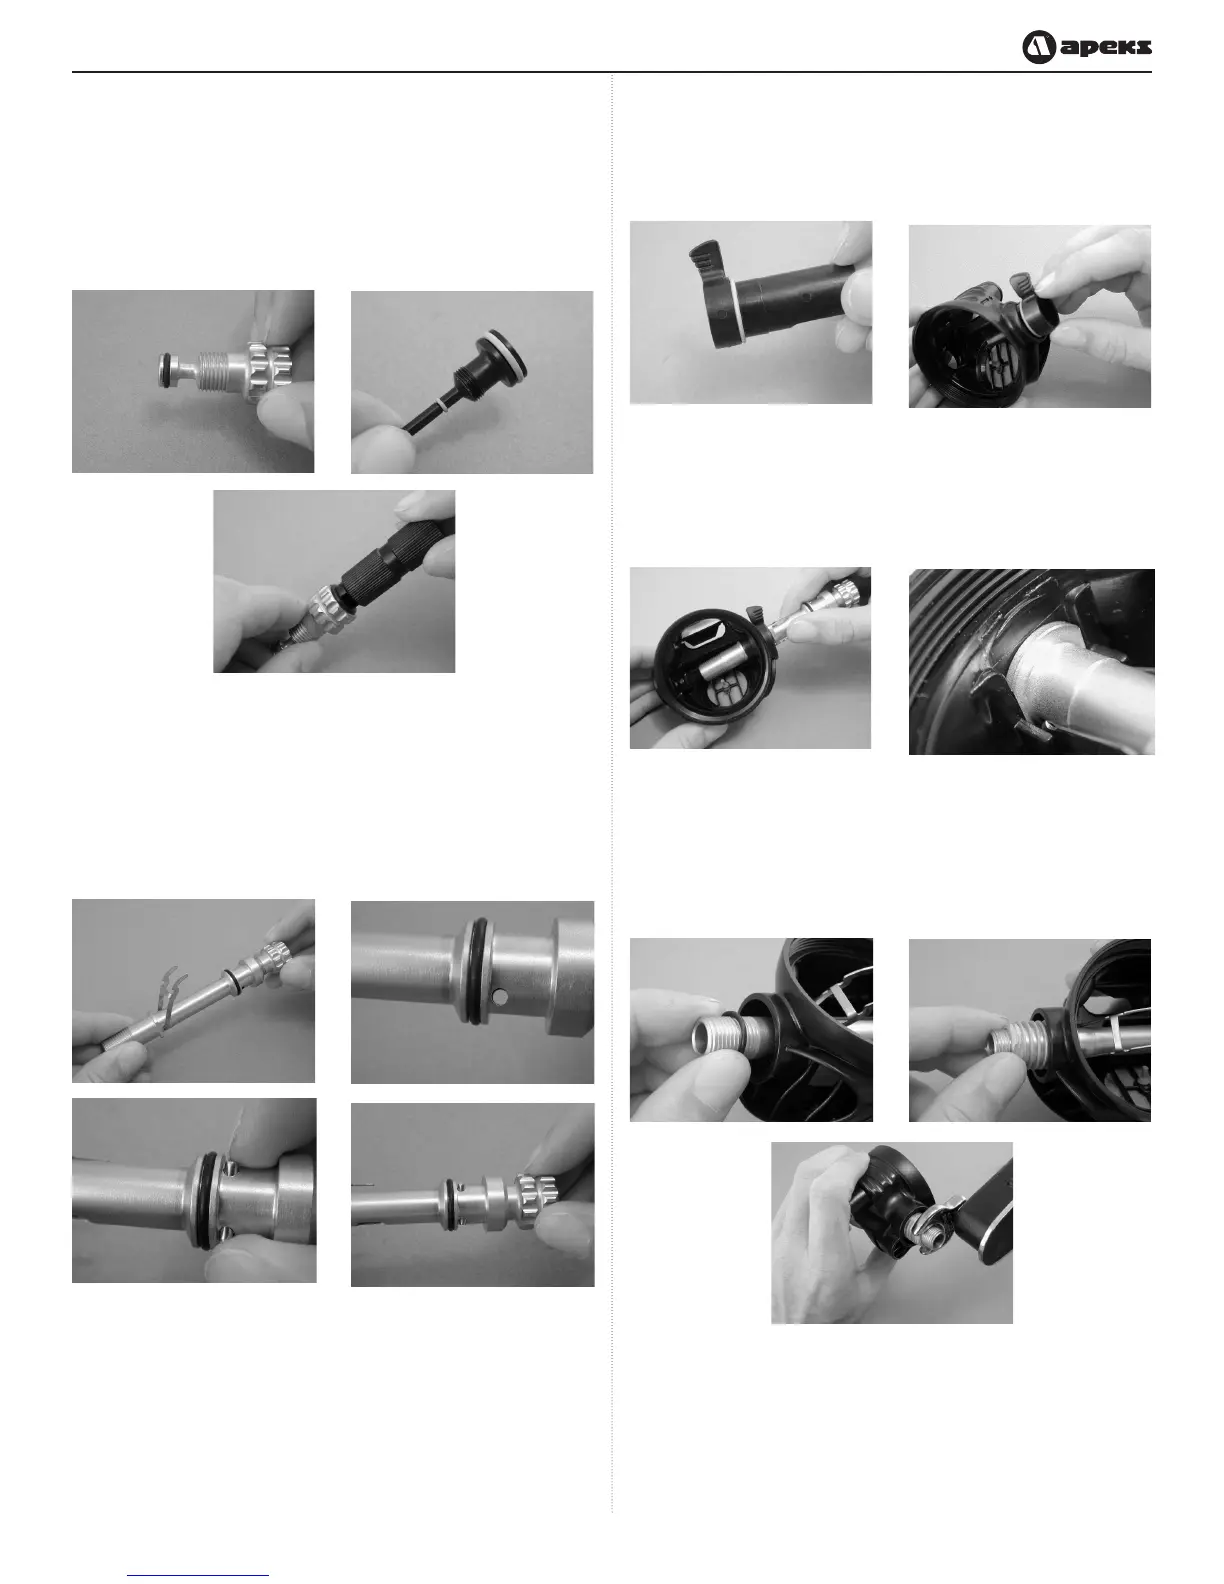
8. Install a new, lubricated o-ring (19) onto the adjustment
knob. Install a new, lubricated o-rings (16 & 17) onto the
spring adjuster (15). Using the spring adjuster tool (p/n
AT45), thread the spring adjuster into the adjustment knob
(18) until it is ush with the end of the adjustment knob,
then turn in one additional revolution
10. Install the adjustment knob into the valve body. There
should now be spring tension on the lever. Continue to
screw clockwise until the holes for the locking pin are clear.
Install the locking pin (29). Be sure that it sits evenly in the
hole. Back the adjustment knob out counterclockwise to ap-
ply tension on the pin and keep it from falling out.
11. Install a new, lubricated o-ring (13) onto the venturi lever
(14). Point the venturi lever upward and insert it into the
case. Press it against the case so the o-ring is captured.
12. While depressing the lever, insert the valve body through
the venturi lever and into the box bottom. Be sure that
the two index ats and the two lever feet engage the tabs
molded into the box bottom.
13. Slide a new, lubricated o-ring (12) down the threaded end
of the valve body, into the box bottom. Screw the heat
exchanger (11), wrench ats facing outward, onto the valve
body until nger tight. Using an ¹¹₁₆” crows foot or deep
socket, tighten the nut to a torque of 45 ±2 inch-lbs.
 Loading...


