10
XTX FSR & FST First Stage Regulator Maintenance Manual
Adjusting the First Stage
CAUTION: If the pressure gauge rapidly exceeds
11 bar, then there is a HP leak. Quickly close the
cylinder valve and purge the regulator. Refer to
the troubleshooting table for the causes of the
leak.
WARNING: Compressed air can be highly
explosive and is dangerous if misused. Ensure
cylinder valve is opened slowly. Use Eye and
Ear Personal Protective Equipment when
performing any tests involving Compressed
air.
Final Assembly
NOTE: The Pour Moulded Hydrostatic Diaphragm
(2) in the XTX does not need to be replaced with a
new one unless it is deemed damaged or worn by the
technician.
1. Attach the rst stage
(with no Blanking
Plugs tted) to a fully
charged 232 or 300
bar cylinder. Slowly
open the cylinder
valve, this will
remove any particles
or contaminants from
the rst stage.
2. Install new
lubricated ‘O’ Rings
(12,27) on all of
the Blanking Plugs
(26,28). Using a
5mm Allen key,
install all of the
Blanking Plugs into
the Valve Body.
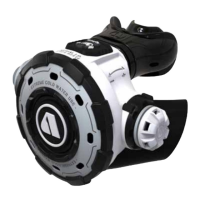
3. Attach a MP test gauge (0 - 20 bar) to a medium
pressure hose and thread the hose into a MP port.
If your test gauge does not have an over pressure
relief valve, you must also attach a properly adjusted
second stage to the rst stage to act as the relief valve
in case of a HP leak. Make sure Blanking Plugs are
installed in any open ports.
4. Assuming there are no leaks, close the cylinder valve
and depressurise the regulator by opening the gauge
relief valve or by pressing the purge button of the
second stage regulator. Adjust the medium pressure
by turning the Spring Adjuster (4): Turning in the
Spring Adjuster increases the MP; Turning out the
Spring Adjuster decreases the MP. Turn the Spring
Adjuster in 1/8th turn increments and purge the relief
valve several times after each adjustment. When the
MP is between 9 and 10 bar , purge the relief valve
on and off 10-15 times. After cycling, watch the gauge
needle. The rst stage MP should “lock-up” between 9
and 10 bar. Make any adjustments as necessary. Allow
the rst stage to stay pressurised for several minutes
and check the MP again to make sure it remains
“locked-up” between 9 and 10 bar. If the MP creeps
upward more than 0.25 bar, then there is a leak. Refer
to the troubleshooting table for possible causes.
5. Close the cylinder valve and depressurise the
regulator by opening the gauge relief valve or by
pressing the purge button of the second stage
regulator. Close the relief valve and repressurise
the system. The MP should still read between 9 and
10 bar. If the pressure reading is different than the
original setting, repeat steps 3 and 4 until the MP is
stable.
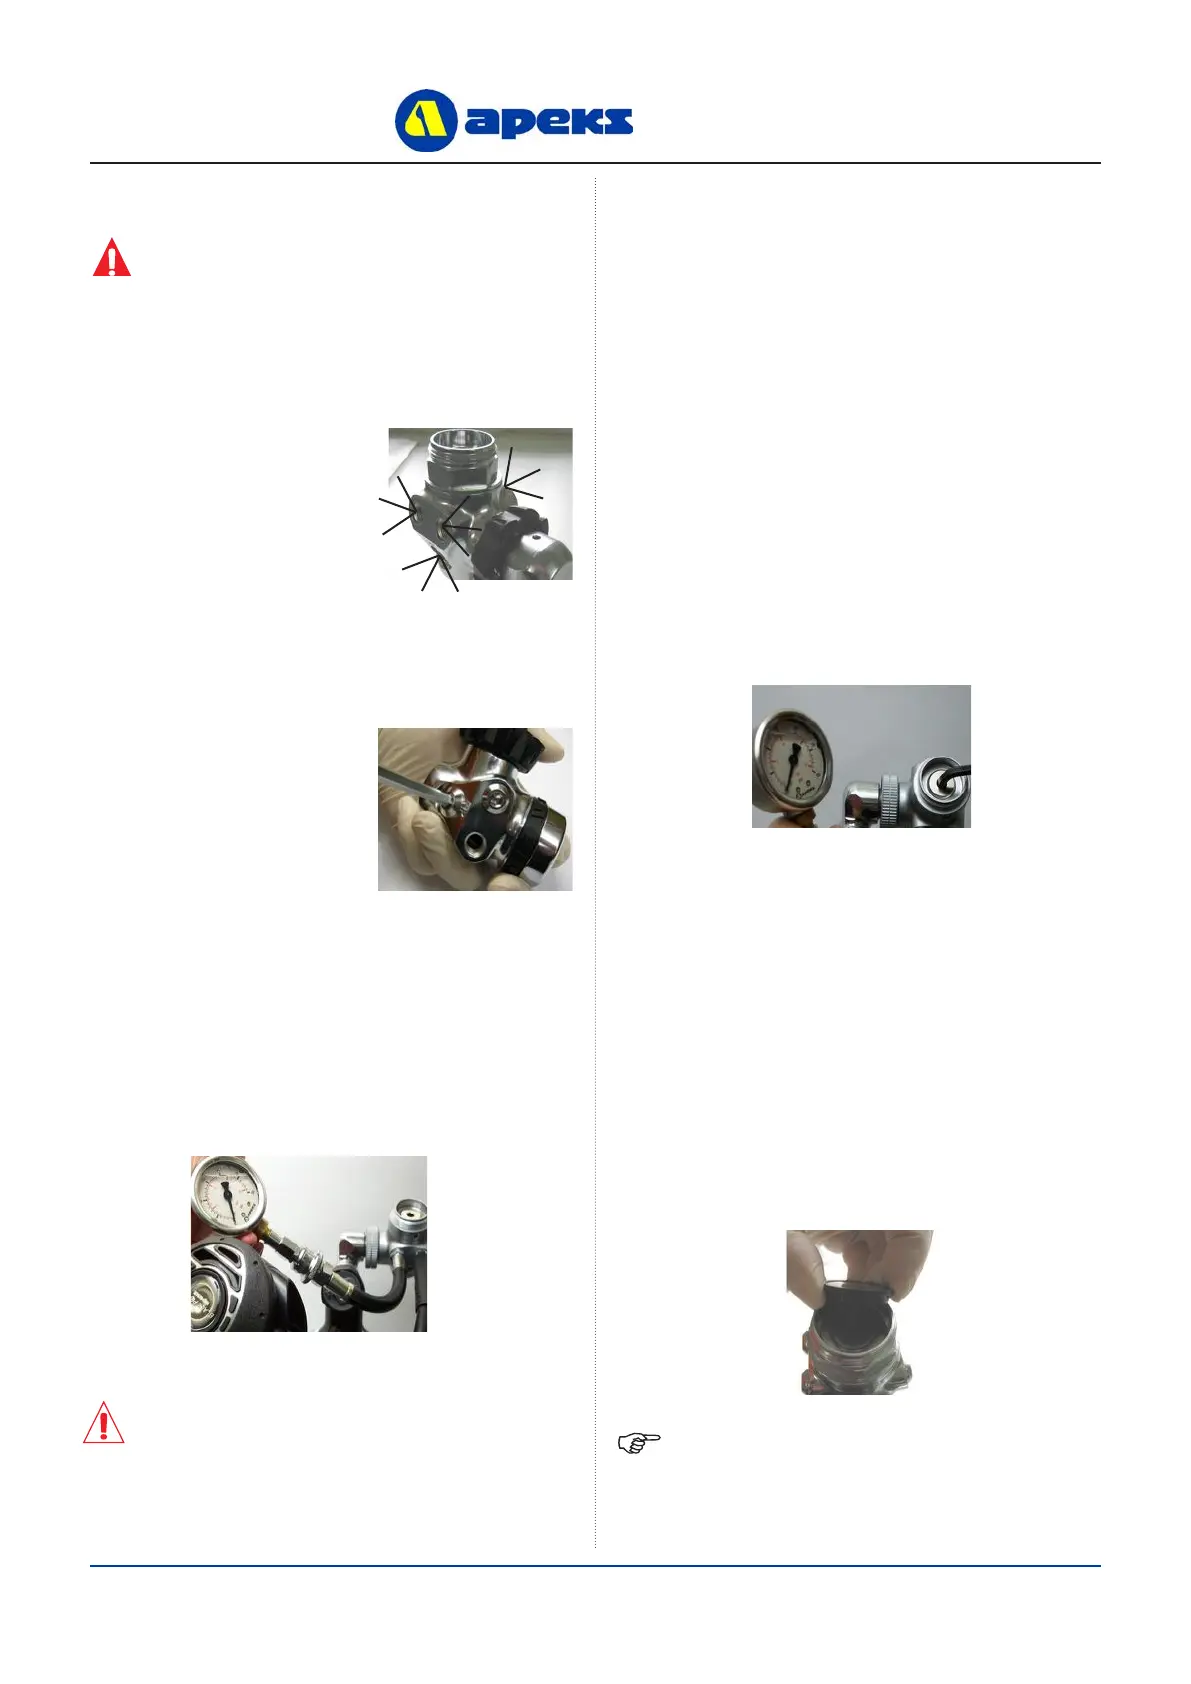
1. With the regulator still pressurised, insert the Load
Transmitter (3) into the Diaphragm Clamp (6). Press a
new Hydrostatic Diaphragm (2) into the Environmental
End Cap (1) (If required).

 Loading...