9
XTX FSR & FST First Stage Regulator Maintenance Manual
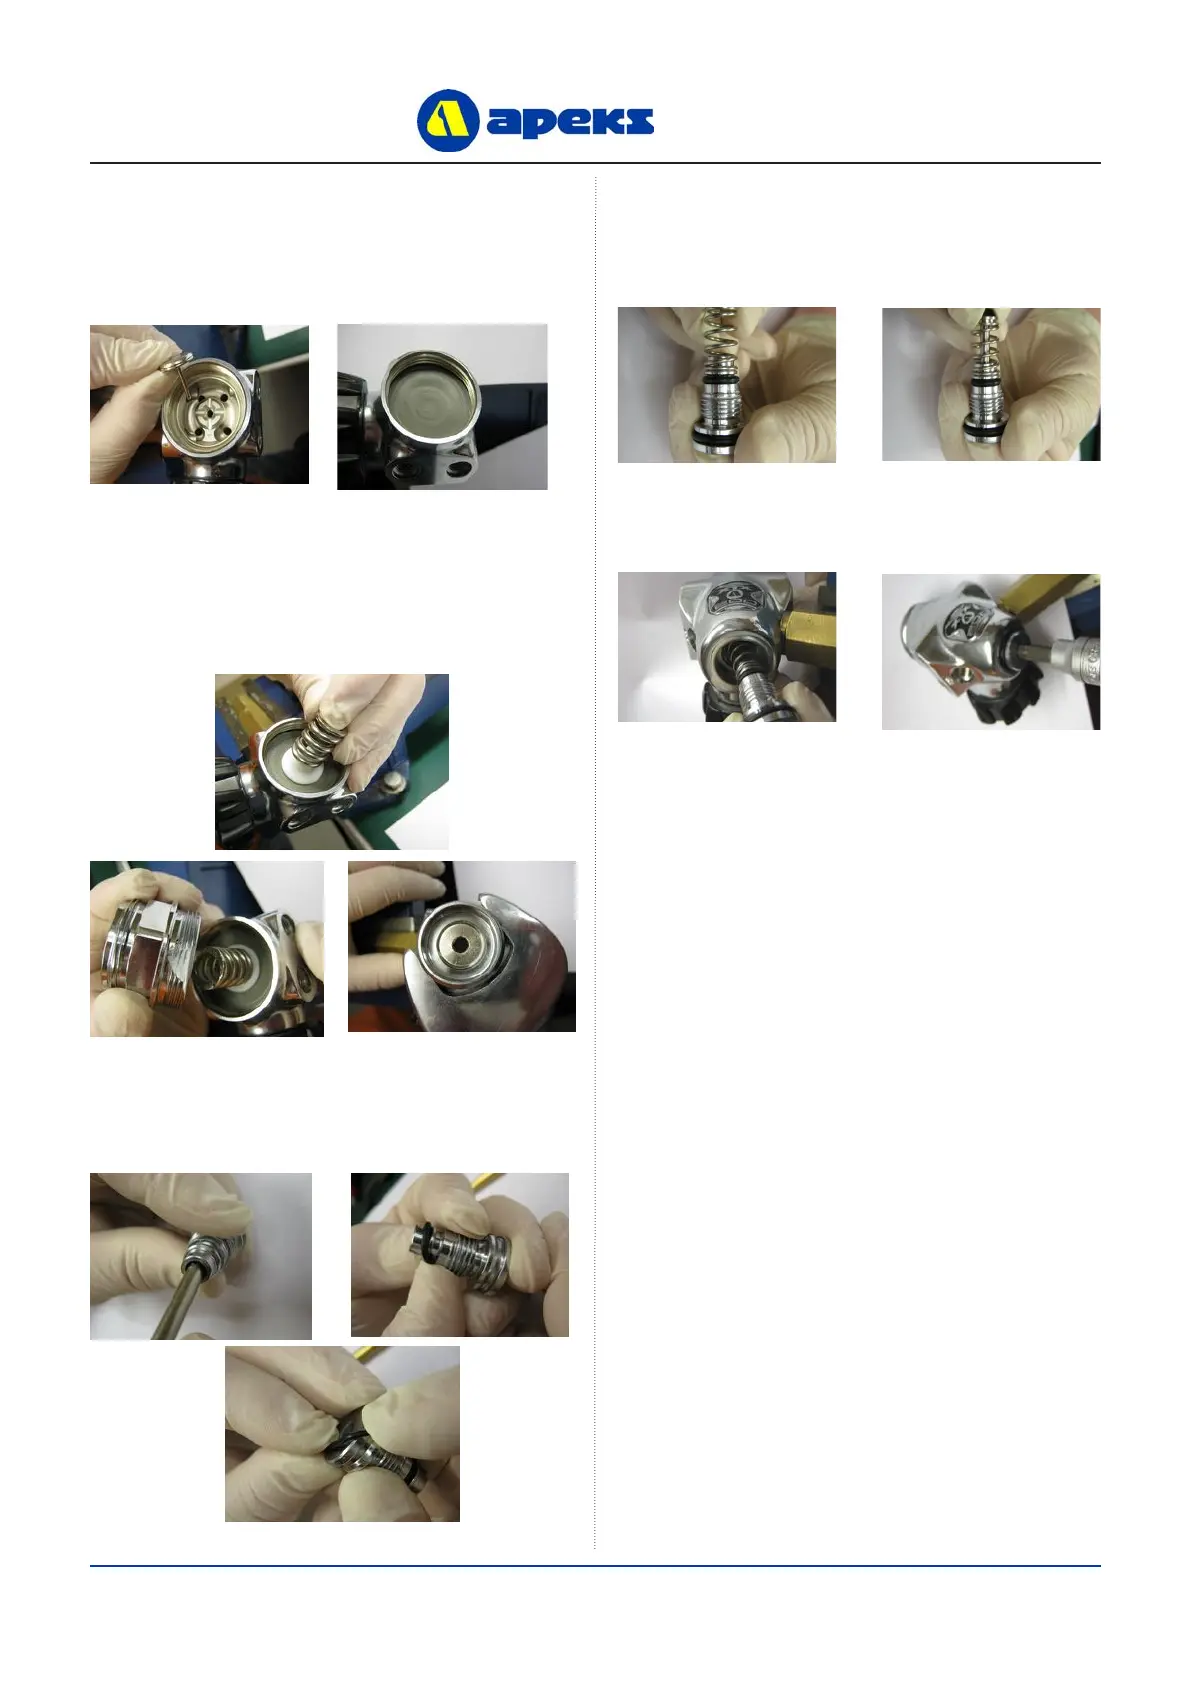
This Ends Re-assembly
Fitting of the Dry Sealed Chamber
7. Drop the Valve Lifter (10) through the centre hole of
the Valve Body (11). Press a new Diaphragm (9) into
the Body. Run your nger around the edge of the
diaphragm to make sure it is properly seated.
8. Place the spring carrier (8) and Spring (7) centrally onto
the diaphragm (9).Thread the Diaphragm Clamp (6) onto the
Valve Body (11), making sure that the Spring (7) remains on
the Spring Carrier (8), until hand tight. Using a 34mm Span-
ner (PN AT47) tighten the Diaphragm Clamp (6) until there is
metal to metal contact. Ret the Moulded Ring (5).
9. Fit new Lubricated ‘O’ Rings (12 & 17) onto the H.P.
Balance Plug. Install a new lubricated ‘O’ Ring (16)
into the end of the H.P Balance Plug. Ensure that the ‘O’
Ring is ush.
10. Press the Spring (15) onto the end of the H.P. Balance
Plug. Carefully insert a new H.P. Valve (14) into the
H.P Balance plug assembly.
11. Insert the H.P. Balance Plug (18) into the Valve Body
(11) and tighten using a 6mm Allen key bit in a torque
wrench to 8 Nm.

 Loading...