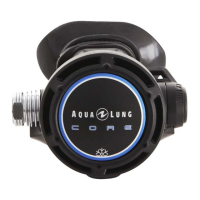
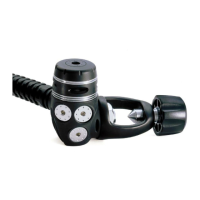
Service Manual Core 1
st
stage
Service Manual Core 1
st
stage
Rev. 05/2015 15
FIRST STAGE ADJUSTING
1. Connect the first stage to a MP gauge 0-16 bar. If the
gauge is not fitted with an over-pressure valve, then
it is vital that the second stage is fitted so that it can
act as an over-pressure valve in the event of an HP
leak.
2. Connect the first stage to a cylinder charged to 200
bars. Slowly open the cylinder valve to put the
regulator under pressure.
3. Check that there is no leak.
4. Using an 8mm Allen key, turn the MP adjusting screw
(128117 or 127566) by increments of 1/8 of a turn
and purge the regulator several times, using the
second stage, after each increment.
Screwing the MP adjusting screw, increase the MP
value, unscrewing it, decrease the MP value.
To know which MP value is required, refer to Table
5. Checking specifications.
5. Leave the regulator under pressure for several
minutes and check that the MP remains stable. If the
MP rises more than 0.3 bar this indicates that there
is a leak. Refer to Table 1. Troubleshooting Guide.
6. Close the cylinder valve and completely purge the
regulator. Put the regulator under pressure once
more and check that the MP is stable. If the MP is
different, repeat steps 4 and 5 until a stable pressure
is obtained.
7. For wet chamber version, disconnect the regulator
from the pressure gauge and screw the MP plug
(122233) equipped with its O-ring (124703).
FINAL REASSEMBLY FOR
SUPREME VERSION
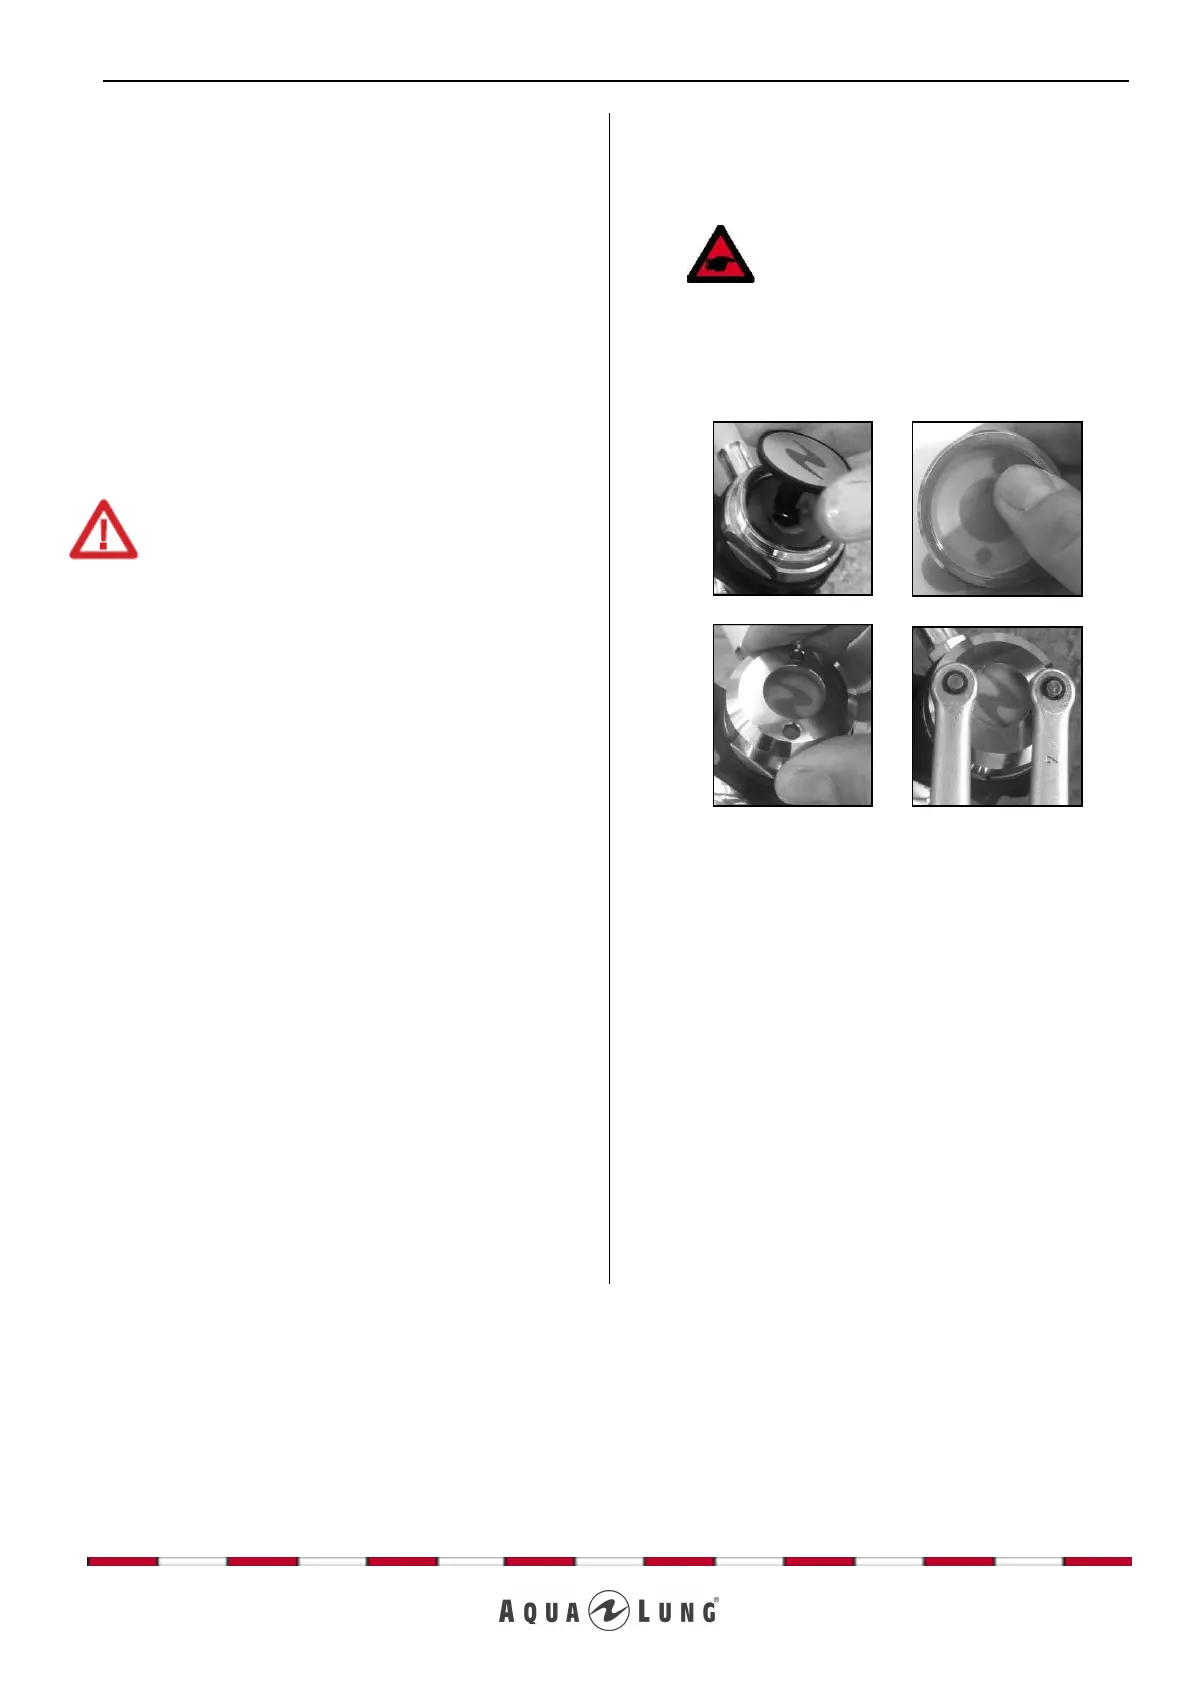
1. With the regulator under pressure, insert the piston
(127581) into the dry chamber. Place the diaphragm
(127579) right to the bottom of the dry chamber plug
(129902). Screw it fully home on the body using a lug
spanner (129198).
2. Check that the MP is still stable (see Table 5. Checking
specifications).
3. Close the cylinder valve and purge the regulator.
Disconnect the regulator from the pressure gauge and
screw the MP plug (122233) equipped with its O-ring
(124703).
FINAL REASSEMBLY END
ATTENTION: if the MP indicated by the gauge
rapidly exceeds 9.5 bar for standard version and
8.5 bar for supreme version, then this indicates a
HP leak. Close the cylinder valve immediately and
purge the regulator. Refer to Table 1.
Troubleshooting Guide.
NOTE: The following step should be carried
out with the regulator under pressure.