Service Manual Core 1
st
stage
Service Manual Core 1
st
stage
Rev. 05/2015 6
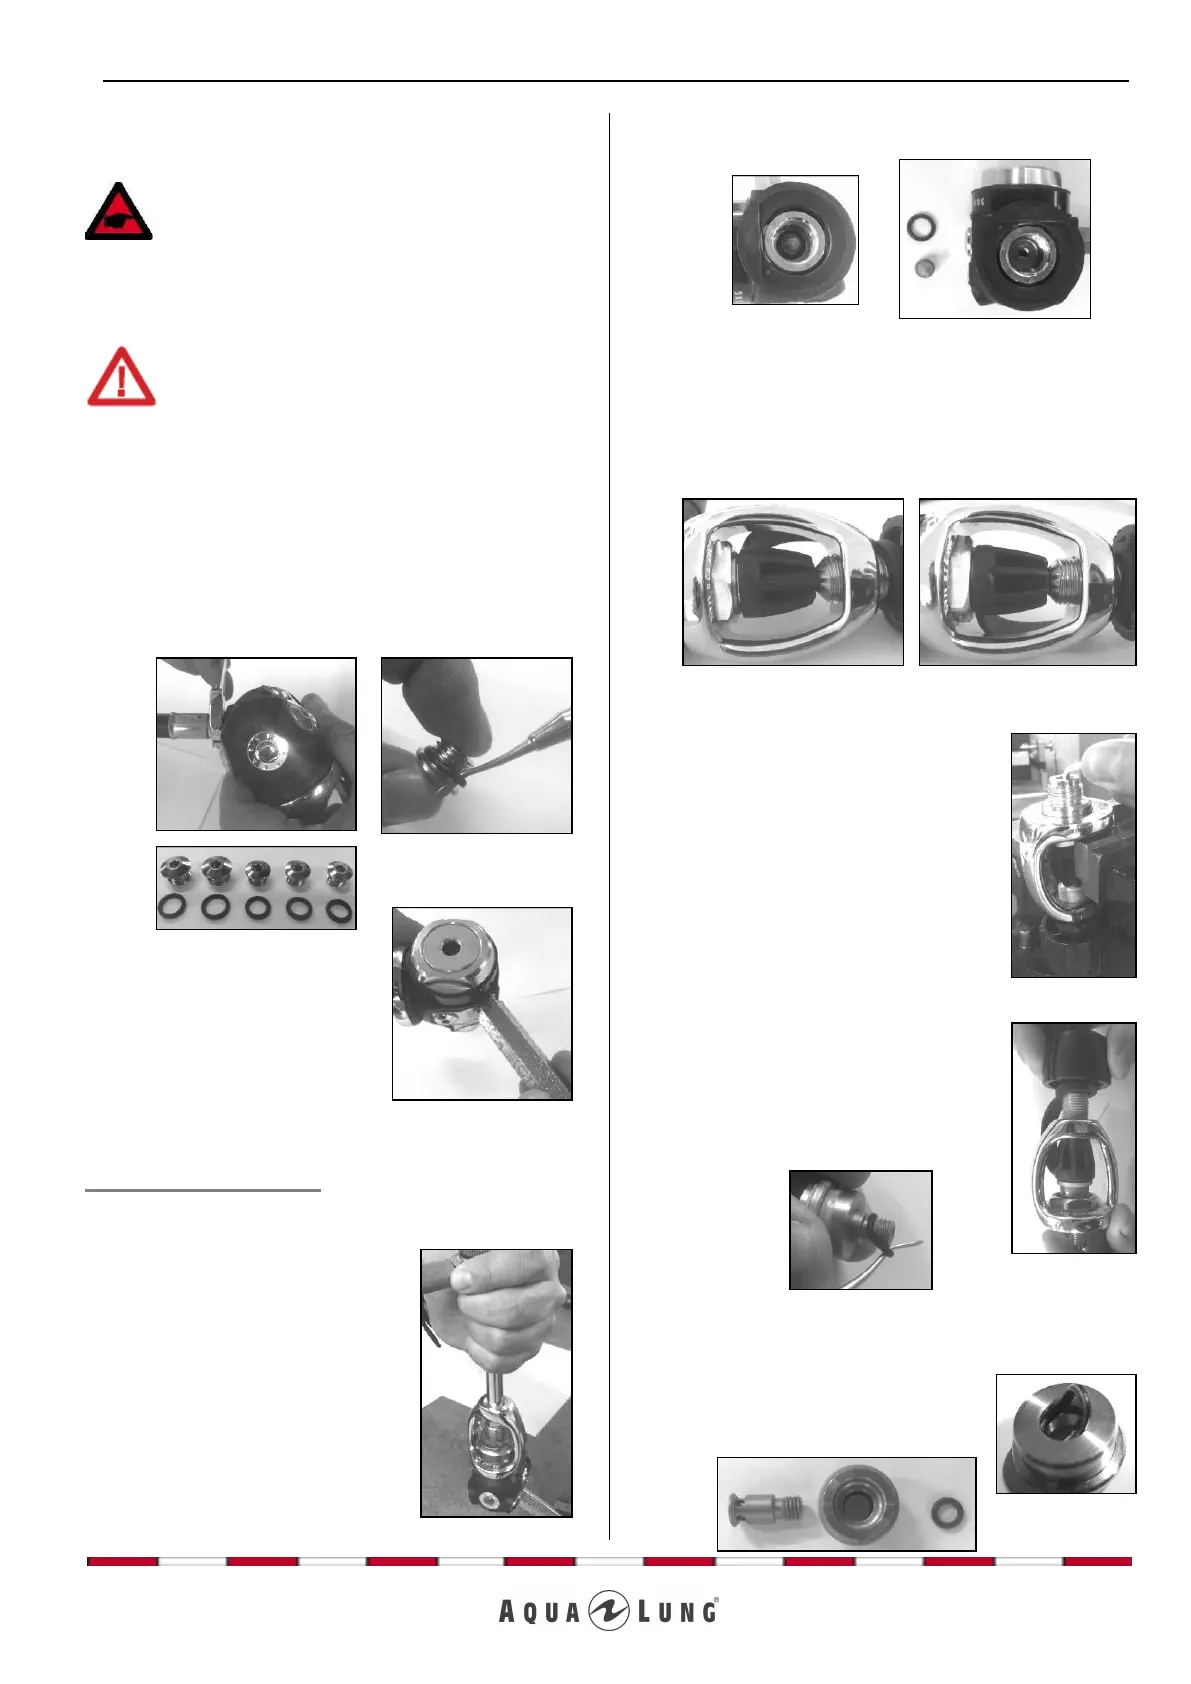
DISASSEMBLY PROCEDURE
1. Unscrew the hose from the first stage using a 9/16”
spanner.
Unscrew MP plugs (122233) and HP plugs (122237)
with a 4mm Allen key. Remove the O-rings (124701
and 124703) with the tool (506001).
Screw the holding tool
(116320) into a free MP port.
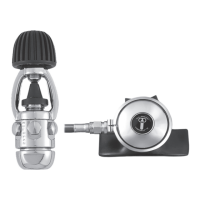
YOKE CONNECTION
Start after point 1
2. Remove the yoke screw
(128631) and the dust cap
(124555).
Securely clamp holding tool
(116230) into vice with yoke
connection facing up. Place the
socket (A11001) on the yoke
retainer (129242) and unscrew
it. Remove the yoke retainer and
the yoke (124611) from the
body.
Remove the regulator from the
vice.
3. Remove the filter (129209) and the O-ring (124703)
from the body (129254).
4. Take the assembly yoke retainer (129242) & yoke
(124611). Put back in place the dust cap (124555)
and the yoke screw (128631) into the yoke. Screw
the yoke screw and compress the dust cap between
the yoke retainer and the yoke screw, to open the
ACD connection (see pictures below).
Yoke screw not screwed Yoke screw enough
enough screwed
Securely clamp the assembly into
vice by gripping the yoke retainer
hexagon part with yoke connection
facing down. With a 3mm Allen key,
turn clockwise to unscrew the yoke
shutter valve (129207).
Remove the assembly from the
vice.
5. Remove the yoke screw (128631)
and the dust cap (124555) to
disassemble the system.
Using the tool (506001), remove the
O-ring (473056) of the yoke shutter
valve (129207).
Separate the yoke shutter valve from the yoke shutter
crown (129205).
Extract the O-ring (124703) from
the inside groove of the yoke
shutter crown with the tool
(506001).
NOTE: Before commencing disassembly,
consult the exploded view to check the reference
numbers of all parts requiring replacement.
These parts should all be replaced by new parts
and should not be re-used on the pretext that the
regulator has seen little use since its
manufacture or since its last service.
ATTENTION: Use only the special tool (506001)
when removing O-rings in order to avoid damaging
the seal recess. The slightest scratch on a sealing
surface could cause a leak. If a surface should be
damaged then this part should be replaced with a
new one. Do not use any pointed instrument or
metal tool to remove O-rings.