Do you have a question about the Aquasana OptimH2O EQ-OPTM and is the answer not in the manual?
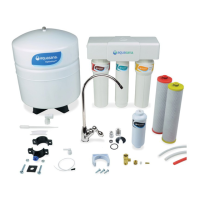
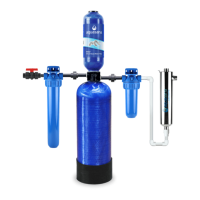
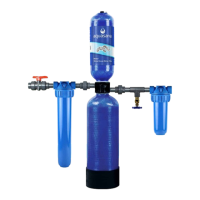
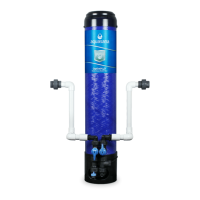
Install the drain valve assembly into the bottom inlet/outlet cap using thread tape and hand-tighten.
Connect the flow meter assembly to the bottom inlet/outlet cap, ensuring correct flow direction.
Connect the bypass manifold to the flow meter assembly, hand-tightening only.
Connect the appropriate plumbing connector (straight or 90°) to the bypass manifold, handling the cartridge carefully.
Connect the bottom inlet/outlet cap assembly to the filter housing, ensuring the plugged fitting is on the right side.
Connect 3/8" PEX plumbing to the drain valve assembly.
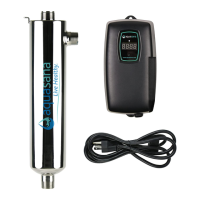
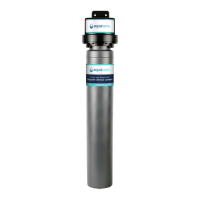
Install 3 AAA batteries into the umbrella cap and connect it to the power supply.
Push down the top cap with both hands to unseat the snap ring.
Carefully grasp the handle of the snap ring and pull it inward and upward to remove it.
Lift the top cap out of the housing assembly by pulling up on the handles.
Look into the tank to locate the small opening centered at the bottom.
Remove the filter cartridge from packaging and place it in the tank with the double O-ring facing down.
Position the cartridge to align with the bottom center opening of the tank.
Press down on the cartridge to ensure the double O-ring seal moves into the bottom opening.
Place the top cap back into its original location on the tank.
Reattach the top tank snap ring, pulling up on the cap to seat the O-rings.
Push the red depressurization button to release air as water fills the tank.
Run water through the system for 10 minutes before initial use.
Details model, size, micron rating, NSF/ANSI certifications, flow rate, temperature, pressure, and electrical requirements.
Explains IAPMO testing and certification for NSF/ANSI standards and actual performance dependencies.
Presents data on Chlorine and Chloramines reduction from internal testing.
Use only with cold water and comply with all local laws and regulations.
Mentions laboratory testing conditions, performance variations, and cyst reduction compatibility.
Notes compliance with NSF/ANSI 61 and California Prop 65 standards for materials.
Addresses potential electrical grounding issues in metal plumbing systems and required bonding.
Advises against using unapproved sealants/tools and recommends flushing and filter changes.
States that removed substances may not be present in all users' water.
Warns against using with microbiologically unsafe water without disinfection.
Details the +12V DC power input, battery backup using 3 AAA batteries, and expected battery life.
Explains how the totalizer tracks gallons using a turbine-style water meter with a magnetic pickup.
Describes how the board monitors power sources and battery status, and how the totalizer value is saved.
Explains normal LED colors (Green, Yellow, Red), flow-dependent patterns, and low battery indication.
Details how the pushbutton is used to reset the totalizer and confirms the reset action.
Details what is covered (defects in materials/workmanship) and what is not covered (cartridges, misuse, damage).
Specifies the 60-month warranty period and outlines the process for obtaining service and replacement parts.
Explains how state law affects warranty rights and notes that warranty registration is not required for factory direct purchases.
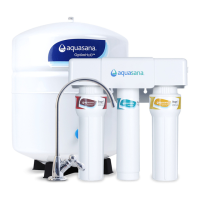
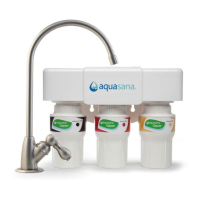
| Filtration Technology | Reverse Osmosis |
|---|---|
| Installation Type | Under sink |
| Filter Life | 6 months or 600 gallons |
| Contaminant Reduction | 99% of contaminants including lead, chlorine, and fluoride |
| Operating Temperature | 40°F to 100°F |
| Certifications | NSF/ANSI Standard 58 |