57
1. Secure the ATV on a support stand
to elevate the front wheels.
2. Remove both front wheels.
3. Inspect the four tie rod boots for
cracks, tears, or perforations.
4. Check the tie rod end free-play by
grasping the tie rod near the end and
attempting to move it up and down.
5. If boot damage is present or tie rod
end free-play seems excessive, con-
tact an authorized Arctic Cat ATV
dealer for service.
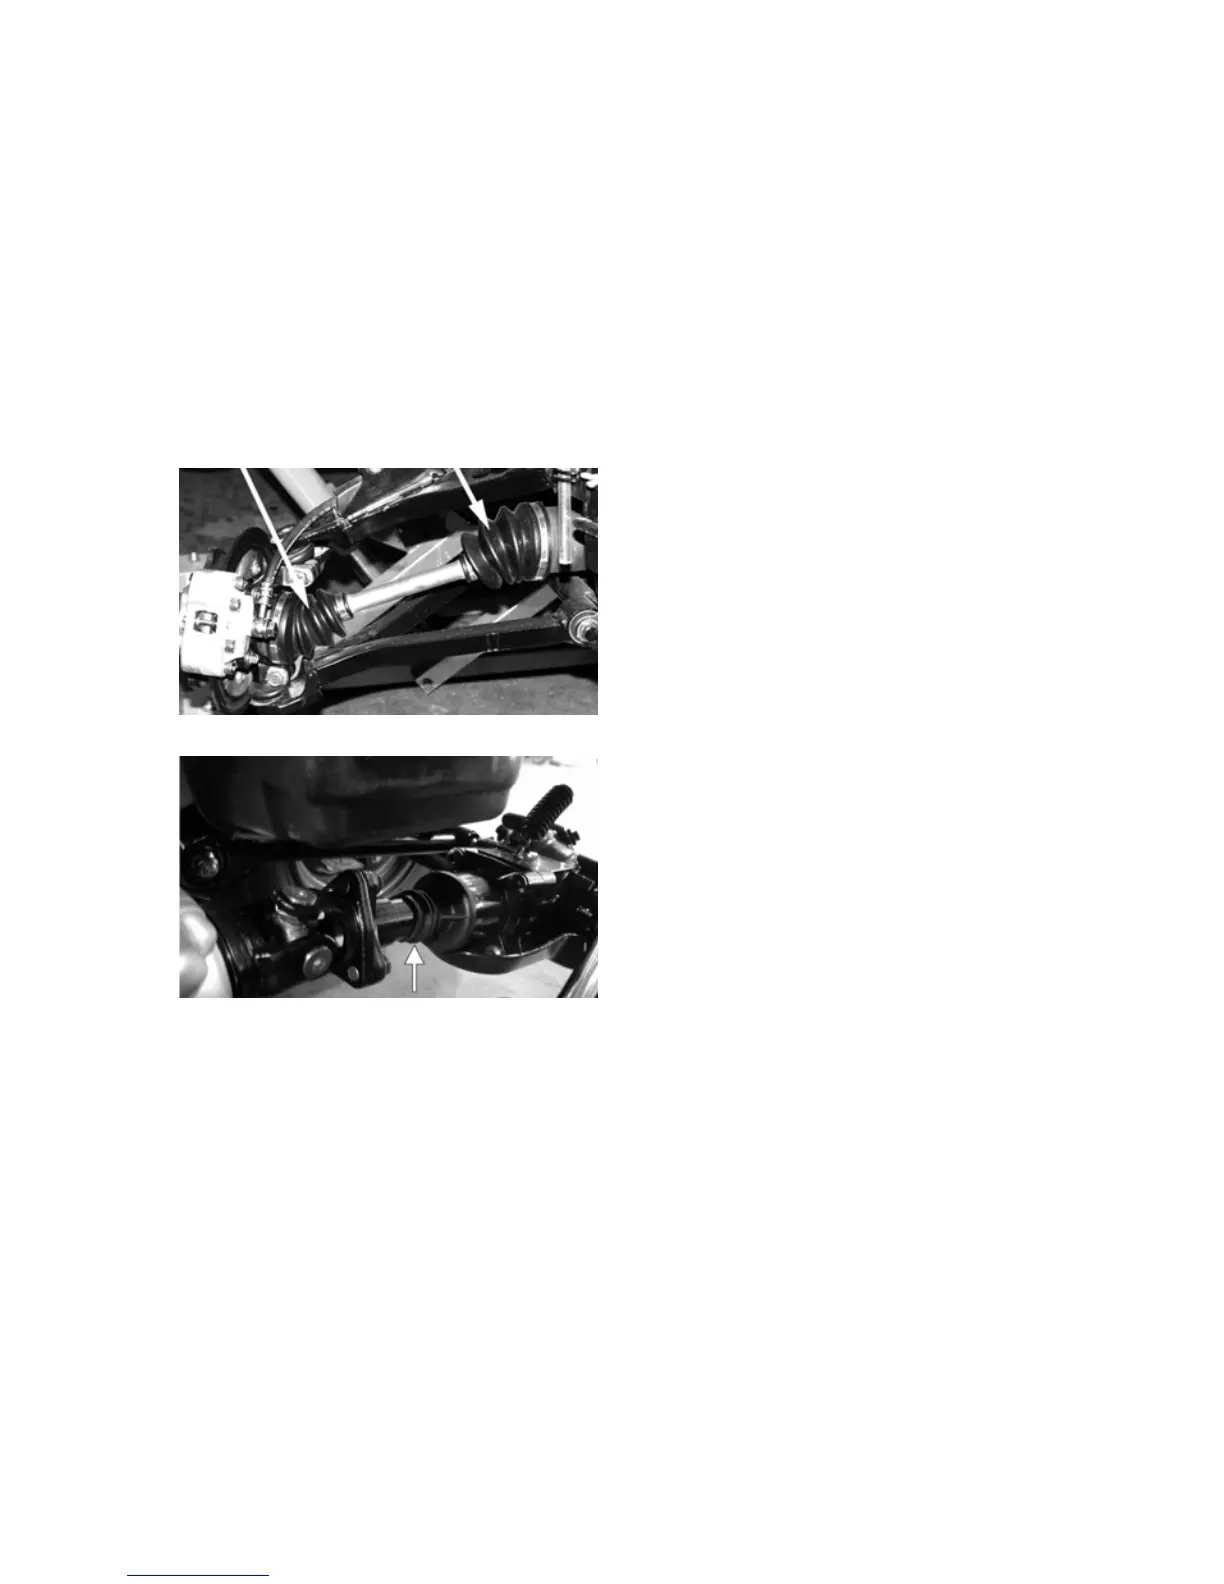
Drive Axle Boots
CC793
CF125A
1. Inspect all drive axle boots for
cracks, tears, or perforations.
2. If boot damage is present, contact an
authorized Arctic Cat ATV dealer
for service.
Battery
The battery is located under the seat.
After being in service, batteries require
regular cleaning and recharging in order
to deliver peak performance and maxi-
mum service life. The following proce-
dures are recommended for cleaning and
maintaining batteries. Always read and
follow instructions provided with battery
chargers and battery products.
NOTE: Refer to all warnings and
cautions provided with the battery
or battery maintainer/charger.
Loss of battery charge may be caused by
ambient temperature, ignition OFF cur-
rent draw, corroded terminals, self dis-
charge, frequent start/stops, and short
engine run times. Frequent winch usage,
snowplowing, extended low RPM opera-
tion, short trips, and high amperage
accessory usage are also reasons for bat-
tery discharge.
Maintenance Charging
NOTE: Arctic Cat recommends
the use of the CTEK Multi US 800
or the CTEK Multi US 3300 for bat-
tery maintenance charging. Main-
tenance charging is required on all
batteries not used for more than
two weeks or as required by bat-
tery drain.
1. When charging a battery in the vehi-
cle, be sure the ignition switch is in
the OFF position.
NOTE: On the 400, be sure to
maintain the fluid of the battery at
the UPPER LEVEL. Use only dis-
tilled water when adding fluid to
these batteries.
NOTE: On the 450, the sealing
strip should NOT be removed and
NO fluid should be added.
2. Clean the battery terminals with a
solution of baking soda and water.
3. Be sure the charger and battery are in
a well-ventilated area and ensure the
battery charger cables will not contact
any battery acid. Be sure the charger
is unplugged from the 110-volt elec-
trical outlet.
4. Connect the red terminal lead from
the charger to the positive terminal
of the battery; then connect the black
terminal lead of the charger to the
negative terminal of the battery.