INSTALLATION INSTRUCTIONS –FRONT & REAR JK ALUM. TUBE FENDER FLARES
PART NUMBERS- 1500201;2500201;1500202;2500202
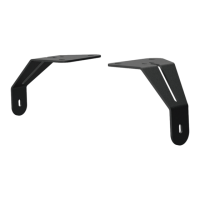
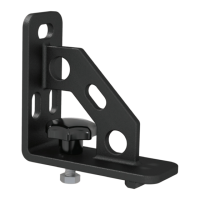
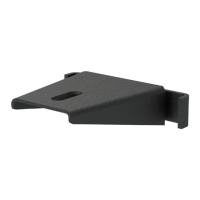
PARTS LIST:
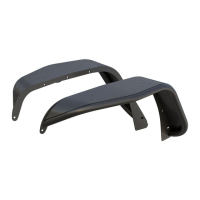
(1) DRIVER SIDE TUBE FENDER FLARE
(1) PASSENGER SIDE TUBE FENDER FLARE
(16) 6MM FLAT HEAD SCREWS
(14) 6MM THREADED METAL INSERTS
(16) 6MM FLAT WASHERS
(16) 6MM SPLIT WASHERS
(1) 6MM INSERT TOOL
Notice: pls notice that the REAR JK FENDER FLARES have 16 pcs threaded metal inserts
PRE INSTALLATION AND NOTICES:
1. INSPECT PACKAGING FOR ALL ITEMS LISTED PRIOR TO INSTALLATION
2. INSTALL AND TEST FIT FENDER FLARES BEFORE APPLYING FINISH (PAINT/POWDER COAT)
3. CHECK WITH YOUR LOCAL REGULATION TO ENSURE THAT THE FENDER COMPLIES WITH TIRE
COVERAGE AND TURN SIGNAL COVERAGE. IT IS THE RESPONSIBILITY OF THE USER.
4. CAREFULLY READ THE PRODUCT WARRANTY AND DISCLAIMER.
INSTALL:
1. READ AND UNDERSTAND INSTRUCTIONS BEFORE INSTALL
2. HAVE VEHICLE ON LEVEL SURFACE AND SET EMERGENCY BRAKE
3. START WITH THE DRIVER SIDE, REMOVING THE INNER FENDER WELL BY USING 10MM SOCKET
TO REMOVE ALL HEX HEAD BOLTS. REMOVE ALL PUSH IN RETAINERS (FACTORY PLASTIC CLIPS).
CAREFULLY OBSERVE THE PLASTIC INNER FENDER FLARE, AND TRY NOT TO DAMAGE WHEN
REMOVE CLIPS. ONCE REMOVED SET THE INNER FENDER ASIDE, AS YOU’LL BE REINSTALLING
LATER.