ARIESAUTOMOTIVE.COM
•
NEED ASSISTANCE?
•
87 7. 2 8 7. 8 6 3 4
•
3025183-INS-RB
•
PAGE 1
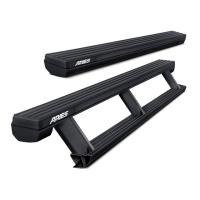
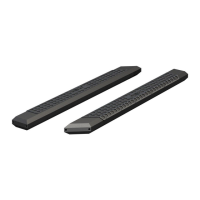
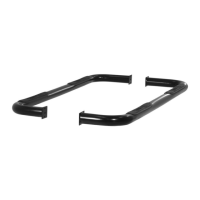
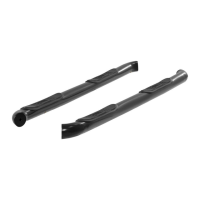
Product Photo
Tools Required
Ratchet Drill
Socket set Drill bit set
Zip ties Level
Level of Difficulty
Moderate
WARNING
Improper electrical installation may result in personal injury. Unless
you are familiar with the installation and handling of electrical systems,
have this step performed by someone who has that familiarity.
INSTALLATION MANUAL
3025183
This is the second of two manuals
required to complete this installation.
The first manual is included with
your mounting brackets.
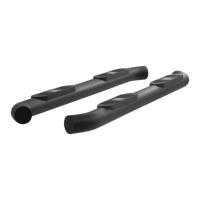
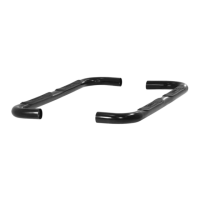
Parts List
1 Driver / left ActionTrac
™
powered running board
1 Passenger / right ActionTrac
™
powered running board
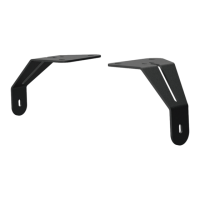
Attachment hardware is supplied with the
mounting brackets. Hardware quantities will
vary depending on the vehicle application.
Torque Specifications
Metric
M6 bolt 3 ft-lbs.
M8 bolt 7 ft-lbs.
M10 bolt 16 ft-lbs.
M12 bolt 28 ft-lbs.
SAE
1/4" bolt 3 ft-lbs.
5/16" bolt 7 ft-lbs.
3/8" bolt 16 ft-lbs.
7/16" bolt 20 ft-lbs.
1/2" bolt 28 ft-lbs.
Use above torque setting unless otherwise noted
This is the second of two manuals
required to complete this installation.
The first manual is included with
your mounting brackets.
Notes and Maintenance
Before you begin installation, read all instructions thoroughly.
Proper tools will improve the quality of installation and reduce the time required.
No maintenance required on waterproof harness or water-resistant motors.
If mud or dirt is built up on the steps, simply spray them off and let them air dry.
Mild automotive detergent may be used to clean the product. Do not use dish detergent, abrasive
cleaners, abrasive pads, wire brushes or other similar products that may damage the finish.
Periodic inspection of all wires and connections should be
performed to ensure there is no visible damage or loose connections.
Refer to the table to the left when securing hardware during the
installation process to help prevent damage to the product or vehicle.
Front
Rear
Product Registration
CURT Group stands behind our products with industry leading warranties.
You can help us continue to improve our product line and help us understand
your needs by registering your purchase by visiting:
warranty.curtgroup.com/surveys
At CURT Group, customer is king. We value your feedback and we use that information to make
improvements on our products. Please, take a minute and let us know how we are doing.
CAUTION
If the step fails to actuate completely (open or closed), do not attempt to force the step open or
close. Applying force in this condition will damage the product and void your warranty. Refer to
the troubleshooting guide on the last page of the instruction manual to resolve potential issues.
Weight Capacity
650 lbs.
Weight capacity is static and
limited to bracket weight ratings