EasyManua.ls Logo

Aries AL234045 User Manual

Aries AL234045
5 pages
To Next Page IconTo Next Page
Page #1 background imageLoading...
Page #1 background image
PAGE 1 • AL234045-INS-RE877.287.8634 • NEED ASSISTANCE? ARIESAUTOMOTIVE.COM
Product Image
Level of Difficulty
Easy
Parts List
1 Driver / left side bar
1 Passenger / right side bar
6 Mounting bracket, universal
2 Mounting bracket,
passenger / right, front, upper
2 Mounting bracket,
passenger / right, front, lower
14 Clip nut, M8
30 Hex bolt, M8 x 25mm
30 Flat washer, M8
30 Lock washer, M8
2 Hex bolt, M10 x 30mm
2 Flat washer, M10
2 Lock washer, M10
Tools Required
Ratchet Socket, 16mm
Wrench, 16mm Socket, 13mm
Level
Scan
for helpful
install tips
Front
Rear
INSTALLATION MANUAL AL234045
Notes and Maintenance
Before you begin installation, read all instructions thoroughly.
Proper tools will improve the quality of installation and reduce the time required.
To protect the product, wax after installing. Regular waxing is recommended
to add a protective layer over the finish. Do not use any type of polish or wax
that may contain abrasives that could damage the finish.
For polished, gloss and other smooth finishes,
polish may be used to clear small scratches and scuffs on the finish.
Mild automotive detergent may be used to clean the product.
Do not use dish detergent, abrasive cleaners, abrasive pads,
wire brushes or other similar products that may damage the finish.
Refer to the table to the left when securing hardware during the
installation process to help prevent damage to the product or vehicle.
Torque Specifications
METRIC
M6 bolt 3 ft.-lbs.
M8 bolt 7 ft.-lbs.
M10 bolt 16 ft.-lbs.
M12 bolt 28 ft.-lbs.
SAE
1/4" bolt 3 ft.-lbs.
5/16" bolt 7 ft.-lbs.
3/8" bolt 16 ft.-lbs.
7/16" bolt 20 ft.-lbs.
1/2" bolt 28 ft.-lbs.
Use above torque setting
unless otherwise noted
Question and Answer IconNeed help?

Do you have a question about the Aries AL234045 and is the answer not in the manual?

Aries AL234045 Specifications

General IconGeneral
BrandAries
ModelAL234045
CategoryAutomobile Accessories
LanguageEnglish

Summary

Parts List

Tools Required

Torque Specifications

Notes and Maintenance

Installation Steps

Step 1: Locate Mounting Tabs

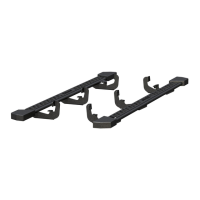
Locate the five mounting tabs along the bottom edge of the vehicle body.

Step 2: Attach Front Driver Bracket

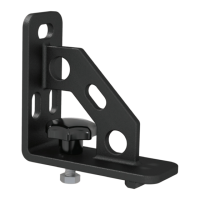
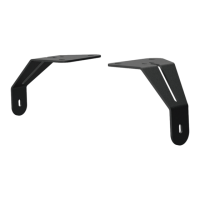
Secure a universal mounting bracket to the body panel using an M8 hex bolt.

Step 3: Secure Driver Bracket to Tab

Use a clip-nut and M8 hex bolt to secure the bracket to the mounting tab.

Step 4: Install Second Driver Bracket

Repeat steps 2 and 3 to install the second bracket.

Step 5: Attach Fourth Mounting Tab Bracket

Insert clip nut and secure bracket top with M8 hardware.

Step 6: Install Final Driver Bracket

Repeat step 5 to install the fourth and final bracket on the driver side.

Step 7: Position Side Bar

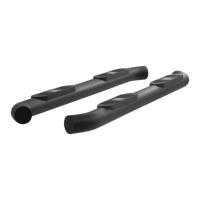
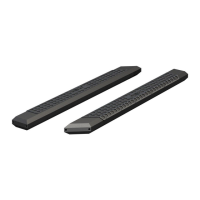
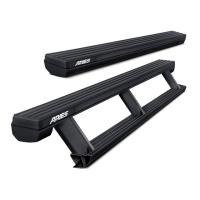
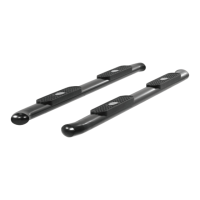
Carefully position the side bar onto the mounting brackets.

Step 8: Attach Side Bar to Brackets

Attach the side bar to the brackets with eight M8 hex bolts.

Step 9: Level and Tighten Hardware

Ensure the vehicle and side bar are level, then tighten all hardware.

Step 10: Install Passenger Brackets

Install passenger side mounting brackets using M8 and M10 hardware.

Step 11: Repeat for Passenger Side

Repeat steps 5 through 9 on the passenger side.

Step 12: Final Inspection and Maintenance

Perform periodic inspections to ensure all mounting hardware remains tight.

Related product manuals