Do you have a question about the Aries B35-2004-3 and is the answer not in the manual?
Read all instructions thoroughly. Proper tools improve installation quality and reduce time.
Recommend installing a license plate relocation bracket before bull bar installation.
Wax after installing for a protective layer. Use mild soap for gloss black finishes.
Start underneath the vehicle, remove factory tow hooks, and set hardware aside.
Check fit of the driver-side bracket to the tow hook. Lift and reinstall using factory hardware.
Snug hardware without full tightening; repeat for the passenger side.
With help, lift the bull bar and align mounting tabs with installed brackets.
Insert M12 hex bolt with washer from outside, secure with washer and nylock nut.
Level and adjust bull bar. Tighten brackets to vehicle, then bull bar connections.
Congratulate on installation. Periodically inspect hardware to ensure it remains tight.
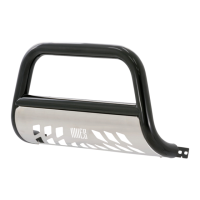
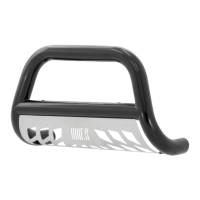
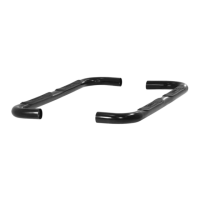
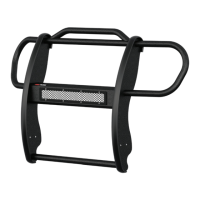
This document is an installation manual for the ARIES B35-2004-3 bull bar, a protective accessory designed for vehicles.
The ARIES bull bar serves as a front-end protective accessory for a vehicle. It is designed to be mounted to the vehicle's frame, providing an additional layer of defense against minor impacts and enhancing the vehicle's aesthetic appeal. The installation process involves removing existing factory tow hooks, installing specific mounting brackets, and then attaching the bull bar to these brackets.
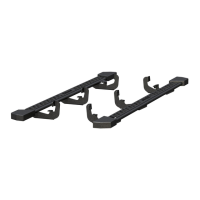
The bull bar kit includes the following parts:
Tools Required for Installation:
Torque Specifications (for securing hardware):
The installation is rated as "Easy" in terms of difficulty.
The bull bar is designed for straightforward installation, with clear step-by-step instructions provided in the manual.
To ensure the longevity and appearance of the ARIES bull bar, the following maintenance guidelines are provided:
| Brand | Aries |
|---|---|
| Model | B35-2004-3 |
| Category | Automobile Accessories |
| Language | English |