PAGE 1 • B35-2004-RC • 877.287.8634 • NEED ASSISTANCE? • ARIESAUTOMOTIVE.COM
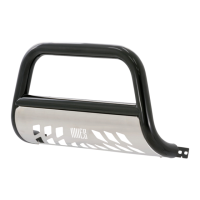
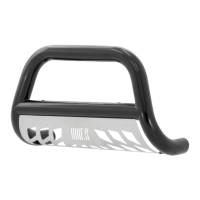
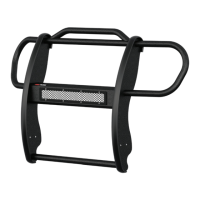
Product Image
Notes and Maintenance
Before you begin installation, read all instructions thoroughly.
Proper tools will improve the quality of installation and reduce the time required.
Before installing this bull bar, we recommend installing a license plate relocation
bracket, sold separately (ARIES part# 35-0000).
To protect the product, wax after installing. Regular waxing is recommended to
add a protective layer over the finish. Do not use any type of polish or wax that may
contain abrasives that could damage the finish.
For gloss black finishes, mild soap may be used to clean the product.
Refer to the table to the left when securing hardware during the
installation process to help prevent damage to the product or vehicle.
Level of Difficulty
Easy
Scan
for helpful
install tips
INSTALLATION MANUAL B35-2004
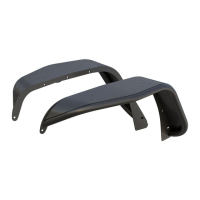
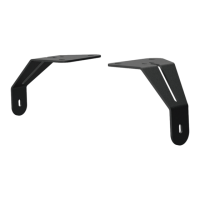
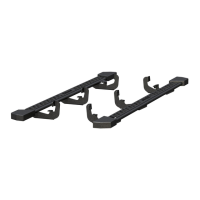
Parts List
1 Bull bar
1 Mounting bracket,
driver side
1 Mounting bracket,
passenger side
4 Hex bolt, M12
8 Flat washer, M12
4 Lock washer, M12
4 Hex nut, M12
Tools Required
Ratchet Socket, 18mm
Level Wrench, 19mm
Torque Specifications
METRIC
M6 bolt 3 ft.-lbs.
M8 bolt 7 ft.-lbs.
M10 bolt 16 ft.-lbs.
M12 bolt 28 ft.-lbs.
SAE
1/4" bolt 3 ft.-lbs.
5/16" bolt 7 ft.-lbs.
3/8" bolt 16 ft.-lbs.
7/16" bolt 20 ft.-lbs.
1/2" bolt 28 ft.-lbs.