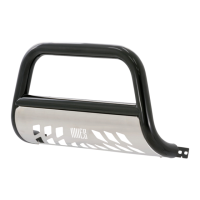
PAGE 3 • B35-2004-RC • 877.287.8634 • NEED ASSISTANCE? • ARIESAUTOMOTIVE.COM
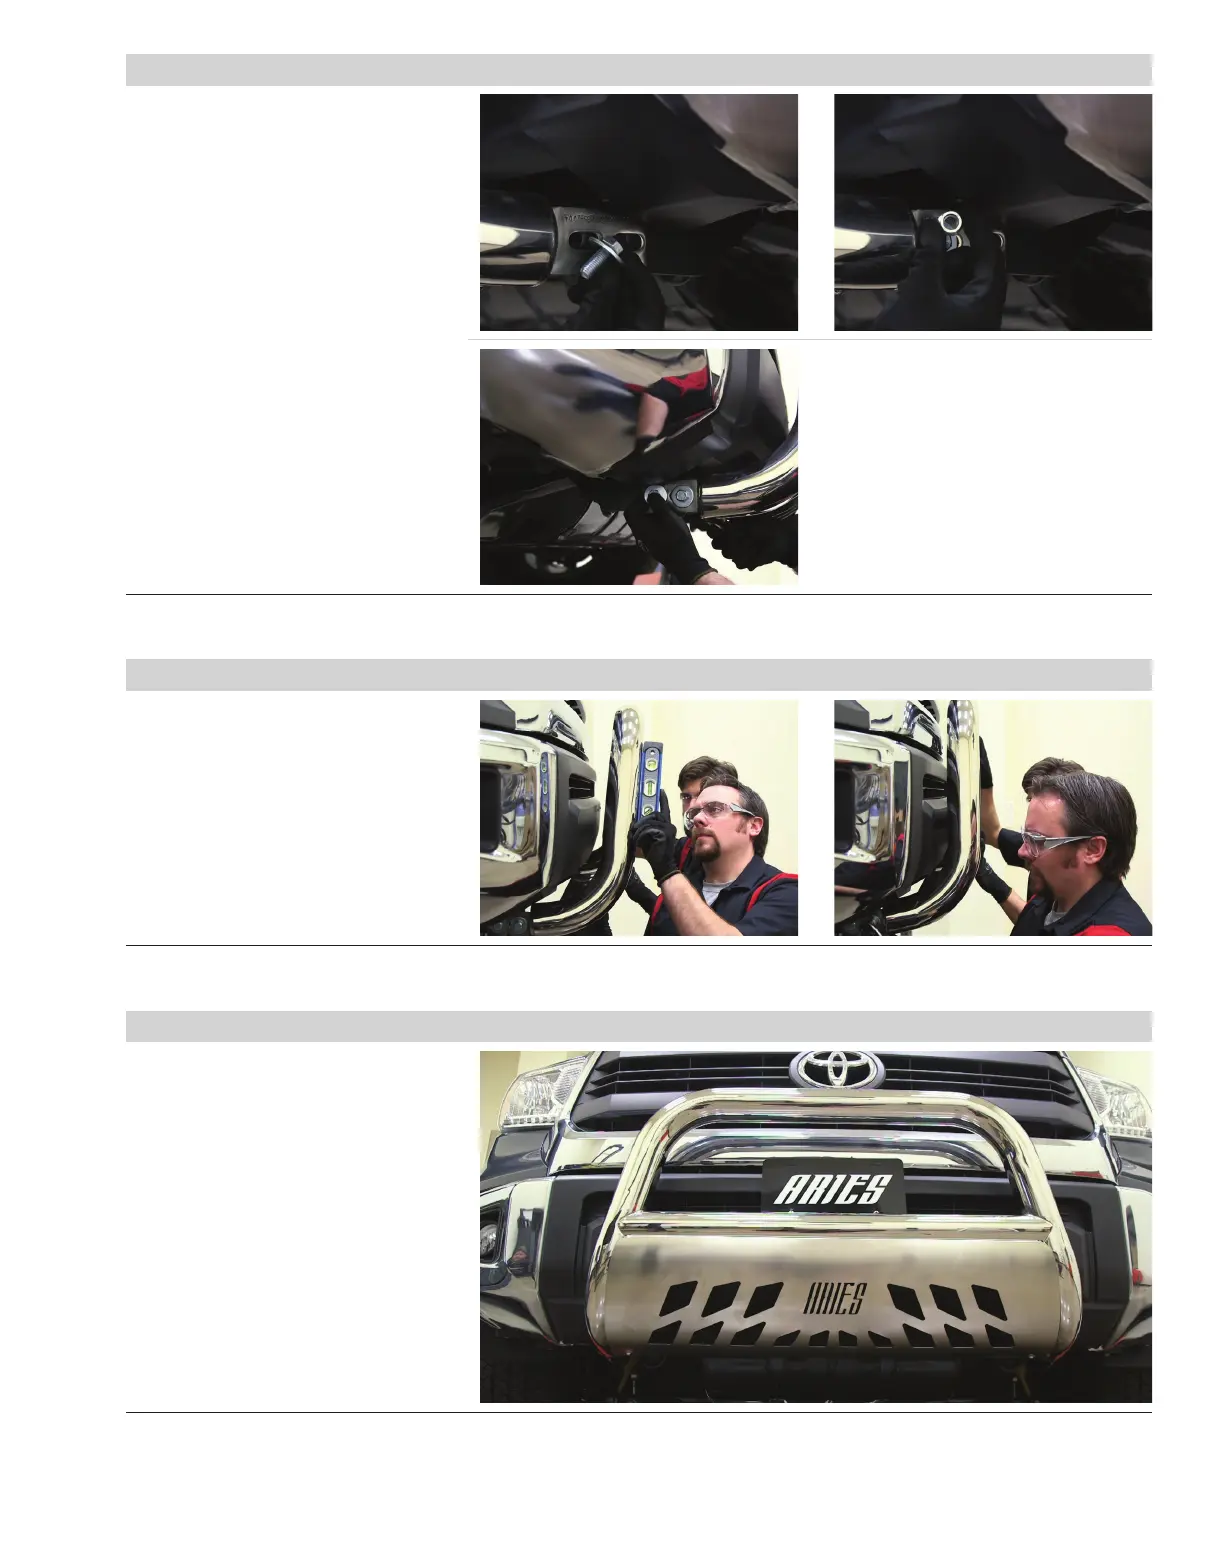
Step 5
Insert a M12 hex bolt with a flat washer
from the outside and secure with another
flat washer and a nylock nut.
Snug the hardware,
but do not fully tighten.
Repeat this on the passenger side
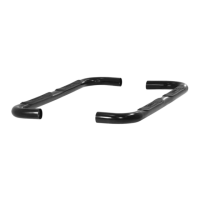
Step 6
At this time, level and adjust the
bull bar to the desired location.
With the bull bar in position, it is
recommended to tighten all brackets
to the vehicle first, followed by the
bull bar connections.
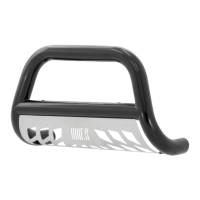
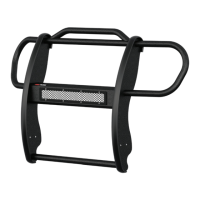
Step 7
Congratulations on the installation
of your new ARIES 3" bull bar.
With the bull bar installed, periodic
inspections should be performed to ensure
all mounting hardware remains tight.
To protect your investment, see the
'Notes and Maintenance' section on
the first page of this instruction manual.