TRINITY 2 assembly quick guide 5
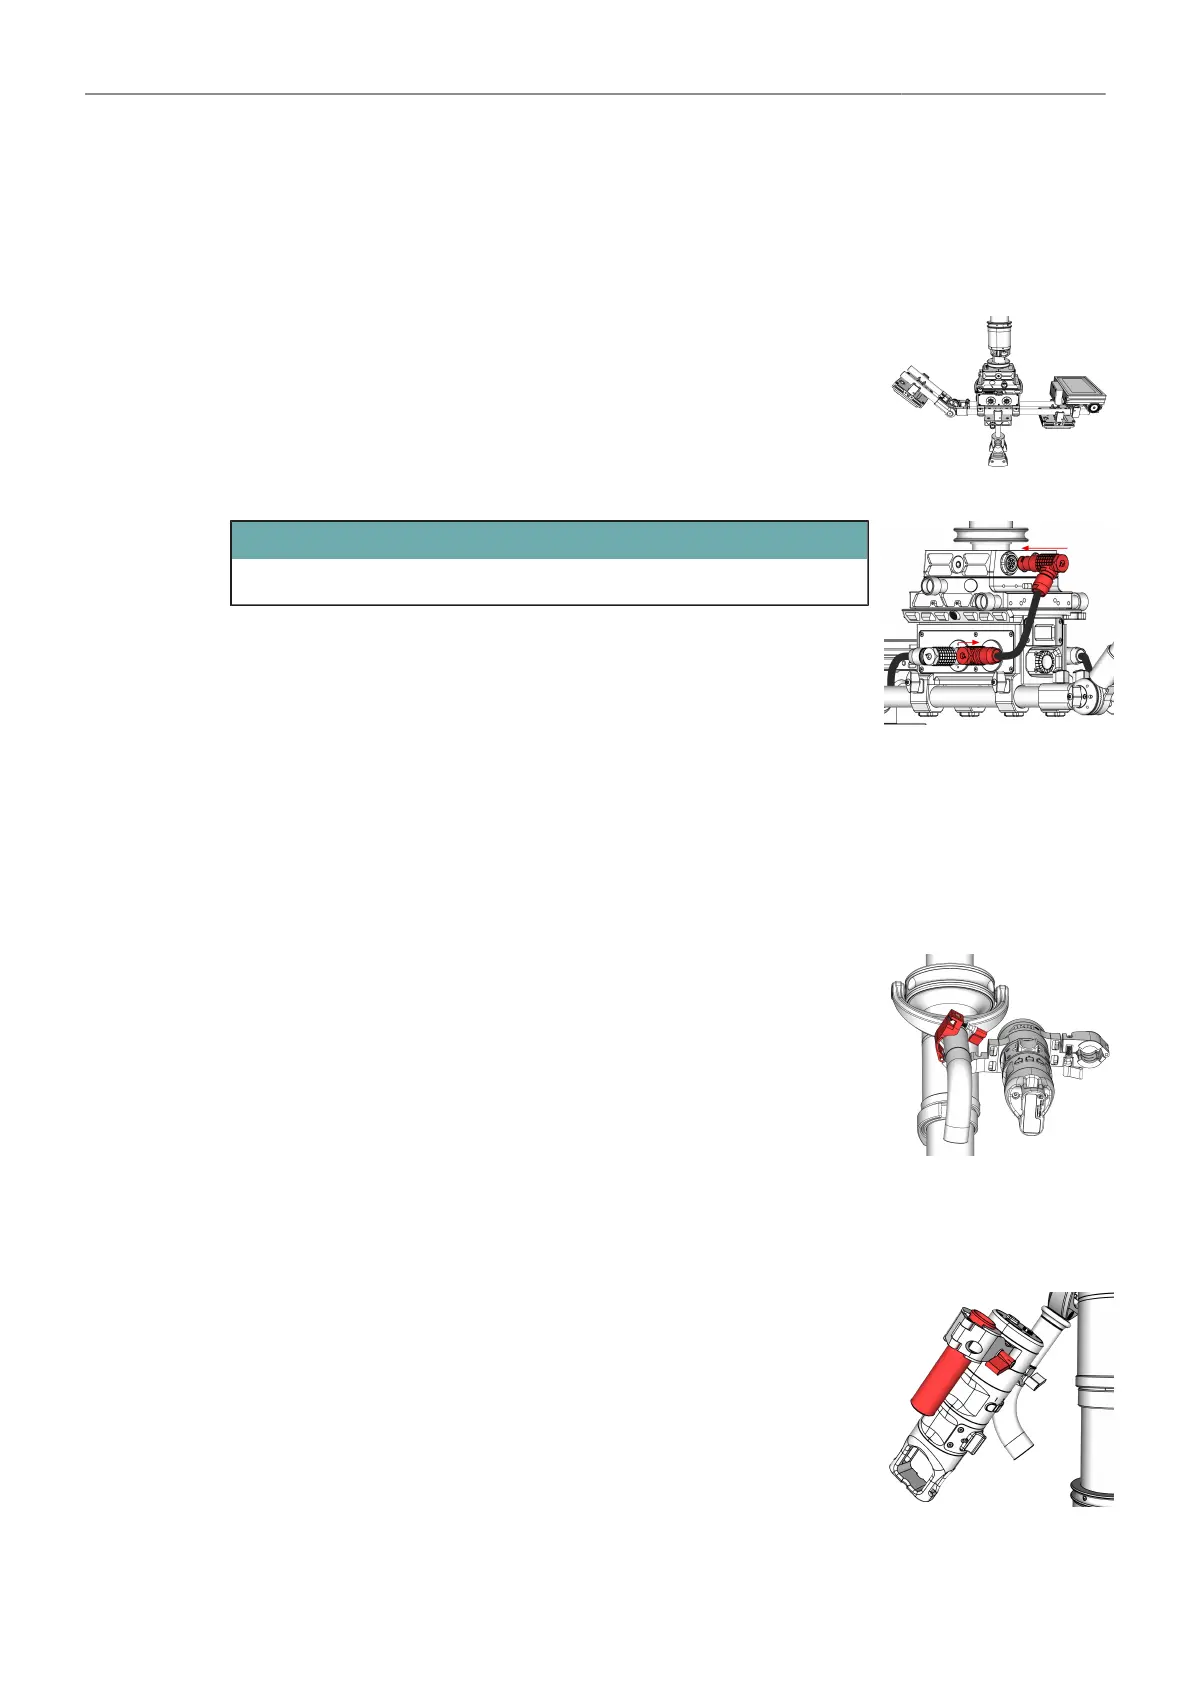
Complete the Battery Hanger / Sled
► Attach one battery mount to the rear hinge and the second battery
mount to the bottom front bars.
► Attach the RCP-3 on top of the bars in front.
► Attach the pendulum to the 19mm rods in the center under the battery
holder.
► Tighten all clamp wing nuts.
ATTENTION
Do not over tighten, when using carbon fiber rods.
► Connect the Power Cable, BHM-2 to TST (K2.0037771).
► Connect the Battery mounts to the Battery Hanger.
► Connect the RCP-3 to the Top Stage using the RCP-3
FS Can Bus Cable (K2.0043883).
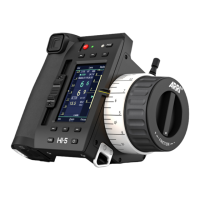
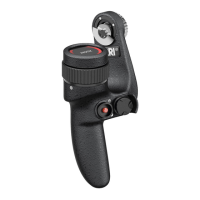
Mount the Master Grip TRINITY
► Before you begin, make sure the gimbal handle extension is attached to
the Gimbal handle.
► Open the clamp lever of the Mounting Bracket.
► Place the Master Grip TRINITY on the gimbal grip as close as possible
to the bend.
► When you have reached the desired position, tighten the clamp wing
nut.
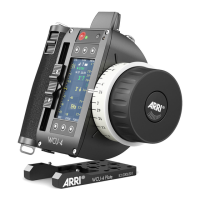
Mount the Monitor to the Master Grip TRINITY
► Loosen the mounting bracket clamp lever.
► Slide the 19mm rod into the insert.