-15-
TESTING YOUR WOOD
When the stove is thoroughly warmed, place one piece of split wood (about ve inches in diameter) parallel to
the door on the bed of red embers.Keep the air control full open by pulling on it and close the door. If ignition
of the piece is accomplished within 90 seconds from the time if was placed in the stove, your wood is correctly
dried. If ignition takes longer, your wood is damp.If your wood hisses and water or vapor escapes at the ends
of the piece, your wood is soaked or freshly cut. Do not use this wood in your stove. Large amounts of creosote
could be deposited in your chimney, creating potential conditions for a chimney re.
TAMPER WARNING
This wood heater has a manufacturer-set minimum low burn rate that must not be altered. It is against federal
regulations to alter this setting or otherwise operate this wood heater in a manner inconsistent with operating
instructions in this manual.
THE FIRST FIRES
The fresh paint on your stove needs to be cured to preserve its quality. Once the fuel charge is properly ignited,
only burn small res in your stove for the rst four hours of operation. Never open the air control more than
necessary to achieve a medium burn rate.Make sure that there’s enough air circulation while curing the stove.
The odors could be smelled during the 3 or 4 rst res. Never start your stove outside. You will not be able to see
if you are over heating.
IGNITION
After making sure that the stove air intake controls are fully open (completely pull-out towards you), The top
down method of re building is recommended for this appliance. After making sure that the stove air intake
controls are fully open (completely pull-out towards you), Place the largest pieces of wood on the bottom, laid
in parallel and close together. Smaller pieces are placed in a second layer, crossways to the rst. A third layer
of still smaller pieces is laid crossways to the second, this time with some spaces between. Then a fourth layer of
loose, small kindling and twisted newspaper sheets tops off the pile.Before igniting the paper and kindling wood,
it is recommended that you warm up the chimney. This is done in order to avoid back draft problems often due
to negative pressure in the house. If such is the case, open a window slightly near the stove and twist together a
few sheets of newspaper into a torch. Light up this paper torch and hold it as close as possible to the mouth of
the pipe inside the combustion chamber to warm up the chimney. Once the updraft movement is initiated, you
are ready to ignite the stove by lighting the paper and kindling wood inside the combustion chamber.
When you have achieved a good bed of hot embers, we recommend the following burn procedures:
HEATING
Controlled combustion is the most efcient technique for wood heating because it enables you to select the type
of combustion you want for each given situation. The wood will burn slowly if the wood stove air intake control is
adjusted to reduce the oxygen supply in the combustion chamber to a minimum. On the other hand, wood will
burn quickly if the air control is adjusted to admit a larger quantity of oxygen in the combustion chamber. Refer
to the primary air settings table for damper operation setting. Real operating conditions may give very different
results than those obtained during testing according to the species of wood used, its moisture content, the size
and density of the pieces, the length of the chimney, altitude and outside temperature.
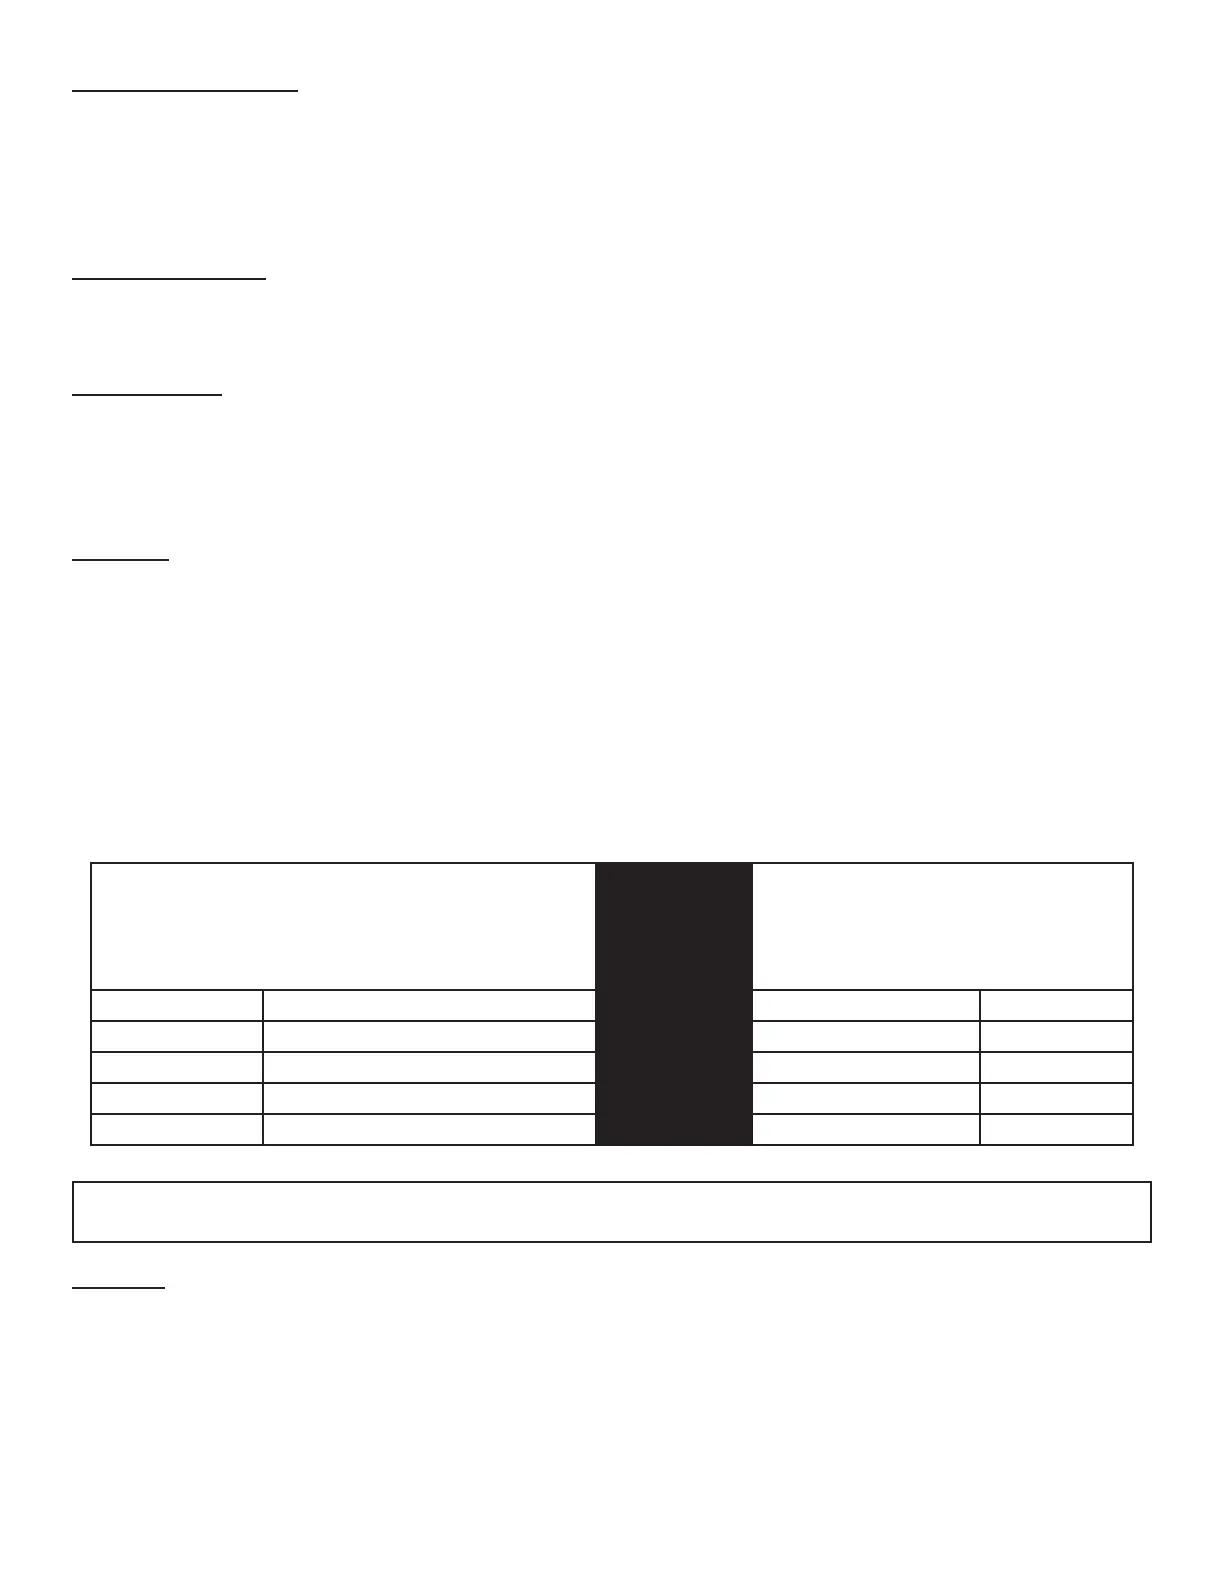
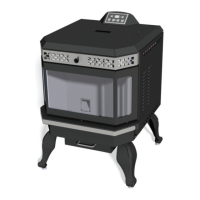
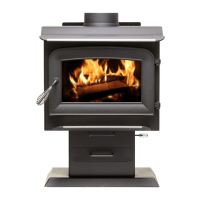
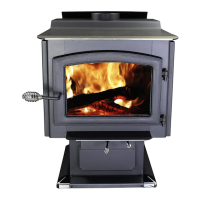
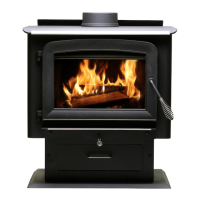
Primary Air Settings
(Slide Damper is located in center of stove under
hearth plate)
(Damper Adjustment: Pulling out on damper
increases air)
Electric Blower Speed Setting
(Variable)
(Blower is on High when turned
“ON”, Rotate clockwise until stop for
“LOW”.)
Burn Rate Adjust Damper from fully closed Burn Time Blower Speed
Low 1/4” (6.3mm) @ 30 minutes Low
Medium - Low 3/8” (9.5mm) @ 30 minutes Low
Medium - High 1/2” (12.7mm) @ 30 minutes Low
High approx. 3” (76mm) all minutes High
CAUTION: Never alter the damper slide or the adjustment range to increase ring for any reason. Doing so
could result in heater damage and will void your warranty.