-3-
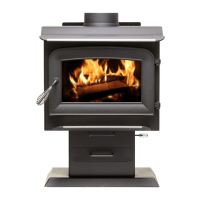
HEATER
TOP
WELD
5/16-18 x 1-1/2
BOLT
TOOLS AND MATERIALS NEEDED FOR INSTALLATION
You will need a drill with a 1/8” bit to install sheet metal screws into connector pipe. A 5/16” socket/wrench or
screw driver to install pedestal trim, room air deector, and blower assembly described below. A 1/2” socket/
wrench to install ue collar. A non-combustible oor protector as specied in this manual. All chimney and
chimney connector components required for your particular chimney installation. For mobile homes, see page
13.
ASSEMBLY
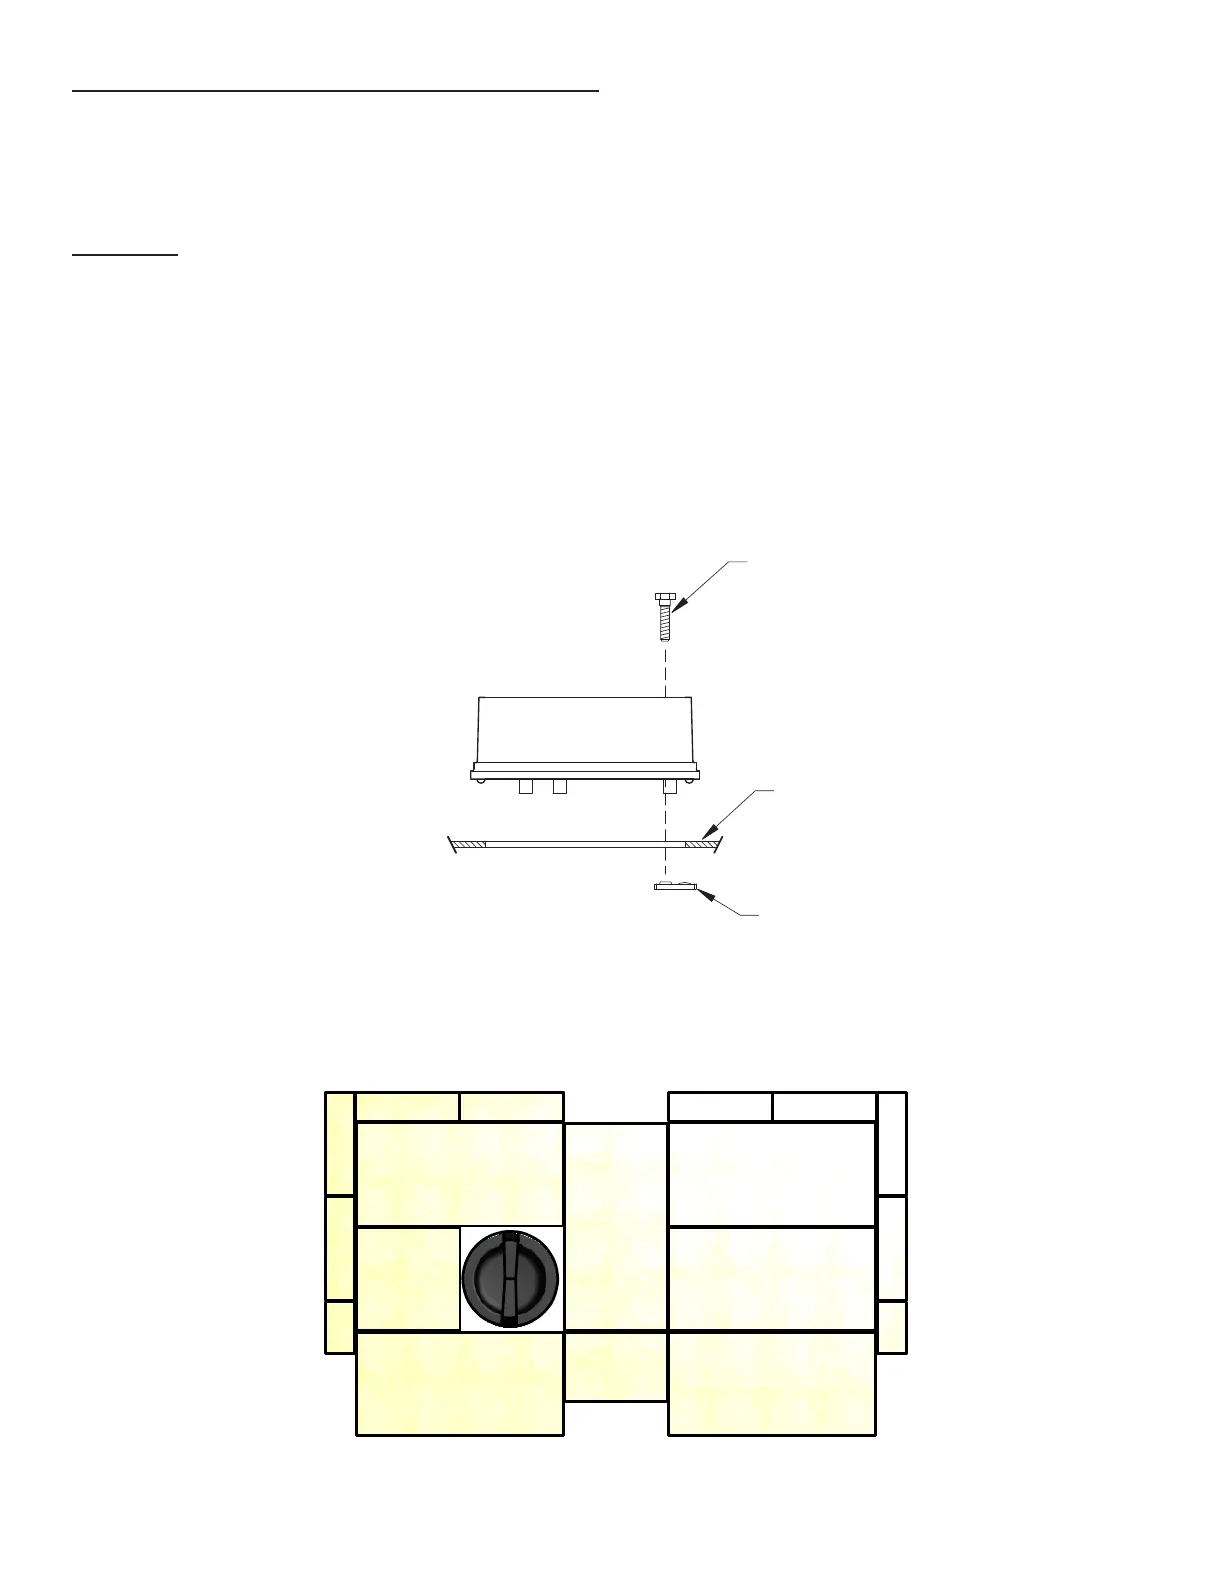
Flue Collar Assembly:
1. Mount the ue collar to the top of the unit as shown using the (3) 5/16-18 x 1-1/2 bolts, (3) washers, and (3)
weld tabs provided in the parts box.
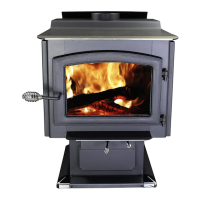
Room Air Deector Assembly:
1. Locate the Room Air Deector. Mount the deector to the unit using the three(3) 1/2 Tek Screws provided
(may be factory installed).
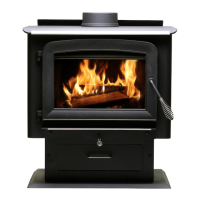
Firebrick Conguration:
1. Replace the Firebrick as shown in the illustration below.
Side view of ue collar mount to heater top
Brick Conguration
SECTION A-A
SCALE .1
1
1
2
2
3
3
4
4
A A
B B
TOLERANCES
EXCEPT
AS
NOTED
HOLES
.005"
DECIMAL
.XX = 0.03 XXX = 0.010
ANGULAR
2
DESCRIPTION
FINISH
REFERENCE
SCALE
DWN BY
DATE
SIZE
REV
TITLE NUMBER
UNITED STATES STOVE COMPANY
ESTABLISHED 1869
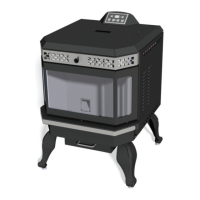
ASHLEY CAST HEATER AC2000
AB
AC2000
TOP ASSEMBLY
WHO
6/18/2013
1
OF 3
SHEET
© 2010 United States Stove Company
ALL RIGHTS RESERVED
THE DATA CONTAINED HEREIN IS PROPRIETARY TO U. S.
STOVE COMPANY. THIS DATA SHALL NOT BE DUPLICATED,
TRANSFERRED, MADE AVAILABLE, OR USED BY ANY THIRD
PARTY FOR ANY PURPOSE EXCEPT SPECIFICALLY
AUTHORIZED IN WRITING BY U. S. STOVE COMPANY.
GENERAL NOTES:
ALL FORMED DIMENSIONS ARE TO
THE OUTSIDE OF THE PART,
UNLESS SPECIFIED OTHERWISE.
A A
REVISION HISTORY
REV DESCRIPTION DATE BY
A INITIAL RELEASE
Date
Who?