English
59
• Zoom settings: In addition to the zoom buttons in the
menu bar and on the map screen, MobileMapper Office
offers another useful way of adjusting the zoom setting.
Double-click on a feature in the map screen. This takes
the feature to the center of the map screen. You can then
adjust the zoom setting around the feature, which stays at
the center of the screen, using the mouse wheel (turn
forward to zoom in, turn backward to zoom out).
• Viewing the background map: Use Add Layer>Select
Existing. In the Open dialog box, choose “Raster file” as
the file type and then select the background map file from
the job folder. Click Open. There may be a message
warning you about the coordinate system used by the
background map, if different from the one used in the job.
Note that background maps are seen as layers in the job.
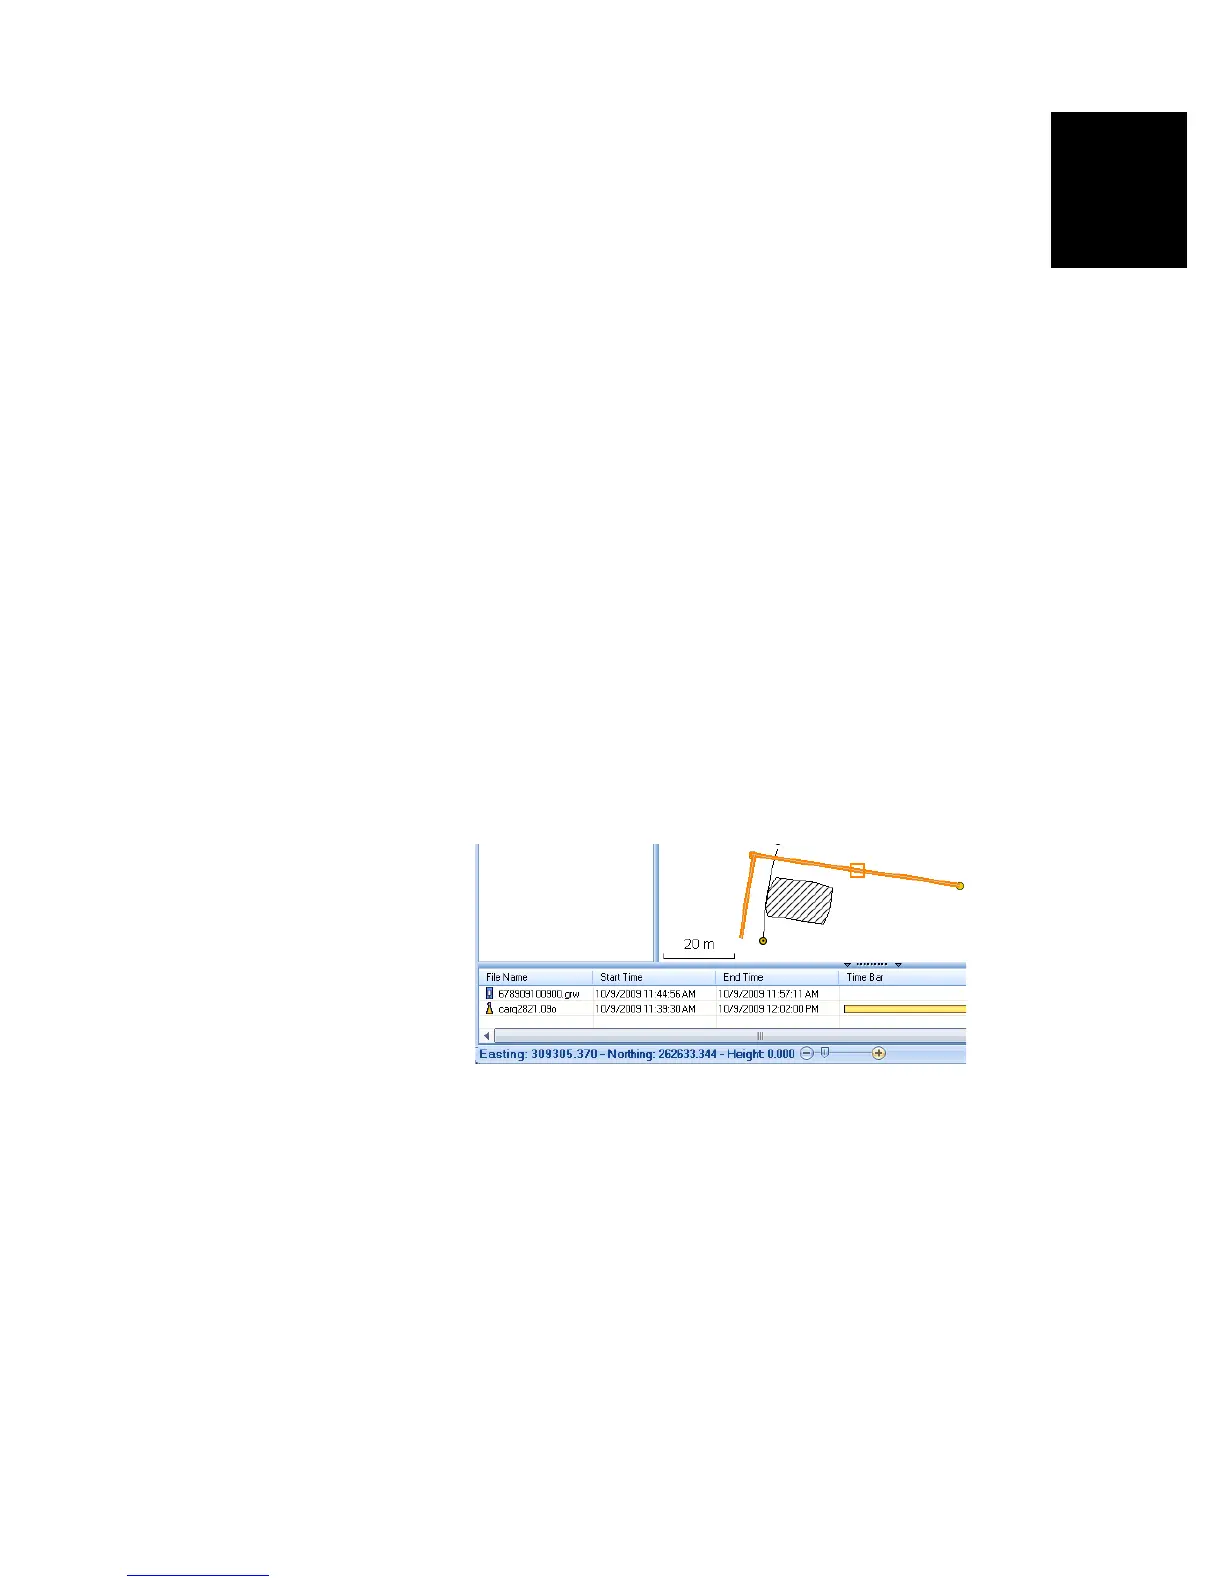
• Status Bar: The status bar is located at the bottom of the
main window. Whatever the feature selected on the map
screen, the status bar displays the coordinates of the
selected point.
For a line or polygon feature, the status bar additionally
shows a sliding bar allowing you to move the cursor on the
map screen from one point to the next or previous point
using respectively the “plus” or “minus” button at the two
ends of the sliding bar.
The location of the cursor on the sliding bar is
representative of the position of the selected point in the
line or polygon.
• Layer Editor: MobileMapper Office also allows you to edit
SHP files in a way much similar to MobileMapper Field's
Edit/Create Layer function.
• Measuring distances, angles and areas on the map screen:
Use the three icons in the right-upper corner. The upper
one is for distances, the second one for areas and the
lower one for angles.