9
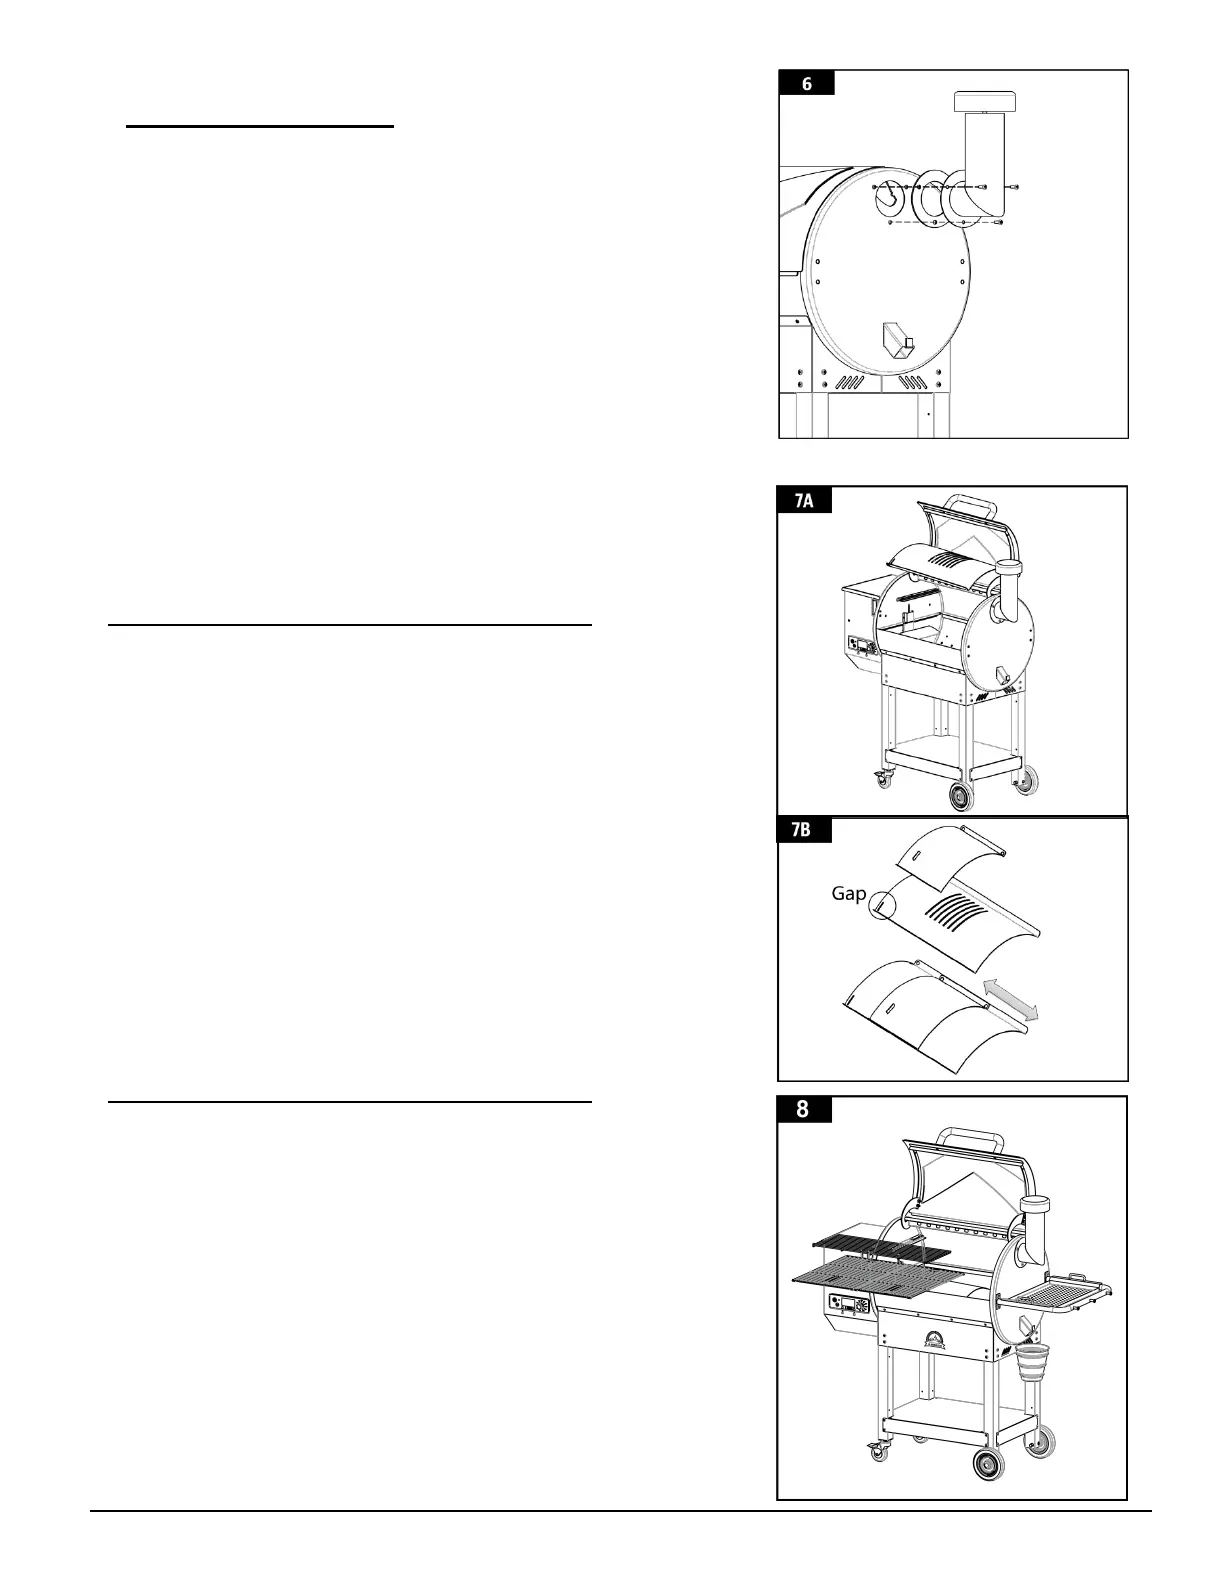
6.
SECURING THE CHIMNEY
Parts Required:
1
x Chimney Cap
(#5)
1 x
Chimney
(#6)
1
x
Chimney Gasket
(#7)
3
x Screw (Pre-Installed )
Installation:
•
Dismantle three screws pre-installed on the right side of the
principal part.
•
Locate the chimney hole on the side of the principal part of
cylinder. Fix the chimney and chimney gasket on the side panel
with three screws, locked gaskets and gaskets from the outside.
Fasten the screw to the pre-mounted nut on the inner side of
the cylinder.
•
Make sure the air can pass through the chimney cap.
7.
INSTALLING THE COOKING COMPONENTS (1)
Parts Required:
1
x Flame Broiler Main Plate
(#16)
1
x Flame Broiler Slider
(#15)
Installation:
•
Remove the packaging on the flame broiler main plate and the
flame broiler slider.
•
Place the flame broiler main plate on the bracket inside the
main barrel.The bracket on the side of the main barrel into the
notch on the left side of the flame broiler main plate.
•
Place the flame broiler slider as shown in Figure 7B above the
flame broiler slider, he flame broiler slider can slide left and
right as sh
own this figure.
8.
INSTALLING THE COOKING COMPONENTS (2)
Parts Required:
2
x Cooking Grids
(#2)
1
x
Upper Cooking Rack
(#1)
Installation:
•
Remove the packaging material with the upper cooking rack and
cooking grids.
•
Place the cooking grids, side-by-side, on the grid ledge inside the
main grill. Place the upper cooking rack on the upper ledge
inside the main grill. The cooking rack will lock into place.
•
Note: To maintain the searing and grilling performance of your
cooking grids,regular care and maintenance Is required.
•
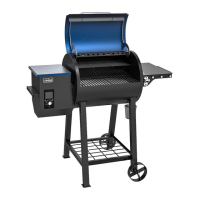
The unit is now completely assembled. Note illustration 10.