14
English
2.4 Onboard Headers and Connectors
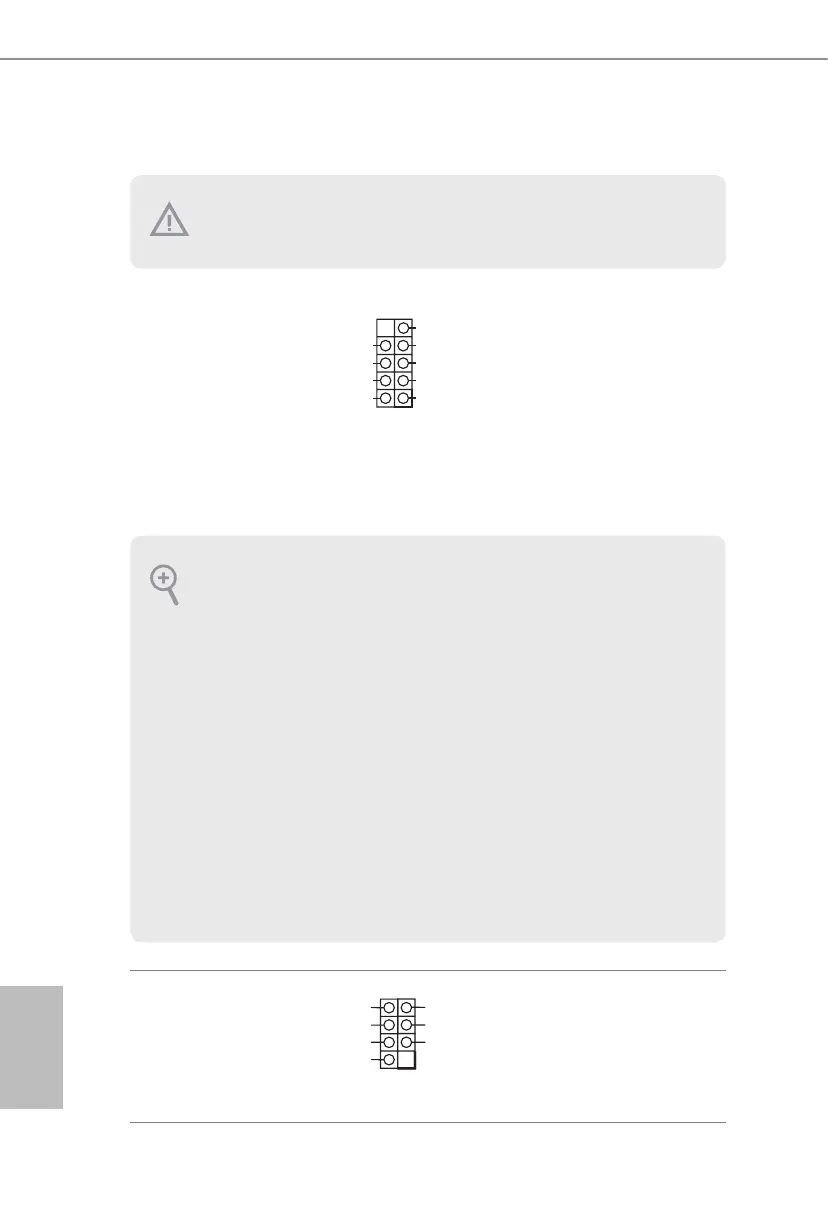
System Panel Header
(9-pin PA NEL1)
(see p.5, No. 3)
Connect the power
button, reset button and
system status indicator on
the chassis to this header
according to the pin
assignments below. Note
the positive and negative
pins before connecting
the cables.
Chassis Intrusion and
Speaker Header
(7-pin SPK _CI1)
(see p.5, No. 5)
Please connect the
chassis intrusion and the
chassis speaker to this
header.
PWRBTN (Power Button):
Connect to the power button on the chassis front panel. You may congure the way to
turn o your system using the power button.
RESET (Reset Button):
Connect to the reset button on the chassis front panel. Press the reset button to restart
the computer if the computer freezes and fails to perform a normal restart.
PLED (System Power LED):
Connect to the power status indicator on the chassis front panel. e LED is on when
the system is operating. e LED keeps blinking when the system is in S1/S3 sleep state.
e LED is o when the system is in S4 sleep state or powered o (S5).
HDLED (Hard Drive Activity LED):
Connect to the hard drive activity LED on the chassis front panel. e LED is on when
the hard drive is reading or writing data.
e front panel design may dier by chassis. A front panel module mainly consists
of power button, reset button, power LED, hard drive activity LED, speaker and etc.
When connecting your chassis front panel module to this header, make sure the wire
assignments and the pin assignments are matched correctly.
Onboard headers and connectors are NOT jumpers. Do NOT place jumper caps over
these headers and connectors. Placing jumper caps over the headers and connectors
will cause permanent damage to the motherboard.
GND RESET
#
PLED-
PLED+
GND
HDLED-
1
GND
1
+5V
SIGNAL
GND
DUMMY
DUMMY
SPEAKER
DUMMY
 Loading...